The allure of cheesecake is undeniable, with its creamy texture and rich flavor.
However, for those managing diabetes, enjoying this classic dessert often comes with concerns.
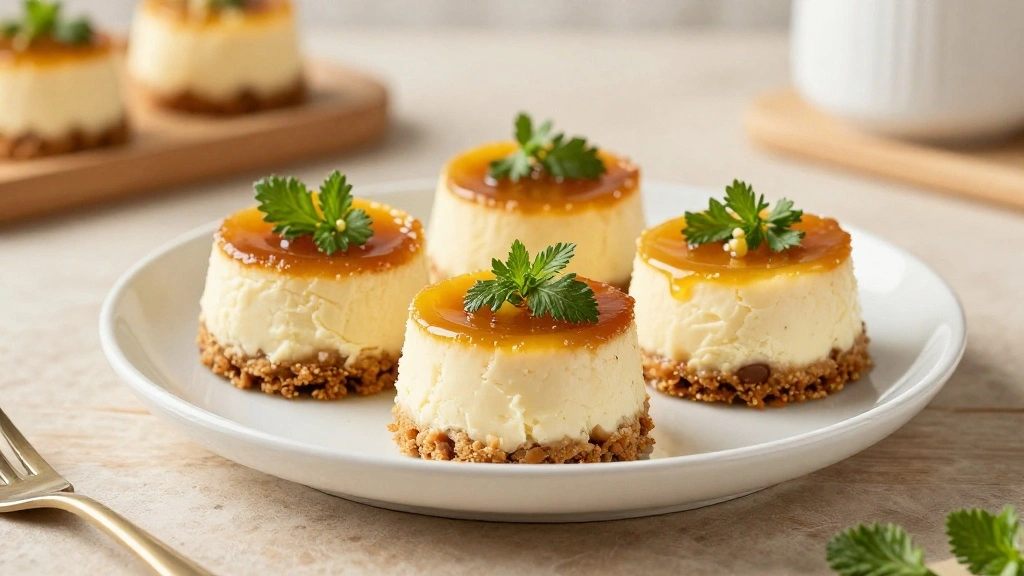
Delicious Diabetic-Friendly Cheesecake Cups offer a solution, combining indulgence with mindful ingredients.
These cups maintain the iconic taste and texture of traditional cheesecake, with adjustments to keep sugar levels in check.
Perfect for any occasion, they allow everyone to partake in the pleasure without the worry.
Prepare to delight your taste buds with a guilt-free treat that doesn’t compromise on flavor.
The History and Cultural Significance
• Delicious Diabetic-Friendly Cheesecake traces its origins to ancient Greece, where it was originally created as a simple sweet treat.
• The dish evolved over decades as sugar substitutes and low-carb ingredients became more available, eventually becoming the beloved version we know today.
• In Greek culture, this dish traditionally appears at weddings and special gatherings, symbolizing joy and abundance.
• While many variations exist across different regions, the authentic version maintains its rich, creamy texture and slightly tangy flavor that sets it apart from imitations.
Recipe Overview
Nutritional Information (per serving)
Essential Equipment Guide
Muffin Tin: A muffin tin ensures uniform size and shape of each cheesecake cup, crucial for even baking. Silicone muffin molds can be an alternative for easy removal.
Electric Mixer: An electric mixer helps achieve the smooth, creamy consistency required for the cheesecake batter. A hand whisk could work, but requires more effort and time.
Cooling Rack: A cooling rack allows air to circulate around the cups, preventing sogginess and ensuring they set properly. Any wire rack with good air flow will suffice.
Ingredients
For the Crust
|
|
| Amount | Ingredient | Notes |
|---|---|---|
| 1 cup | almond flour | provides a nutty base |
| 2 tablespoons | coconut oil | melted, adds moisture |
| 1 tablespoon | erythritol | sweetens without sugar |
For the Filling
| Amount | Ingredient | Notes |
|---|---|---|
| 16 ounces | cream cheese | softened, for creamy texture |
| 1/4 cup | erythritol | sweetens without spiking blood sugar |
| 1 teaspoon | vanilla extract | adds depth of flavor |
| 2 large | eggs | room temperature, binds ingredients |
For the Topping
| Amount | Ingredient | Notes |
|---|---|---|
| 1/2 cup | fresh berries | adds natural sweetness and color |
| 2 tablespoons | sugar-free whipped topping | for lightness |
Preparation Methods
Pre-baking the Crust: This technique involves baking the crust before adding the filling, which ensures a firm base that holds together. Mastering this step prevents a soggy bottom.
Room Temperature Ingredients: Using room temperature cream cheese and eggs ensures a smooth batter, preventing lumps. Proper timing is key; take them out of the fridge 30 minutes prior.
Water Bath Baking: Baking the cheesecake cups in a water bath provides even heat distribution, preventing cracks. Use a larger pan with hot water to place the muffin tin in, ensuring the water reaches halfway up the sides.
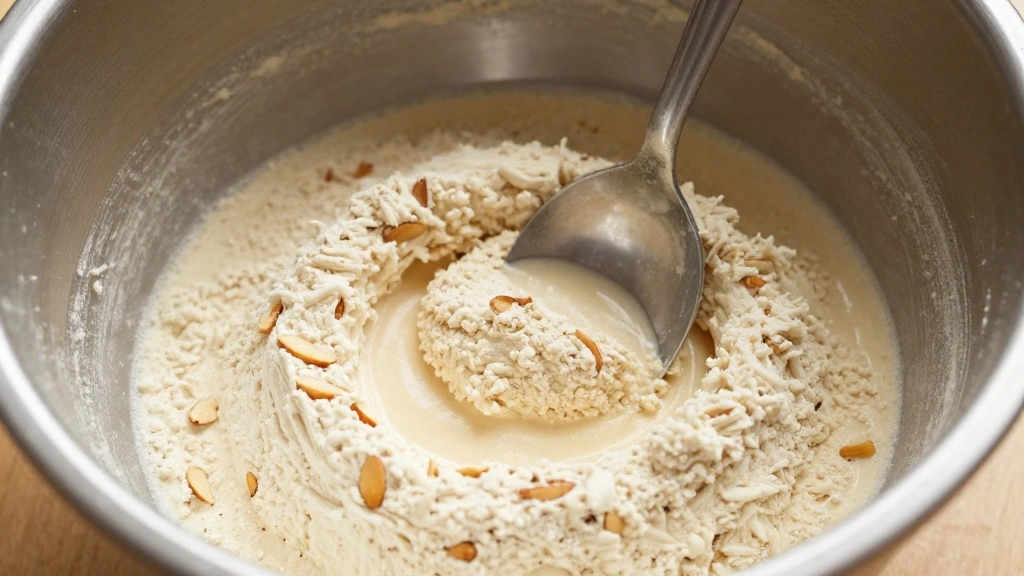
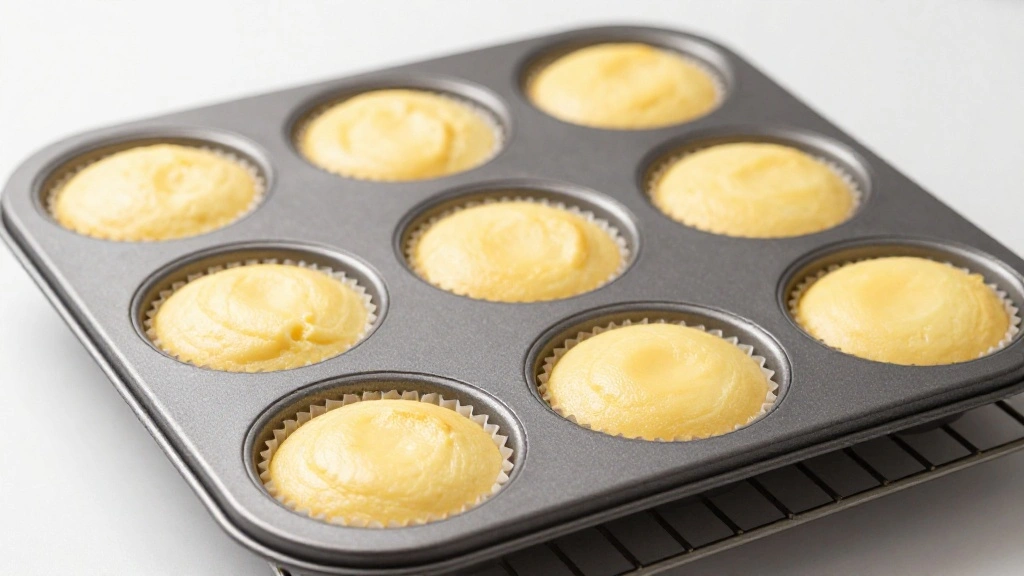
Step 1: Prepare the Crust
Preheat your oven to 325°F.
In a mixing bowl, combine almond flour, melted coconut oil, and erythritol.
Mix until the mixture resembles wet sand.
Press the mixture evenly into the bottom of each muffin tin cup.
Step 2: Pre-bake the Crust
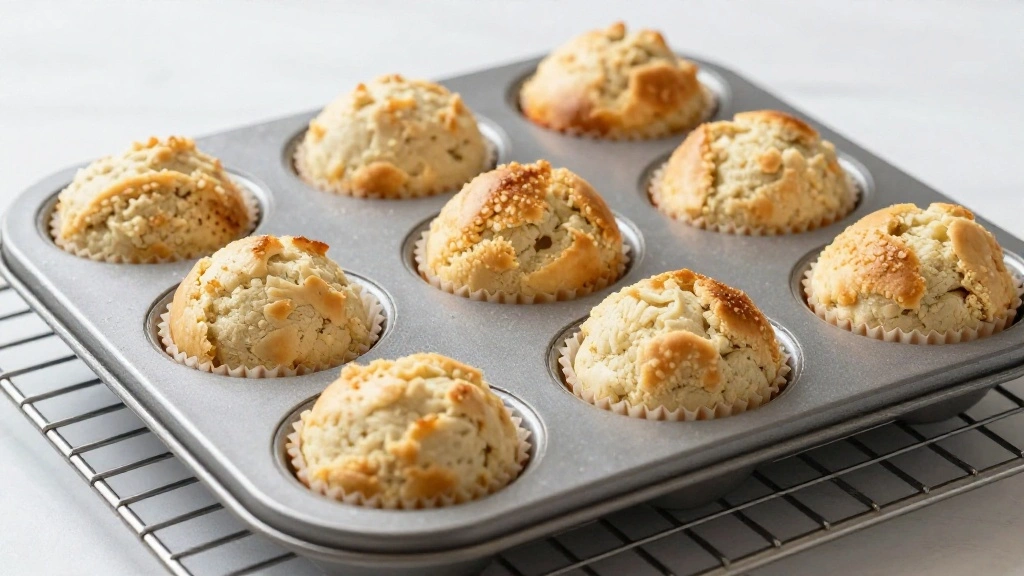
Place the muffin tin in the preheated oven.
Bake for 8-10 minutes until the edges are lightly golden.
Remove from oven and let cool slightly.
Ensure the crust is firm to the touch.
Step 3: Make the Filling
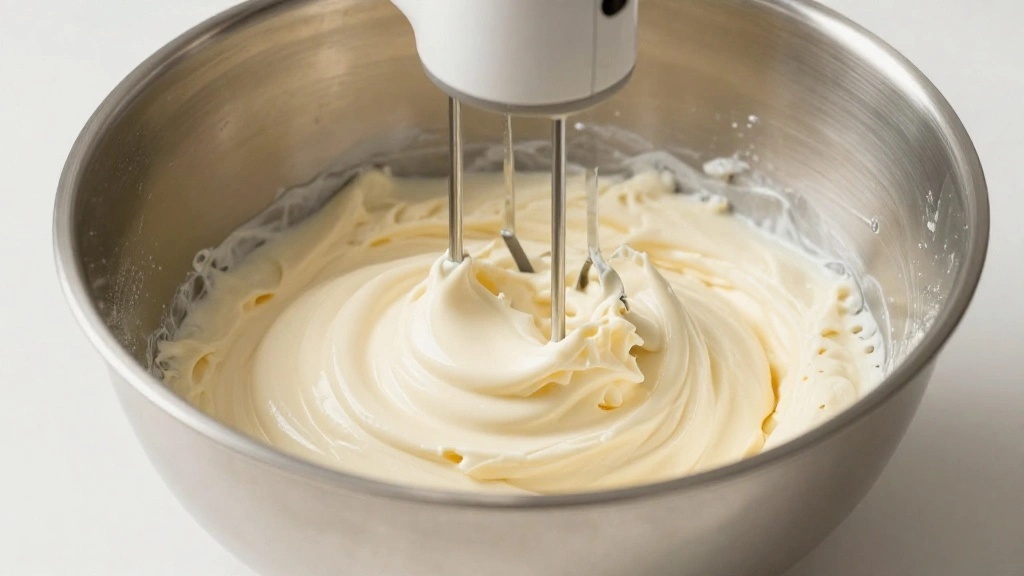
Beat cream cheese and erythritol in a large bowl until smooth.
Add in vanilla extract and mix until combined.
Add eggs one at a time, mixing on low speed until just incorporated.
Avoid overmixing to prevent air bubbles.
Step 4: Pour the Filling
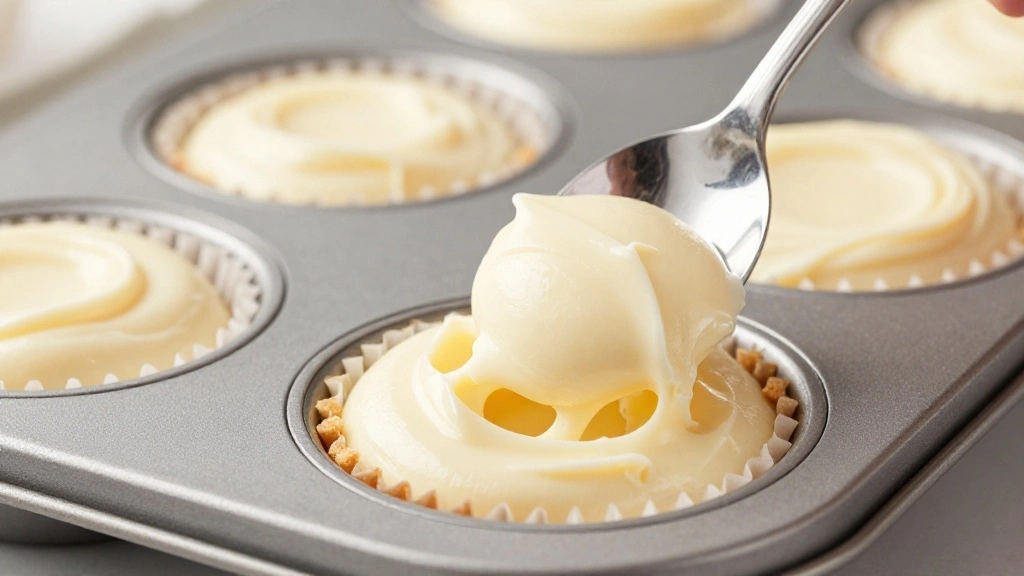
Spoon the cream cheese mixture evenly over the pre-baked crusts.
Fill each cup nearly to the top, leaving a small gap.
Smooth the tops with the back of a spoon.
Tap the tin gently to release any air bubbles.
Step 5: Prepare the Water Bath
Place a larger pan on the oven rack.
Carefully fill with hot water to create steam.
Position the muffin tin in the center of the water bath.
Ensure water reaches halfway up the sides of the muffin tin.
Step 6: Bake the Cheesecake Cups
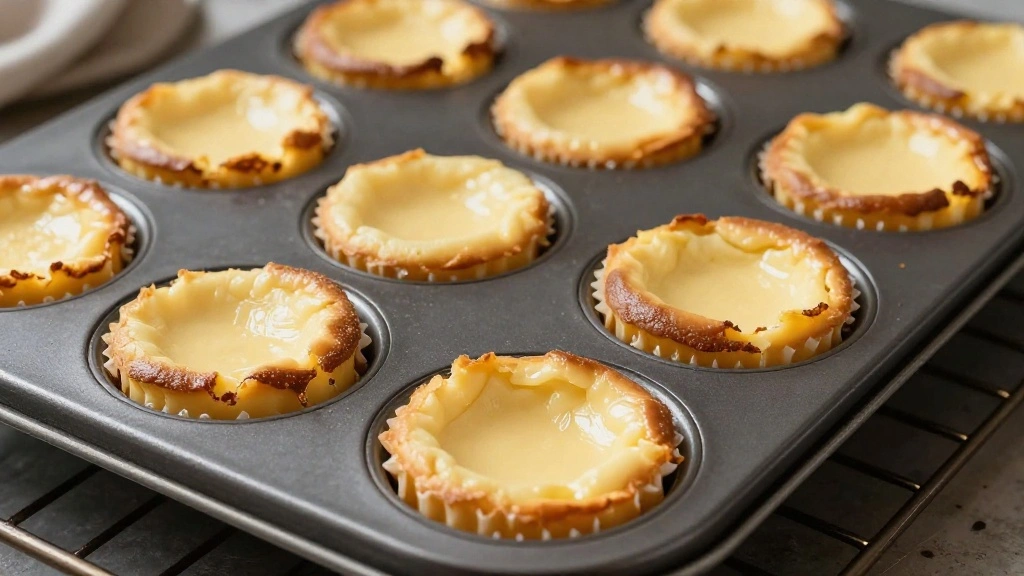
Bake at 325°F for 25 minutes.
Check for slight jiggle in the center when done.
Turn off oven and let them cool inside for 10 minutes.
This prevents sudden temperature changes that cause cracks.
Step 7: Cool and Set
Remove muffin tin from water bath.
Place on a cooling rack to cool completely.
Refrigerate for at least 2 hours before serving.
This chilling time is crucial for proper texture.
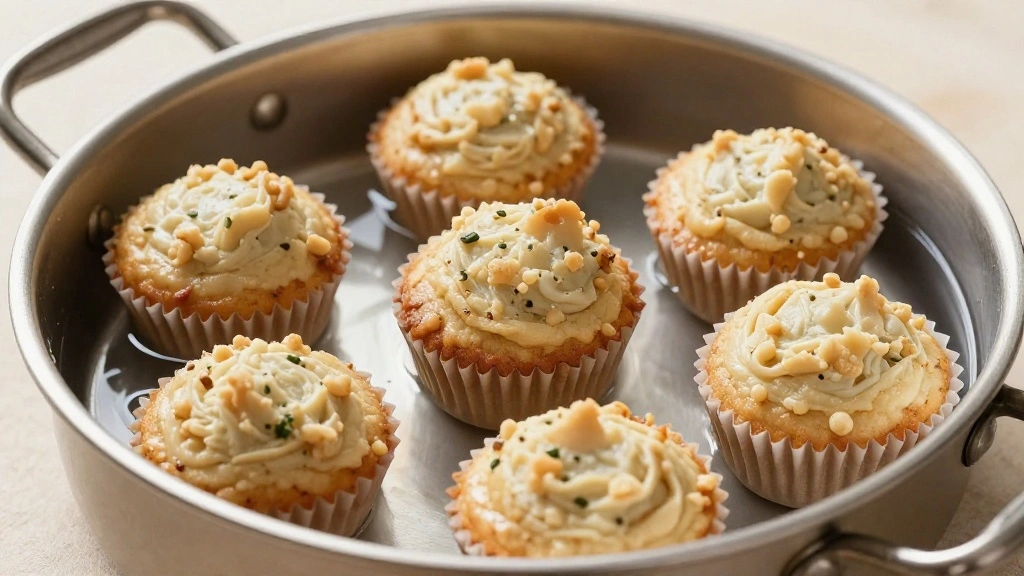
Step 8: Add Toppings

Top each cheesecake cup with a dollop of sugar-free whipped topping.
Scatter fresh berries over the top for color and flavor.
Optionally, add a mint leaf for garnish.
Serve chilled for best taste.
Critical Timing and Temperature Guide
Pre-baking the Crust: Bake at 325°F for 8-10 minutes until edges are golden, ensuring a dry, firm base. Avoid overbaking which leads to a hard crust.
Baking the Filling: Bake at 325°F for 25 minutes. Look for a slight jiggle in the center as an indicator of doneness. Overbaking causes cracks.
Cooling and Setting: Cool completely on a rack, then refrigerate for at least 2 hours. This ensures the cheesecake sets properly and achieves the desired texture.
Pro Tips for Delicious Diabetic-Friendly Cheesecake
• Ingredient Selection: Use high-quality almond flour for the crust for better flavor and texture. Fresh cream cheese ensures a smoother filling.
• Preparation Secret: Using room temperature ingredients prevents lumps and ensures a smooth batter, crucial for texture.
• Temperature Management: Maintain a consistent oven temperature by avoiding frequent door openings to ensure even baking.
• Texture Enhancement: Let the cheesecake cups cool in the oven with the door slightly ajar to prevent cracks.
• Flavor Layering: Use a mix of berries for topping to add complexity and freshness to each bite.
• Make-Ahead Strategies: Prepare crust and filling a day in advance, keeping them separate until ready to bake. Store in airtight containers.
• Restaurant-Quality Finishing Touches: Dust the tops with a fine layer of cocoa powder or cinnamon for an elegant presentation.
• Equipment Optimization: Use a silicone muffin tin for easy release and even baking without sticking.
Troubleshooting Common Issues
• Crust Too Soft: This is often due to insufficient pre-baking. Ensure the crust is golden and firm before adding the filling.
• Filling Cracks: Cracks are usually caused by overbaking or rapid temperature changes. Bake in a water bath and allow gradual cooling.
• Cheesecake Doesn't Set: This may result from underbaking or not refrigerating long enough. Ensure proper baking time and chill for at least 2 hours.
• Bitter Taste: Can occur if erythritol is not well mixed. Ensure thorough incorporation into the filling.
• Stuck to Tin: This happens if the tin isn't greased properly. Use non-stick spray or silicone molds for better results.
Variations and Regional Differences
• New York Style Variation: This version uses a mix of cream cheese and sour cream for a denser texture and tangier flavor profile.
• Italian Ricotta Variation: Replaces cream cheese with ricotta, resulting in a lighter texture and subtle flavor difference, often enhanced with lemon zest.
• Japanese Cotton Cheesecake: Incorporates whipped egg whites into the batter for a lighter, soufflé-like texture.
• French No-Bake Variation: Utilizes gelatin to set the filling without baking, offering a creamy texture ideal for summer.
Food Science Behind the Recipe
• Emulsification: The process of blending cream cheese and eggs creates a stable emulsion, crucial for the creamy texture of cheesecake.
• Maillard Reaction: Occurs during the pre-baking of the crust, where almond flour and coconut oil create browning and flavor development.
• Gelation: The cooling and setting process allows the proteins in eggs to form a delicate gel network, providing structure to the finished cheesecake.
Frequently Asked Questions
What's the most common mistake people make when preparing Delicious Diabetic-Friendly Cheesecake? Overbaking the cheesecake, which leads to cracks and a dry texture.
Can I use another type of flour for the crust? While almond flour is recommended for its flavor and texture, finely ground pecan or walnut flour can be a substitute.
Is it necessary to use a water bath? Yes, a water bath helps ensure even cooking and prevents the cheesecake from cracking.
Can I prepare this recipe without an electric mixer? Yes, but it will require more effort and time to achieve the same smooth consistency by hand.
How long can these cheesecake cups be stored? They can be refrigerated for up to 3 days in an airtight container.
Can I freeze these cheesecake cups? Yes, they freeze well for up to a month. Thaw overnight in the fridge before serving.
What can I use as a topping besides berries? Try sugar-free chocolate shavings or a sprinkle of cinnamon for a different flavor profile.
Serving and Presentation Guide
• Traditional Presentation: Serve in their individual paper cups with a berry on top for color and freshness.
• Elegant Plating: Arrange on a white plate with a drizzle of berry coulis around for a restaurant-style look.
• Layered Dessert: Serve in glass jars with alternating layers of cheesecake and berry compote for a visually appealing treat.
• Mini Dessert Buffet: Place alongside other small desserts on a tiered stand for variety and elegance at a gathering.
Conclusion
Delicious Diabetic-Friendly Cheesecake Cups allow you to indulge without the guilt.
Their rich, creamy texture paired with a health-conscious approach makes them a perfect dessert for any occasion.
Try this recipe and enjoy a treat that everyone can savor, regardless of dietary restrictions.