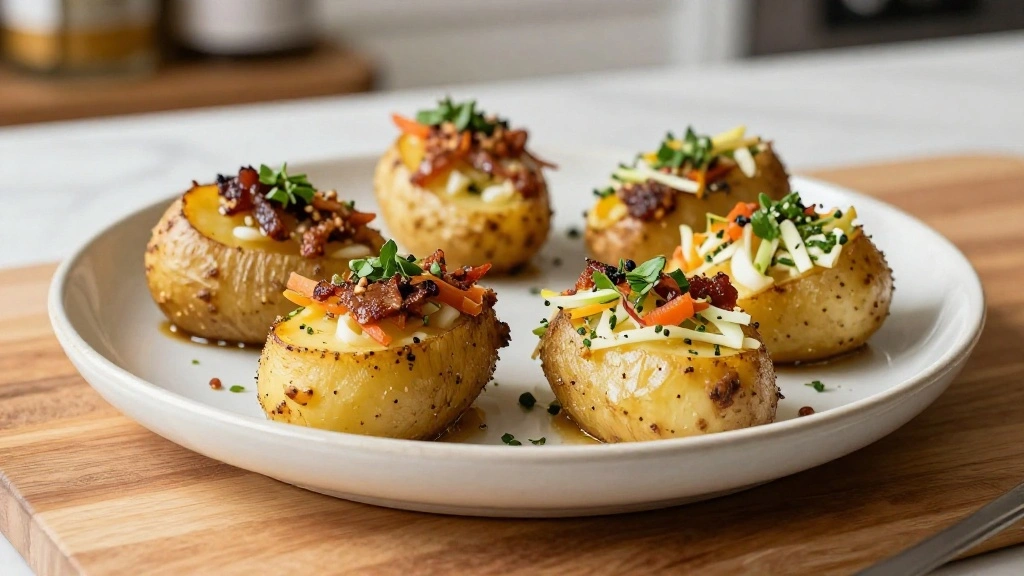
Summer is the perfect time to elevate your BBQ with vibrant side dishes that go beyond the usual potato salad.
Imagine a spread of fresh, colorful, and flavorful accompaniments that complement your grilled delights.
These sides are not only visually appealing but also packed with refreshing flavors that scream summer.
Whether you’re a fan of crisp vegetables, tangy dressings, or unique grains, there’s something here to excite every palate.
Let’s dive into a collection of 15 summer side dishes that will have your guests raving about your BBQ skills.
Say goodbye to the mundane and hello to an explosion of taste and texture.
The History and Cultural Significance
• Step Up Your traces its origins to various global cuisines, where fresh, seasonal produce was utilized to complement main dishes.
• The dish evolved over decades as different cultures added their unique twists, incorporating local ingredients and flavors.
• In many cultures, these side dishes traditionally appear at summer gatherings, symbolizing the bounty of the harvest and community spirit.
• While many variations exist across different regions, the authentic versions maintain a focus on freshness and simplicity that sets them apart from imitations.
Recipe Overview
Nutritional Information (per serving)
Essential Equipment Guide
Mixing Bowls: Essential for combining ingredients evenly. Look for non-reactive materials like glass or stainless steel to avoid altering flavors. Alternatives include large ceramic bowls.
Sharp Knife: Crucial for precise and safe vegetable chopping, which is key to achieving uniform pieces and enhancing presentation. Consider a chef’s knife with a comfortable grip.
Grater or Mandoline: Helps achieve thin, even slices for vegetables, which can enhance texture and flavor absorption. A mandoline with adjustable settings offers versatility.
Ingredients
For the Base
|
|
| Amount | Ingredient | Notes |
|---|---|---|
| 1 cup | quinoa | cooked, adds protein |
| 2 cups | mixed greens | fresh and crisp |
Vegetables
| Amount | Ingredient | Notes |
|---|---|---|
| 1 medium | cucumber | sliced thinly |
| 1 large | bell pepper | diced for crunch |
Seasonings
| Amount | Ingredient | Notes |
|---|---|---|
| 1 teaspoon | salt | enhances flavor |
| 1 tablespoon | olive oil | adds richness |
Dressing
| Amount | Ingredient | Notes |
|---|---|---|
| 2 tablespoons | lemon juice | for tanginess |
| 1 tablespoon | honey | balances acidity |
Preparation Methods
Blanching: A technique where vegetables are briefly boiled and then plunged into ice water. This enhances color and retains crunch, essential for vibrant and fresh-tasting side dishes.
Emulsifying: The process of combining oil and lemon juice to create a smooth dressing. Use a whisk or fork to ensure the mixture doesn't separate, resulting in a cohesive flavor.
Tossing: Gently mixing ingredients to evenly distribute dressing without crushing delicate greens. Use a light hand to maintain texture and appearance.
Step 1: Prepare Ingredients
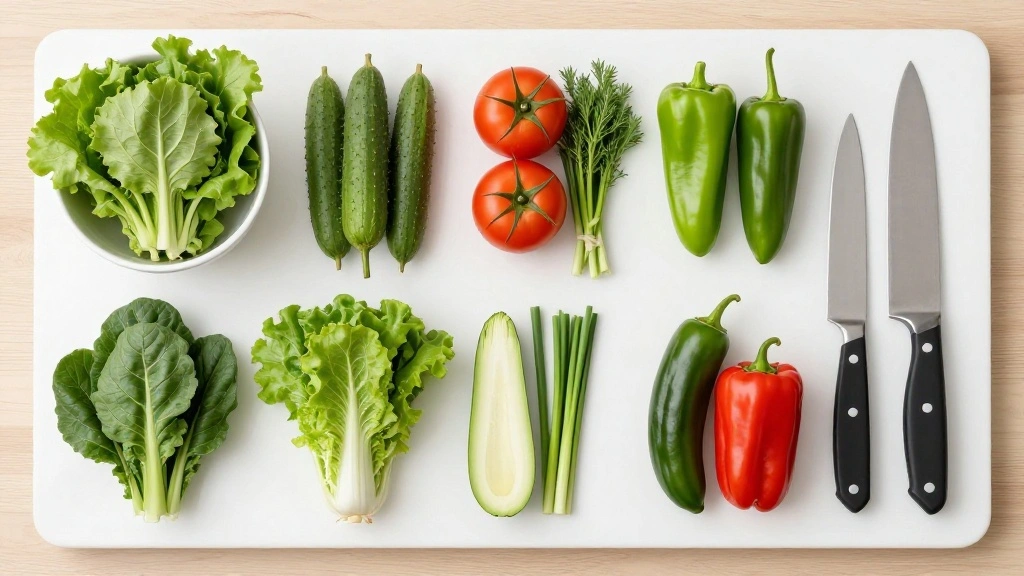
Gather all the ingredients listed.
Wash and dry the vegetables thoroughly.
Ensure your workspace is clean and organized.
Set aside all the equipment needed for easy access.
Step 2: Cook Quinoa

Rinse quinoa under cold water to remove bitterness.
Boil in a pot with two cups of water until tender.
Fluff with a fork once cooked and let it cool.
Ensure no excess water remains by draining if necessary.
Step 3: Slice Vegetables
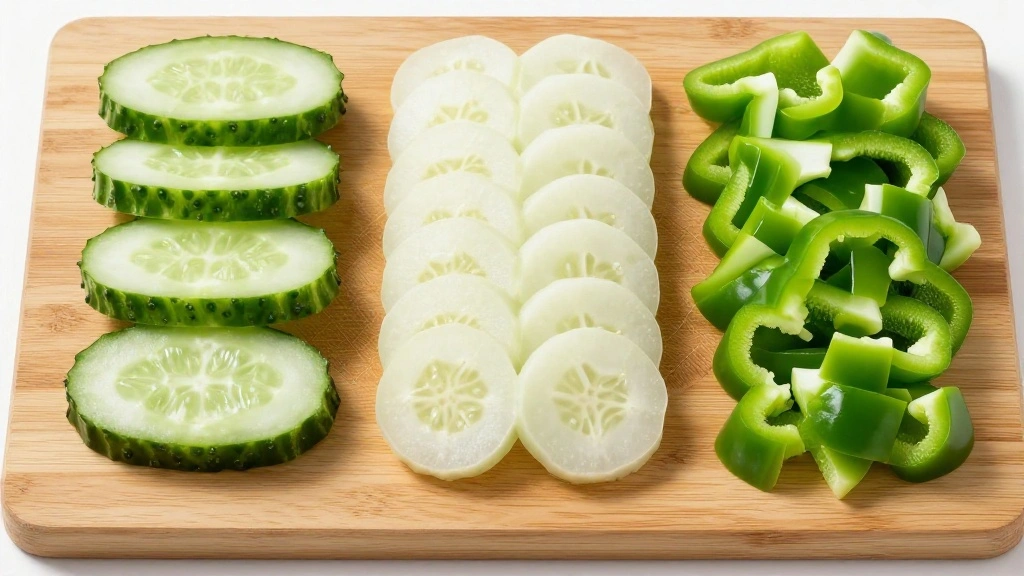
Use a sharp knife to slice cucumbers thinly.
Dice the bell pepper into small, even pieces.
Arrange the sliced vegetables separately for easy access.
Ensure uniform thickness for even flavor distribution.
Step 4: Blanch Vegetables
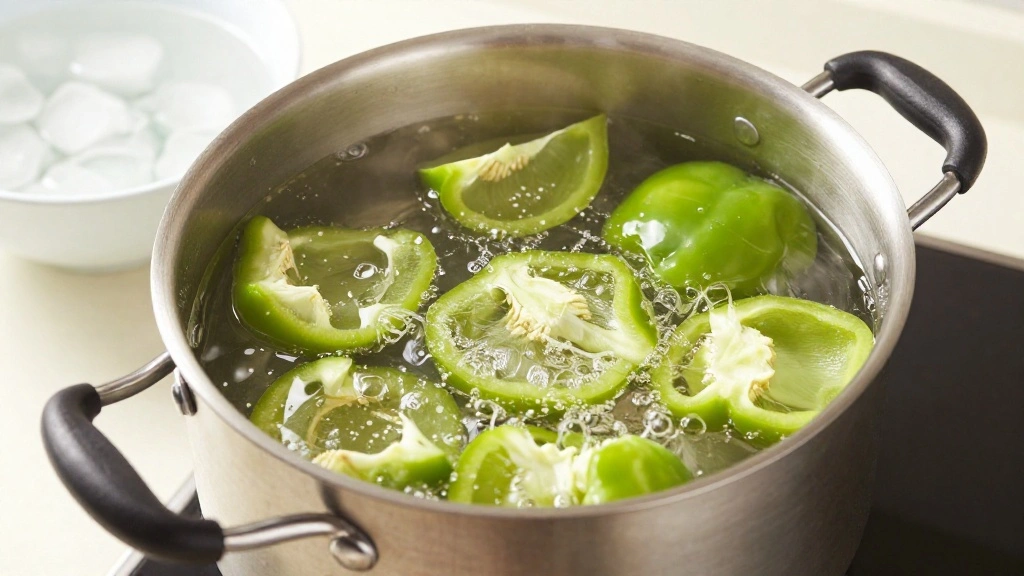
Bring a pot of water to a boil and add a pinch of salt.
Briefly immerse bell pepper pieces for one minute.
Quickly transfer them to an ice bath to halt cooking.
This step enhances color and retains crunch.
Step 5: Prepare Dressing
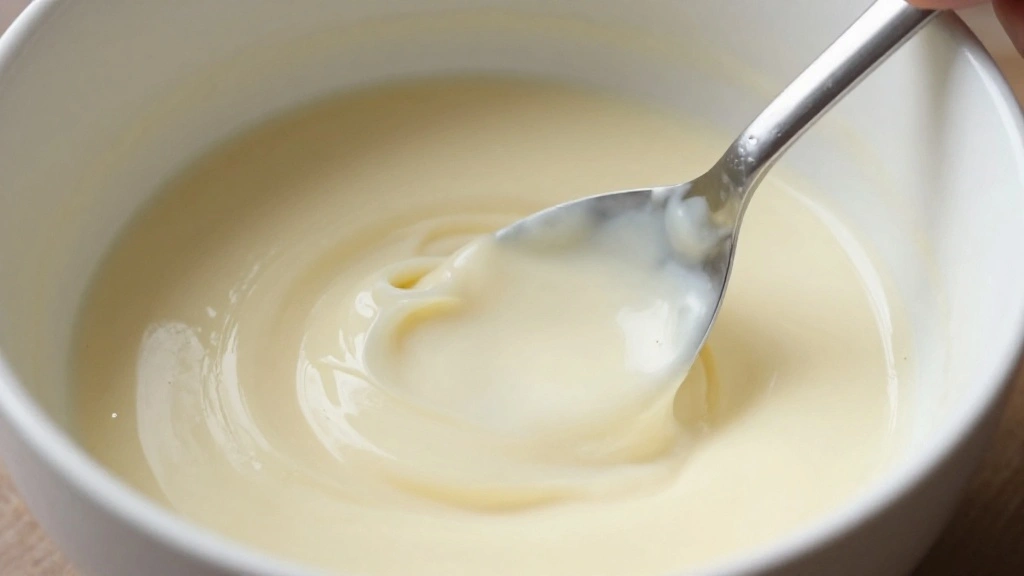
Combine lemon juice, honey, and olive oil in a small bowl.
Whisk vigorously until well-emulsified.
Taste and adjust seasoning if necessary.
Ensure the dressing is smooth and cohesive.
Step 6: Combine Ingredients
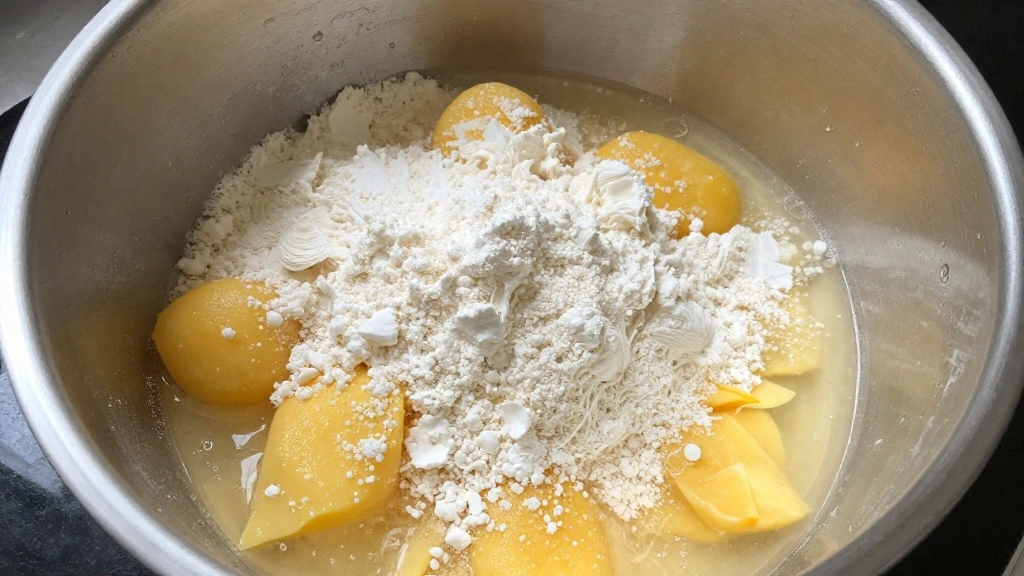
In a large mixing bowl, add cooled quinoa and mixed greens.
Gently toss to combine without crushing the greens.
Add blanched bell peppers and sliced cucumbers.
Ensure even distribution of all components.
Step 7: Dress the Salad
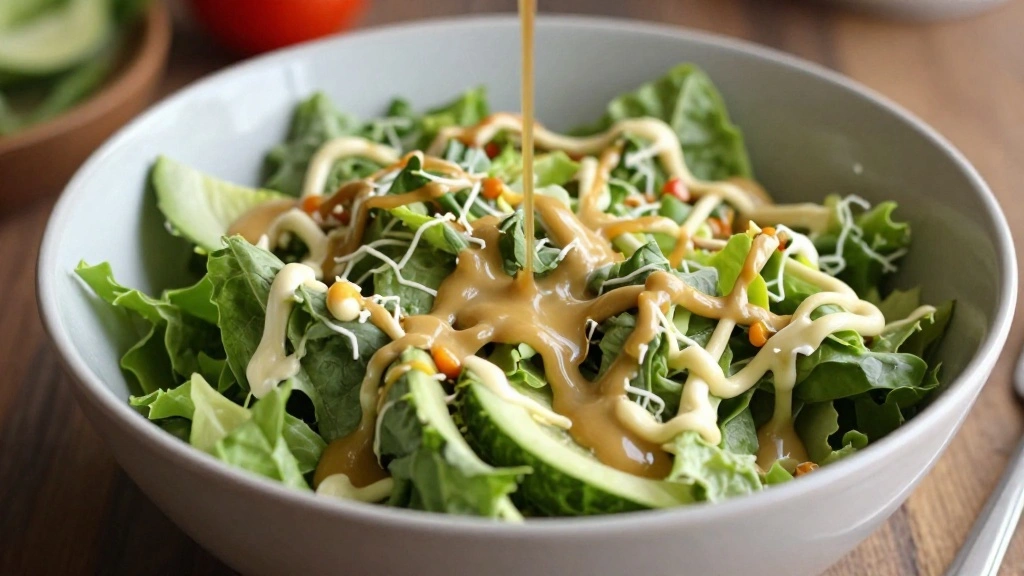
Pour the prepared dressing over the salad ingredients.
Toss gently to coat everything evenly.
Ensure every piece is lightly dressed for balanced flavor.
Avoid over-tossing to prevent wilting.
Step 8: Serve Immediately
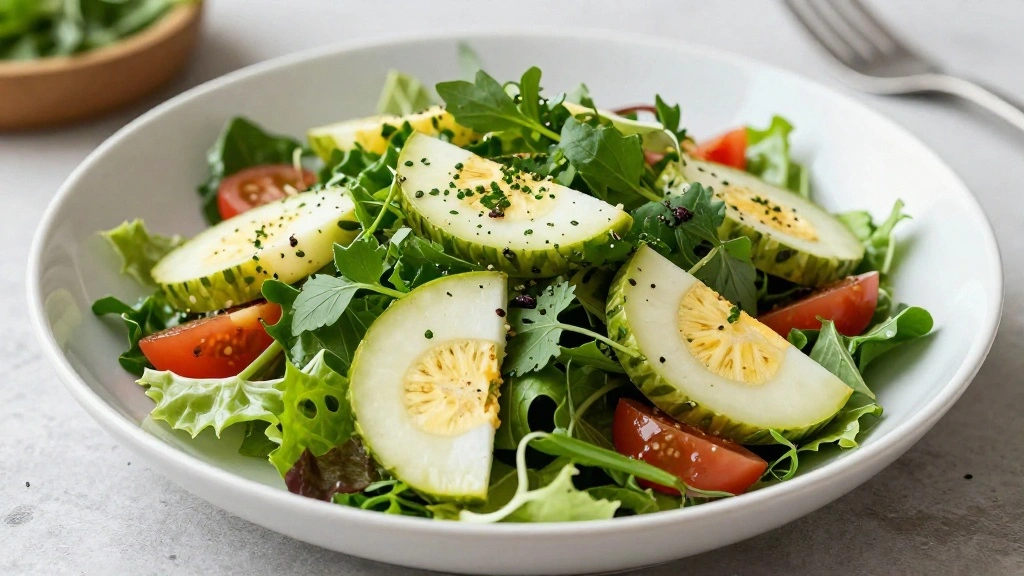
Transfer the salad to a serving platter for presentation.
Garnish with fresh herbs for an additional flavor boost.
Serve immediately to retain crispness and freshness.
Avoid letting the salad sit too long after dressing.
Critical Timing and Temperature Guide
Blanching: Boil for 1 minute, then ice bath. Look for vibrant color, avoid overcooking which leads to sogginess.
Quinoa Cooking: Simmer for 15 minutes, fluff when done. Ensure no excess water, which can make the salad soggy.
Dressing Emulsification: Whisk until smooth, about 2 minutes. Avoid separation by using consistent whisking speed.
Pro Tips for Step Up Your
• Ingredient Selection: Choose fresh, organic vegetables and high-quality olive oil for the best flavor.
• Preparation Secret: Chill your mixing bowl before combining ingredients to keep the salad crisp.
• Temperature Management: Ensure all ingredients are at room temperature for even flavor distribution.
• Texture Enhancement: Use a mandoline for even vegetable slices, enhancing texture.
• Flavor Layering: Add herbs like mint or basil for an aromatic lift.
• Make-Ahead Strategies: Cook quinoa and prepare dressing a day ahead and store separately.
• Restaurant-Quality Finishing Touches: Add a sprinkle of flaky sea salt before serving.
• Equipment Optimization: Use sharp knives and quality bowls for ease and efficiency.
Troubleshooting Common Issues
• Salad Too Soggy: This is often caused by over-dressing or not properly drying greens. Use a salad spinner to remove excess water.
• Flavors Unbalanced: Adjust seasoning by adding more salt or lemon juice. Taste and adjust gradually.
• Vegetables Wilted: Avoid over-tossing and dress the salad just before serving to maintain freshness.
• Quinoa Not Fluffy: Ensure proper rinsing and cooking. Drain excess water to prevent sogginess.
• Dressing Separating: Whisk until fully emulsified. If separation occurs, whisk again before serving.
Variations and Regional Differences
• Mediterranean Style: Incorporates olives and feta cheese for a tangy twist. Often seasoned with oregano and parsley.
• Asian Fusion: Features soy sauce and sesame oil in the dressing, with additions like edamame and ginger.
• Southwestern Flavor: Adds black beans and corn, with a lime-cilantro dressing for a zesty kick.
• Italian Twist: Includes sun-dried tomatoes and mozzarella, with a balsamic vinaigrette.
Food Science Behind the Recipe
• Emulsification: Understanding how oil and water-based ingredients combine helps create a stable and flavorful dressing.
• Blanching Technique: This process deactivates enzymes that cause vegetables to lose color and texture, preserving their appeal.
• Flavor Absorption: Cooking quinoa allows it to absorb flavors more effectively, enhancing the overall taste of the dish.
Frequently Asked Questions
What's the most common mistake people make when preparing these side dishes? Overdressing the salad, which can lead to sogginess and overpowering flavors.
Can these sides be made ahead of time? Yes, components like quinoa and dressing can be prepared in advance, but mix just before serving.
How do I keep the salad fresh for longer? Store components separately and combine them only when ready to serve.
What if I don't have a mandoline? A sharp knife works well for slicing, though it may take longer to achieve uniform pieces.
How can I add protein to these dishes? Consider adding grilled chicken, tofu, or chickpeas for a protein boost.
What are some other dressing options? A simple balsamic vinaigrette or a creamy yogurt-based dressing can add variety.
How do I prevent the salad from wilting in the heat? Keep it chilled until ready to serve and dress it at the last moment.
Serving and Presentation Guide
• Traditional Presentation: Serve on a large, shallow platter to showcase the vibrant colors and textures of the ingredients.
• Individual Portions: Present in small bowls or jars for a personal touch and easy serving at gatherings.
• Layered Display: Arrange ingredients in layers to highlight their diversity before tossing.
• Garnished Elegance: Finish with a sprinkle of fresh herbs or edible flowers for a pop of color.
Conclusion
These refreshing summer side dishes are sure to elevate your BBQ experience and impress your guests.
Their vibrant flavors and textures offer a delightful contrast to grilled meats.
With a little preparation and creativity, you can step up your culinary game and enjoy the essence of summer on a plate.
Don't hesitate to experiment and make these dishes your own!