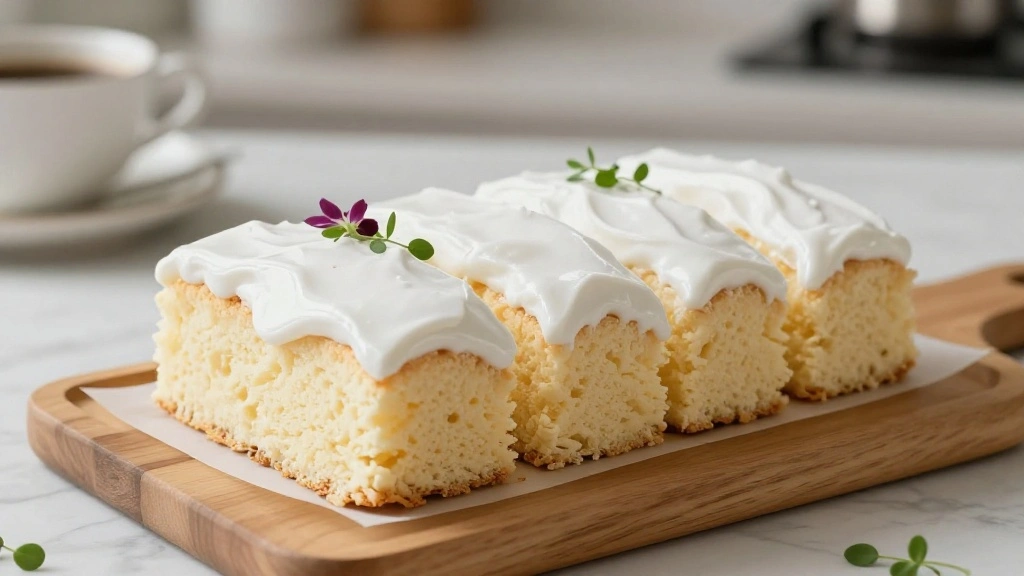
The simplicity of a 2-Ingredient Angel Food Cake is truly a marvel in the world of baking.
With just two ingredients, you can create a light and airy cake that seems almost magical.
This recipe is perfect for those moments when you crave something sweet but don’t have the time or energy for complex baking.
The result is a fluffy, cloud-like cake that melts in your mouth with each bite.
Whether you’re an experienced baker or a novice, this cake is sure to impress with its ease and deliciousness.
The History and Cultural Significance
• 2-Ingredient Angel Food traces its origins to the United States in the 19th century, where it was originally created by home bakers seeking a light, airy dessert.
• The dish evolved over decades as box mixes became available, simplifying the process and making it accessible to everyone.
• In American culture, this dish traditionally appears at summer gatherings and picnics, symbolizing simplicity and lightness.
• While many variations exist across different regions, the authentic version maintains its signature airy texture that sets it apart from imitations.
Recipe Overview
Nutritional Information (per serving)
You Might Also Like
![Master the Art of BBQ: Create Tender, Juicy, Flavor-Packed Ribs! | [Keyword: BBQ Ribs Recipe]](https://grillmasterhq.com/wp-content/uploads/2025/12/How-to-Make-the-Ultimate-BBQ-Ribs-Tender-Juicy-and-Flavor-Packed.webp)
Master the Art of BBQ: Create Tender, Juicy, Flavor-Packed Ribs! | [Keyword: BBQ Ribs Recipe]
Essential Equipment Guide
Tube Pan: This specific tool is important because its center tube allows heat to reach the middle of the cake, ensuring even baking. Alternatives like bundt pans might not work as well due to their different shapes, which can affect baking time and texture. When selecting a tube pan, look for one with a removable bottom for easy cake release.
Electric Mixer: An electric mixer is crucial for achieving the voluminous batter necessary for this cake. A hand whisk might not provide enough power to whip the ingredients adequately. Look for a mixer with multiple speed settings to control the mixing process.
Sifter: A sifter ensures that the cake mix is aerated and free of lumps, contributing to the cake’s light texture. Alternatives like a fine mesh strainer can work, but a dedicated sifter is ideal for this task.
Ingredients
For the Cake
|
|
| Amount | Ingredient | Notes |
|---|---|---|
| 1 box | angel food cake mix | provides the base and structure |
| 1 can | crushed pineapple | adds flavor and moisture |
Preparation Methods
Folding Technique: Folding is a gentle mixing method used to combine ingredients without deflating the batter. It's crucial for maintaining the cake's airy texture. Use a spatula to gently fold the ingredients, moving from the bottom of the bowl up and over the top.
Whipping: The whipping process is essential to incorporate air into the batter, which gives the cake its signature lightness. Use an electric mixer at medium speed until the mixture is frothy and has increased in volume.
Cooling Upside Down: Cooling the cake upside down prevents it from collapsing. This technique allows gravity to maintain the cake's height and structure. Ensure the pan is elevated so air can circulate around it as it cools.
Step 1: Preheat the Oven
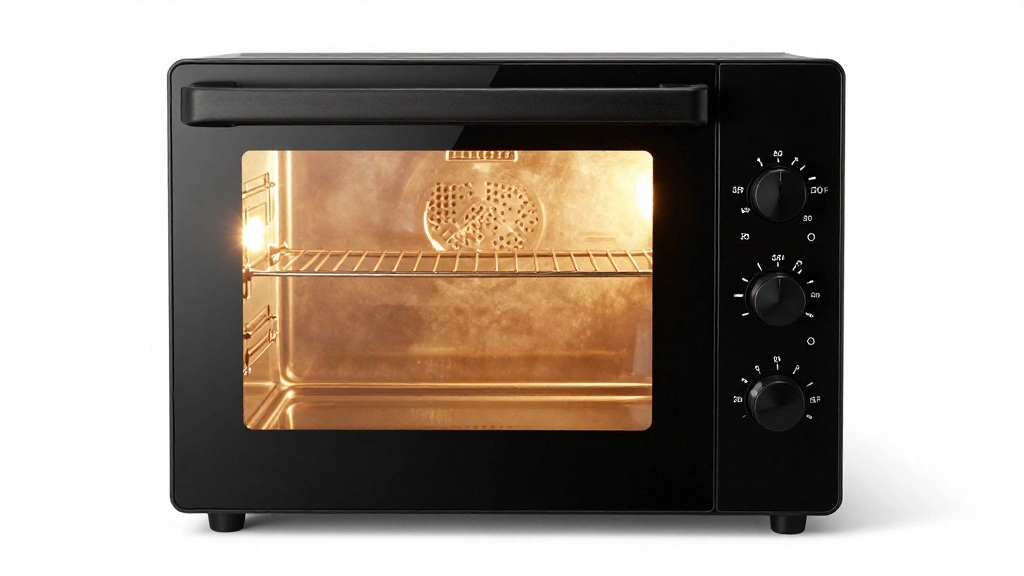
Set your oven to 350°F.
This temperature ensures the cake bakes evenly and rises properly.
Check that the oven rack is positioned in the center of the oven.
This placement allows for even heat distribution.
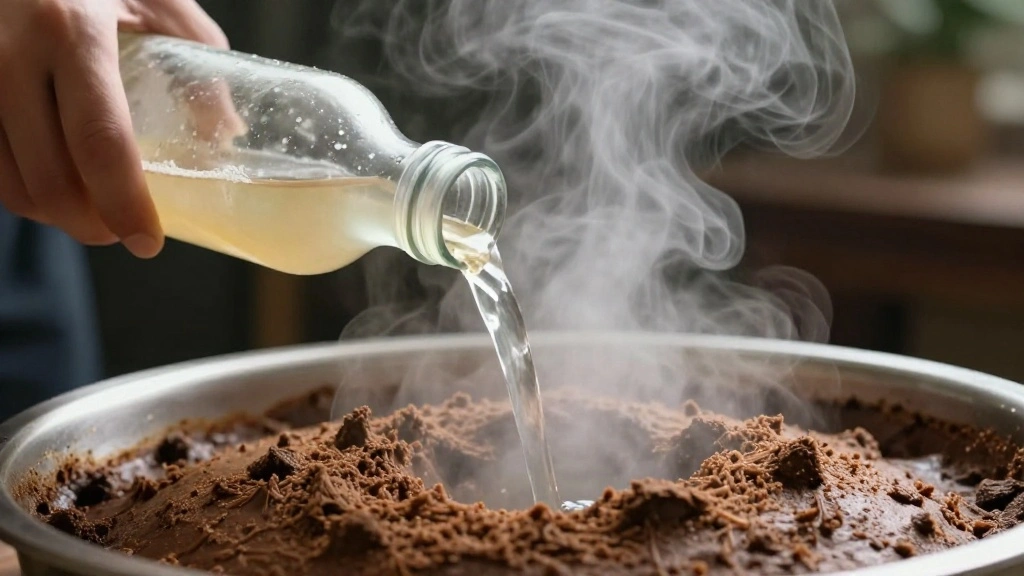
Step 2: Prepare the Cake Mix
Open the box of angel food cake mix and pour it into a large mixing bowl.
Ensure there are no clumps in the mix for smooth batter consistency.
Using a sifter can help break up any lumps.
This step is crucial for the cake's final texture.
Step 3: Add Pineapple
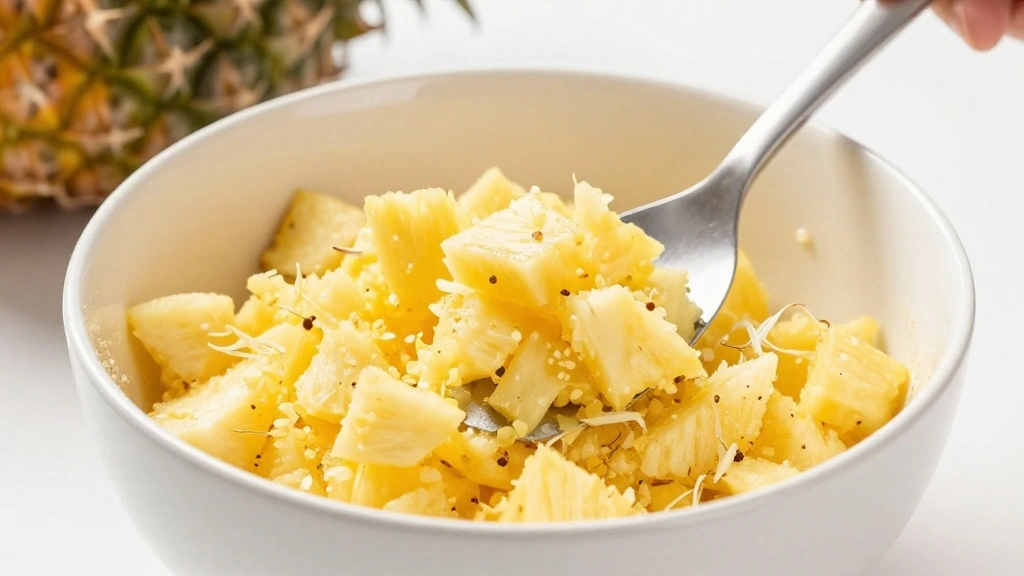
Open the can of crushed pineapple and add it directly to the cake mix.
Do not drain the juice, as it adds necessary moisture to the cake.
Use a spatula to gently combine the ingredients.
Folding the mixture helps retain air and lightness.
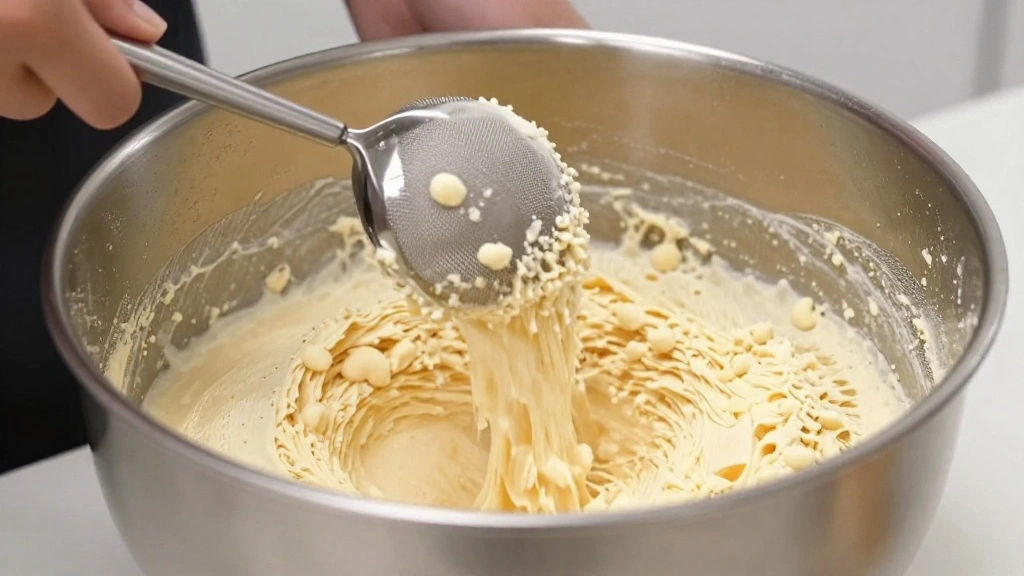
Step 4: Mix the Batter
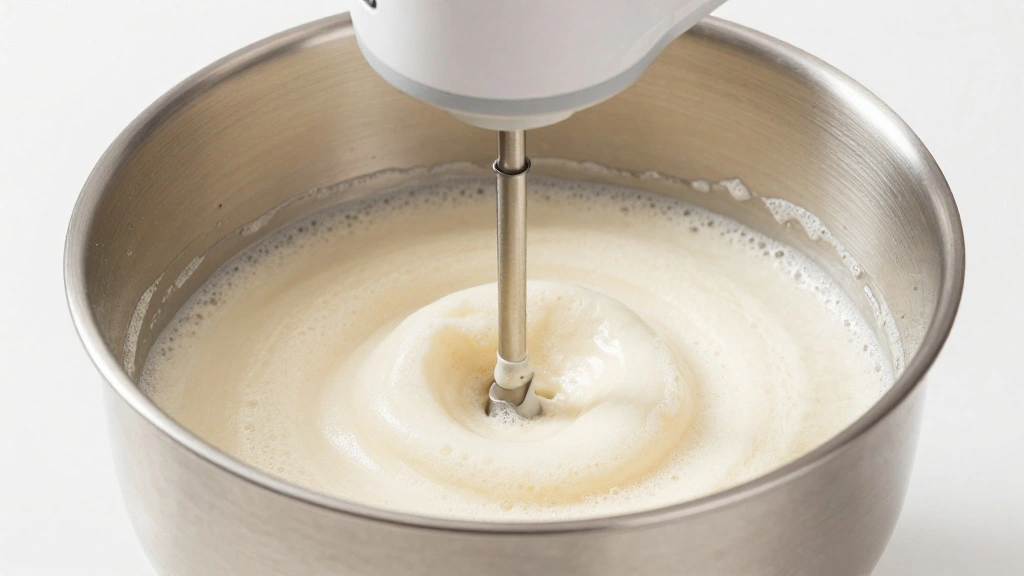
Use an electric mixer to whip the batter until it becomes frothy.
Mix on medium speed for about 2 minutes.
The batter should be light and airy, with visible bubbles.
This step incorporates air, crucial for the cake's rise.
Step 5: Pour into Tube Pan
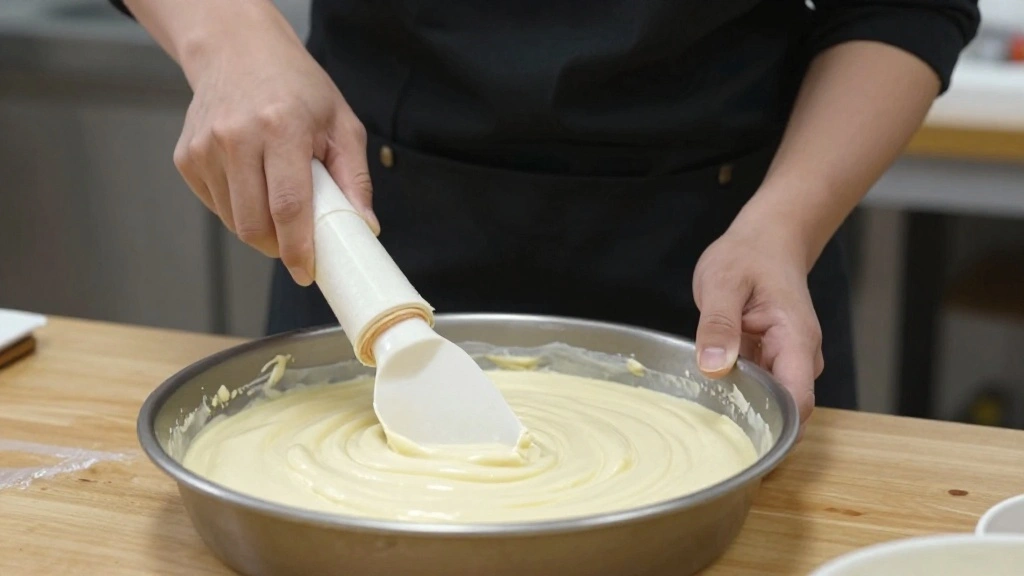
Gently pour the batter into an ungreased tube pan.
The batter will cling to the sides as it rises, providing structure.
Use a spatula to smooth the top evenly.
Ensuring an even surface helps with uniform baking.
Step 6: Bake the Cake
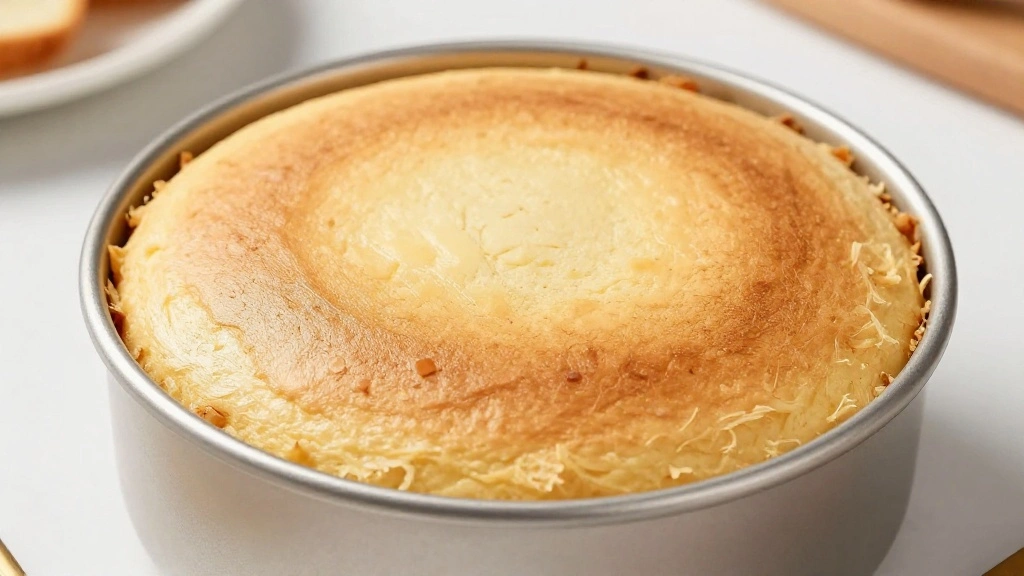
Place the pan in the preheated oven.
Bake for 30 minutes or until the top is golden brown.
The cake should spring back when lightly touched.
This indicates it has set properly.
Step 7: Cool Upside Down
Remove the cake from the oven and immediately invert the pan.
Use the pan's legs or place the center tube over a bottle to elevate it.
Let it cool completely in this position.
This prevents the cake from collapsing.
Step 8: Remove and Serve
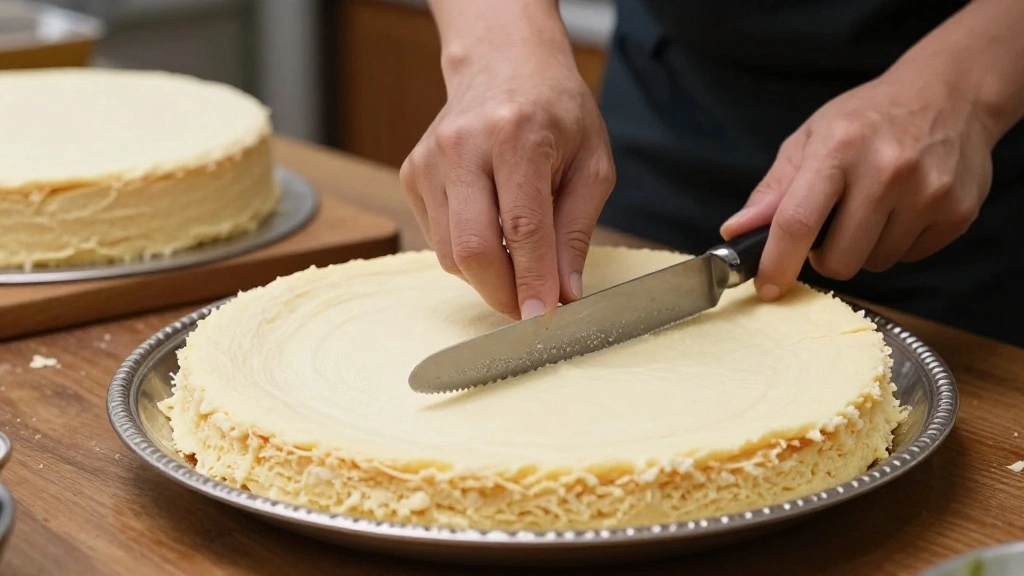
Once cooled, use a knife to loosen the cake from the sides and center tube.
Gently lift the cake from the pan and place it on a serving platter.
Slice with a serrated knife for clean cuts.
Enjoy your light and fluffy angel food cake.
Critical Timing and Temperature Guide
Preheating the Oven: Ensure the oven reaches 350°F before placing the cake inside. A consistent temperature is crucial for even baking. Avoid opening the oven door frequently, as this can lower the temperature and affect baking time.
Baking Time: The cake typically takes about 30 minutes. Check for doneness by gently pressing the top; it should spring back. Overbaking can cause dryness, while underbaking can result in a dense texture.
Cooling Period: Allow the cake to cool upside down for at least an hour. This cooling method prevents collapse and ensures the cake maintains its height. Avoid rushing this step to preserve the cake's structure.
Pro Tips for 2-Ingredient Angel Food
• Ingredient Selection: Choose a high-quality angel food cake mix for the best texture. The quality of the mix can significantly impact the cake's final rise and fluffiness.
• Preparation Secret: Do not grease the pan. The batter needs to cling to the sides to rise properly.
• Temperature Management: Ensure ingredients are at room temperature before mixing. This helps them incorporate more easily and evenly.
• Texture Enhancement: Whip the batter until it is significantly airy and frothy. Proper aeration is key to achieving the desired light texture.
• Flavor Layering: Add a splash of vanilla extract to enhance the existing flavors subtly.
• Make-Ahead Strategies: Prepare the batter ahead of time and refrigerate it for up to an hour if needed. Be sure to fold it gently again before baking.
• Restaurant-Quality Finishing Touches: Dust the cooled cake with powdered sugar or top with fresh berries for an elegant presentation.
• Equipment Optimization: If you lack a tube pan, use a bundt pan but adjust the baking time and watch closely for doneness.
Troubleshooting Common Issues
• Texture Too Dense: This can occur if the batter isn't whipped enough. Ensure the mixture is frothy and full of air bubbles before pouring it into the pan.
• Cake Collapsing: Could be due to cooling too quickly or not inverting the pan. Always cool the cake upside down to maintain its structure.
• Inconsistent Baking: Uneven heat distribution or incorrect oven temperature can cause this. Use an oven thermometer to verify the oven's accuracy.
• Sticking to the Pan: The cake can stick if the pan is greased. Always use an ungreased pan for better results.
• Bitter Taste: Sometimes occurs if the cake mix is old or expired. Always check the expiration date on the cake mix package before use.
Variations and Regional Differences
• Hawaiian Style: This version incorporates coconut flakes into the batter for added texture and tropical flavor, reflecting Hawaii's local ingredients and culinary style.
• Japanese Castella: A denser, sponge-like version that uses honey and additional egg yolks, offering a rich flavor and a unique twist on the traditional angel food cake.
• Italian Pan di Spagna: Often flavored with citrus or liqueurs, this variation emphasizes aromatic additions, diverging from the plainness of the basic angel food cake.
• Mexican Tres Leches: Soaked in a mixture of three milks, this angel food cake transforms into a moist, creamy dessert that is popular for celebrations in Mexican culture.
Food Science Behind the Recipe
• Protein Coagulation: The heat causes protein molecules in the batter to coagulate, setting the cake's structure and trapping air bubbles, which contributes to its rise.
• Leavening via Whipping: Whipping air into the batter incorporates oxygen, which expands during baking, providing the cake's lift and light texture.
• Caramelization of Sugars: The sugars in the pineapple and cake mix caramelize during baking, creating a subtle sweetness and a golden crust.
Frequently Asked Questions
What's the most common mistake people make when preparing 2-Ingredient Angel Food Cake? Overmixing the batter or not whipping it enough can lead to a dense cake. Proper aeration is key.
Can I use fresh pineapple instead of canned? It's not recommended, as fresh pineapple has a different moisture content that can affect the cake's texture.
Why is my cake sticking to the pan? If the pan is greased, the cake won't cling as needed for proper rise. Use an ungreased pan.
How do I know when the cake is done? The top should be golden brown and spring back when touched lightly.
Can I make this cake in advance? Yes, you can prepare the batter and refrigerate it for a short time, but bake the cake fresh for best results.
What if I don't have a tube pan? A bundt pan can be used, though baking times may vary.
How should I store leftovers? Keep the cake in an airtight container at room temperature for up to 3 days, or refrigerate for longer freshness.
Serving and Presentation Guide
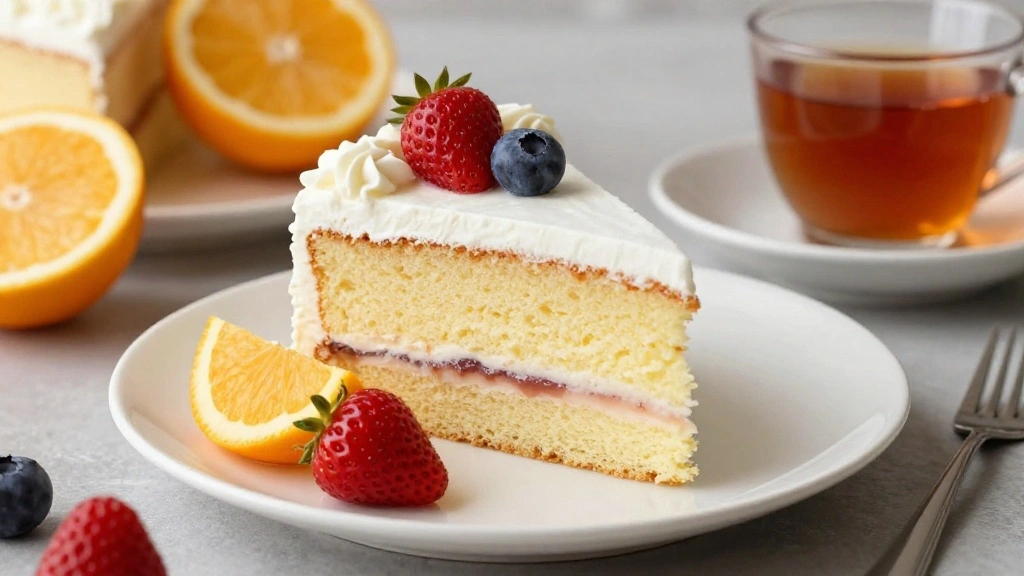
• Traditional Presentation: Serve the cake plain or with a light dusting of powdered sugar for a classic, elegant look.
• Summer Picnic Style: Accompany with a side of fresh berries and whipped cream for a refreshing and colorful presentation.
• Holiday Twist: Garnish with candied fruit and a drizzle of chocolate sauce for festive occasions.
• Restaurant-Style Finish: Slice thinly and serve with a scoop of sorbet and a mint leaf for a sophisticated dessert offering.
Conclusion
The 2-Ingredient Angel Food Cake is a testament to how simplicity can produce something truly delightful.
With just a box of mix and a can of pineapple, you're on your way to a dessert that's both light and satisfying.
Give this recipe a try, and experience the joy of an effortless, yet impressive, homemade cake.