As the summer sun blazes on, finding a dessert that withstands the heat can be a challenge.
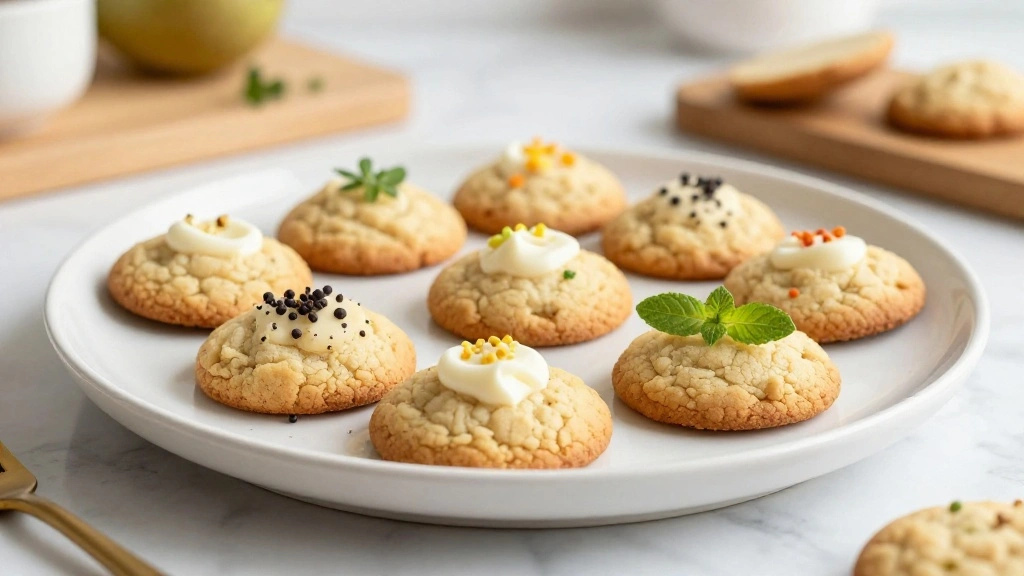
Enter No-Melt Summer Cookies: your sweet solution that defies melting.
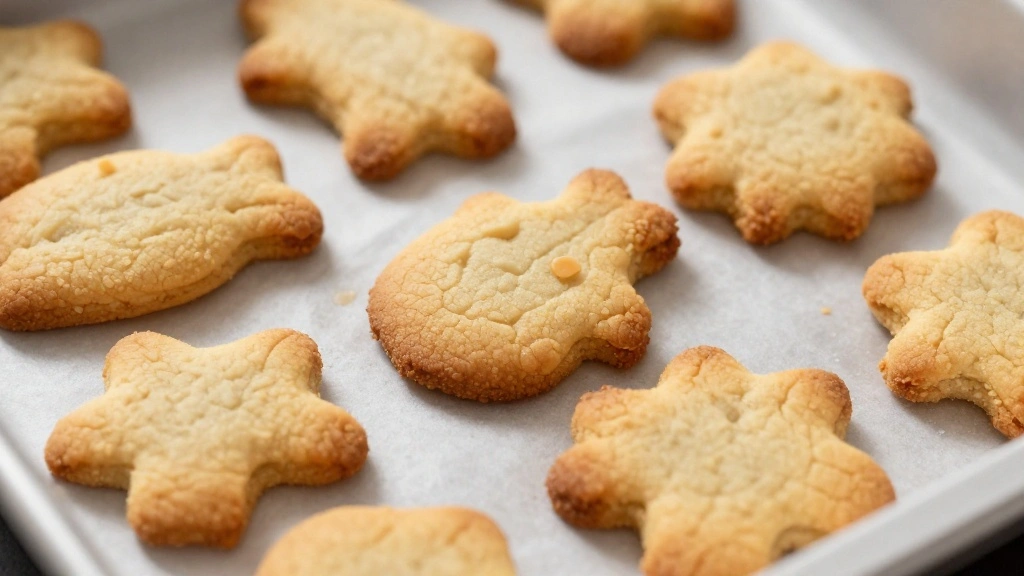
These cookies offer a delightful crunch with a burst of flavor that doesn’t wilt under the sun.
Perfect for picnics, barbecues, or just a sunny afternoon treat, they hold their own in any setting.
The combination of [key flavor elements] ensures a memorable experience that is both refreshing and satisfying.
Whether you’re an avid baker or a casual cook, these cookies promise straightforward preparation and consistently impressive results.
The History and Cultural Significance
• No-Melt Summer Cookies trace their origins to the Mediterranean region, where they were originally created by ancient bakers looking for treats that could endure the hot climate.
• The dish evolved over decades as bakers experimented with different flours and natural sweeteners, eventually becoming the beloved version we know today.
• In many Mediterranean cultures, these cookies traditionally appear at outdoor summer festivals, symbolizing the resilience and joy of the season.
• While many variations exist across different regions, the authentic version maintains a sturdy texture and refreshing citrus flavor that sets it apart from imitations.
Recipe Overview
Nutritional Information (per serving)
Essential Equipment Guide
Mixing Bowl: A sturdy mixing bowl is essential for combining ingredients effectively. Look for a bowl that can withstand vigorous mixing without tipping. A heavy-duty glass or stainless steel bowl is ideal, but a plastic bowl will also work.
Baking Sheet: A quality baking sheet ensures even cooking and prevents cookies from sticking. Non-stick sheets or those lined with parchment paper are recommended. Opt for a sheet that distributes heat evenly to avoid burnt edges.
Cooling Rack: This tool is crucial for cooling cookies uniformly, preventing sogginess. Choose a rack with a grid pattern to support cookies well. If a cooling rack is unavailable, use a clean, dry surface with good air circulation.
Ingredients
For the Base
|
|
| Amount | Ingredient | Notes |
|---|---|---|
| 2 cups | all-purpose flour | provides structure |
| 1 teaspoon | baking powder | aids in rising |
| 1/2 teaspoon | salt | enhances flavor |
Wet Ingredients
| Amount | Ingredient | Notes |
|---|---|---|
| 1 cup | unsalted butter | softened, adds richness |
| 1 cup | sugar | sweetens and aids in browning |
| 1 teaspoon | vanilla extract | adds depth of flavor |
Flavor Enhancers
| Amount | Ingredient | Notes |
|---|---|---|
| 1 tablespoon | lemon zest | provides a refreshing citrus note |
| 1 tablespoon | poppy seeds | adds texture and visual appeal |
Preparation Methods
Creaming Method: This technique involves beating butter and sugar together until light and fluffy. It is essential for incorporating air into the dough, resulting in a lighter cookie.
Zesting Citrus: Use a microplane or fine grater to remove just the colored part of the lemon skin. This captures the flavorful oils without the bitter pith.
Parchment Lining: Lining your baking sheet with parchment paper prevents sticking and allows for easy cleanup. It also helps distribute heat more evenly across the cookie surface.
Step 1: Preheat Oven
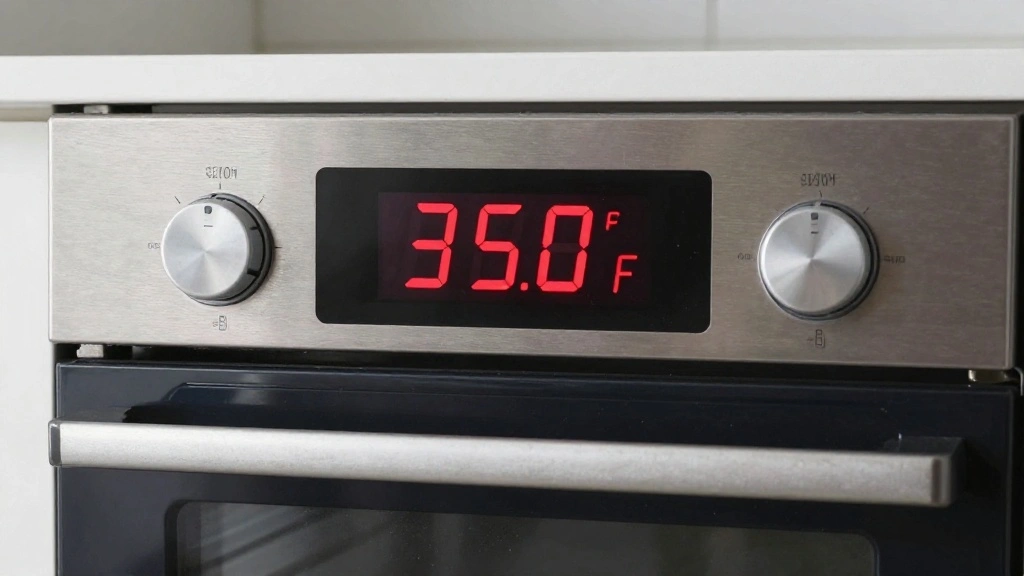
Preheat your oven to 350°F (175°C).
Ensure the oven rack is in the middle position.
This promotes even baking of the cookies.
Avoid opening the oven door frequently to maintain a consistent temperature.
Step 2: Prepare Dry Ingredients
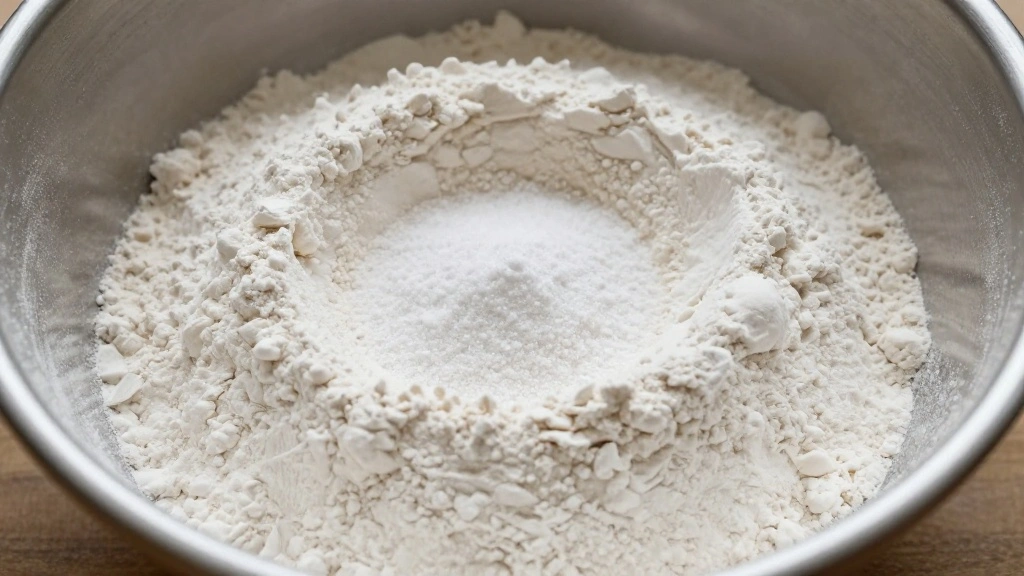
In a large mixing bowl, combine flour, baking powder, and salt.
Use a whisk to blend evenly, breaking up any lumps.
Ensure the mixture is uniform in color and texture.
This step prevents uneven distribution of leavening agents.
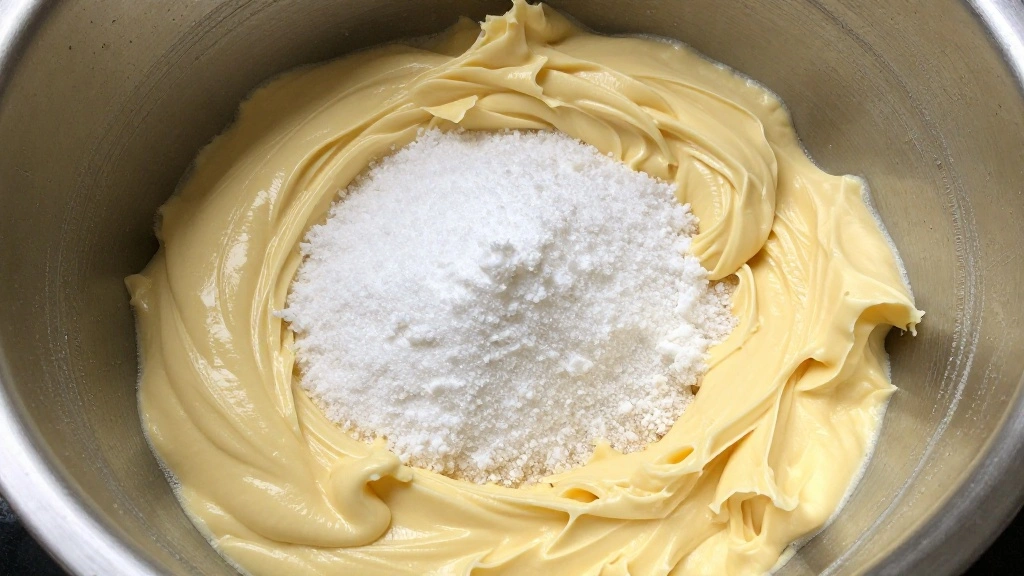
Step 3: Cream Butter and Sugar
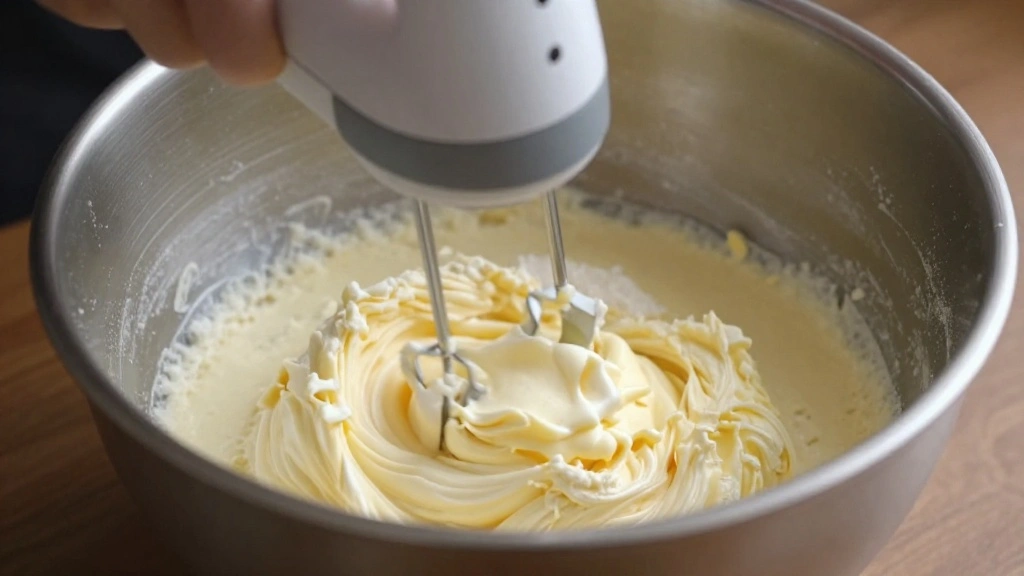
In another bowl, beat the softened butter and sugar until light and fluffy.
Use a hand mixer on medium speed for about 3 minutes.
The mixture should be pale and creamy.
This process incorporates air for a lighter cookie.
Step 4: Add Wet Ingredients
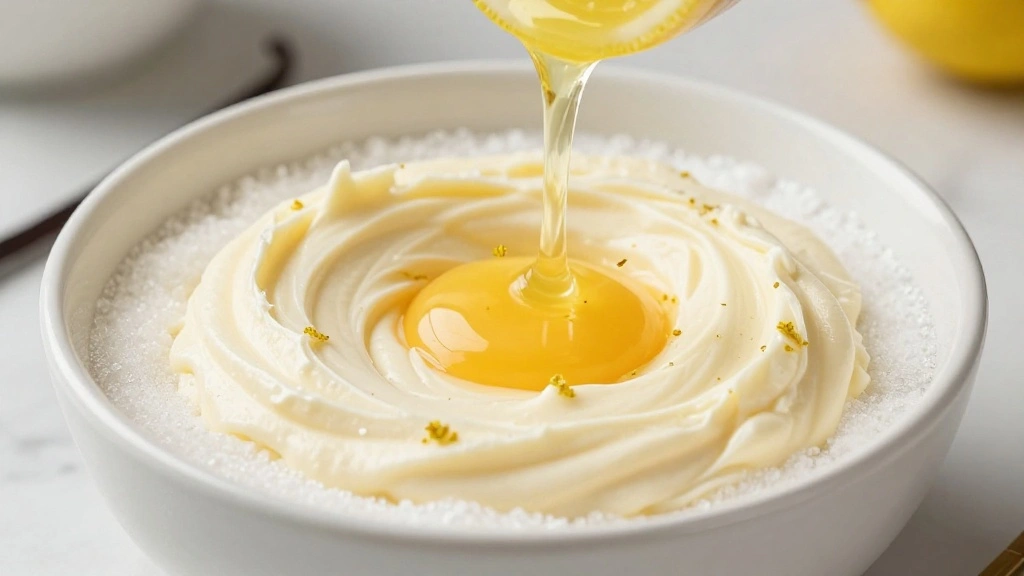
Add vanilla extract and lemon zest to the creamed mixture.
Mix until fully incorporated.
The mixture should be aromatic with a citrus scent.
Ensure no clumps of zest remain for even flavor distribution.
Step 5: Combine Mixtures
Gradually add the dry ingredients to the wet mixture.
Mix on low speed until just combined.
The dough should be soft but not sticky.
Avoid over-mixing to prevent tough cookies.
Step 6: Fold in Poppy Seeds
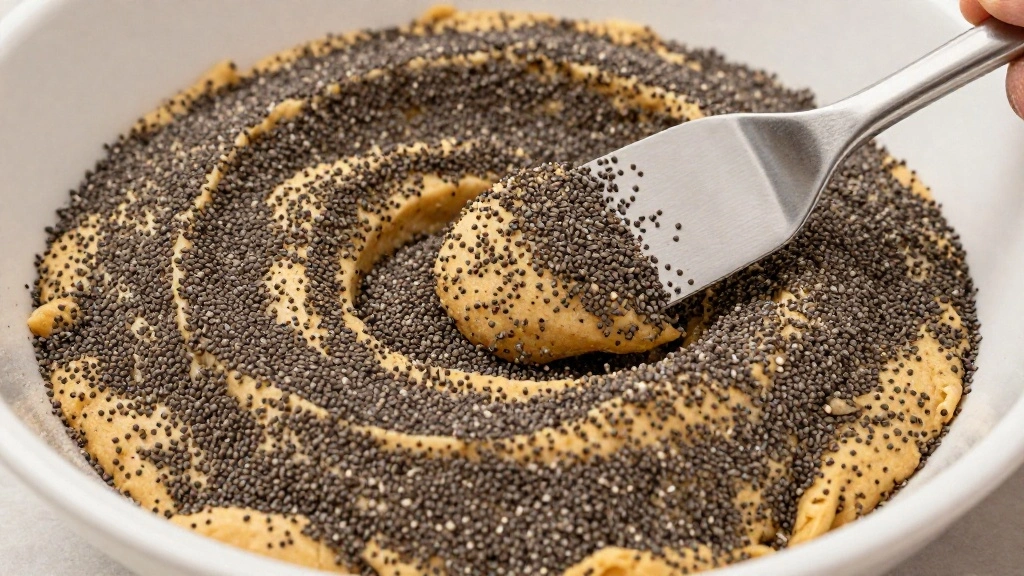
Gently fold in the poppy seeds with a spatula.
Ensure even distribution throughout the dough.
The seeds should be visible and evenly spread.
This adds texture and a slight crunch to each bite.
Step 7: Shape Cookies
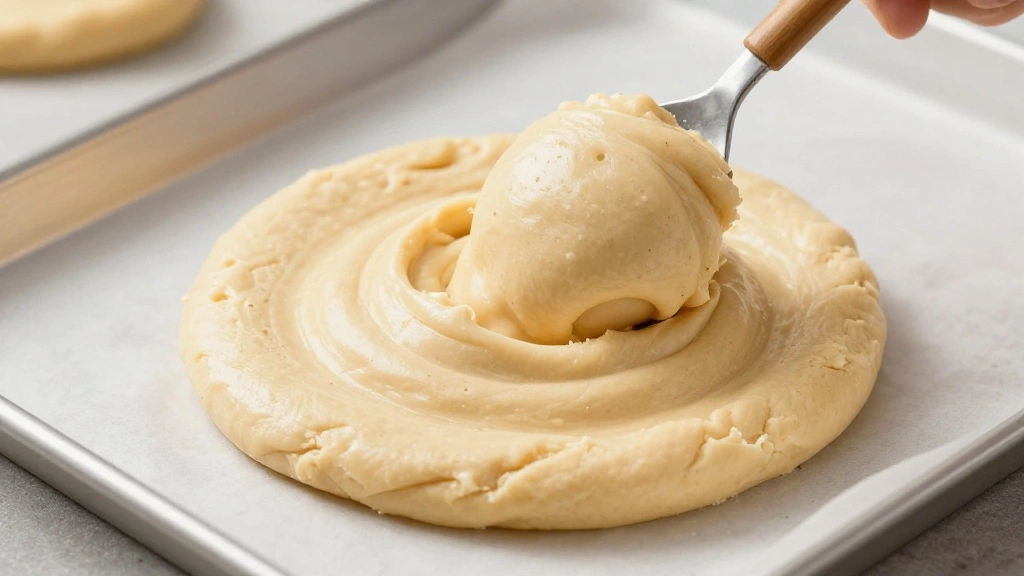
Scoop tablespoon-sized amounts of dough onto the lined baking sheet.
Space them about 2 inches apart to allow spreading.
Each scoop should be uniform in size for even baking.
Use a cookie scoop for consistency.
Step 8: Bake Cookies
Bake in the preheated oven for 12-15 minutes.
Look for edges that are lightly golden.
The centers should be set but not browned.
Rotate the sheet halfway through for even baking.
Step 9: Cool on Rack
Remove cookies from the oven and allow them to cool on the baking sheet for 5 minutes.
Transfer to a cooling rack to cool completely.
This prevents over-baking from residual heat.
Ensure cookies are fully cool before storing.
Critical Timing and Temperature Guide
Baking: Bake at 350°F (175°C) for 12-15 minutes. Look for edges that are lightly golden as a sign of doneness. Avoid opening the oven door frequently, which can cause uneven baking.
Cooling: Allow cookies to cool on the baking sheet for 5 minutes before transferring to a rack. This ensures they set properly without over-baking.
Ingredient Temperatures: Use room temperature butter for creaming. Cold butter won't incorporate air effectively, resulting in denser cookies.
Pro Tips for No-Melt Summer Cookies
• Ingredient Selection: Choose high-quality butter and fresh lemons for zest. These ingredients greatly impact the flavor and aroma of the cookies.
• Preparation Secret: Chill the dough for 30 minutes before baking for cookies with a more defined shape.
• Temperature Management: Keep your baking environment cool; high ambient temperatures can affect dough consistency.
• Texture Enhancement: Use the creaming method to achieve a light, airy texture in your cookies.
• Flavor Layering: Allow the dough to rest overnight in the fridge; this deepens the flavors by allowing the ingredients to meld.
• Make-Ahead Strategies: Prepare the dough in advance and freeze it. Thaw in the refrigerator before baking, and bake fresh for best results.
• Restaurant-Quality Finishing Touches: Sprinkle a pinch of sea salt on top before baking for a gourmet touch.
• Equipment Optimization: Use a cookie scoop for uniform sizes, ensuring even baking and professional presentation.
Troubleshooting Common Issues
• Texture Too Dense: This is often caused by over-mixing the dough. Mix only until ingredients are just combined, and ensure butter is properly softened before creaming.
• Cookies Spread Too Much: If cookies spread excessively, the butter may be too warm. Chill the dough before baking to maintain shape.
• Flavors Unbalanced: Overpowering lemon or vanilla can result from improper measuring. Use precise measurements and adjust to personal taste if needed.
• Edges Burn Before Centers Set: Baking at too high a temperature can cause this issue. Ensure your oven is properly calibrated and use an oven thermometer for accuracy.
• Cookies Stick to Sheet: This is typically due to inadequate greasing or using a worn baking sheet. Use parchment paper or a high-quality non-stick baking sheet.
Variations and Regional Differences
• Italian Lemon Biscotti: This variation is twice-baked for extra crunch. It includes almonds and is traditionally served with coffee.
• Greek Koulourakia: These cookies often feature a hint of ouzo or brandy and are shaped into twists or rings.
• Turkish Kurabiye: A more crumbly version, often flavored with rose water or mastic, reflecting regional tastes.
• Spanish Mantecados: These cookies are richer due to added lard, providing a unique flavor and texture profile.
Food Science Behind the Recipe
• Creaming Process: This method incorporates air into the dough, leading to a lighter texture. Understanding this helps achieve the desired cookie consistency.
• Baking Powder Reaction: The leavening action occurs when the dough is exposed to heat, creating gas bubbles that make the cookies rise.
• Butter's Role: Butter's fat content influences texture and flavor. Using unsalted butter provides control over the salt level in the recipe.
Frequently Asked Questions
What's the most common mistake people make when preparing No-Melt Summer Cookies? Over-mixing the dough is a frequent error, leading to dense cookies. Mix just until ingredients combine.
Can I use salted butter instead of unsalted? Yes, but reduce the added salt in the recipe to balance flavors.
Why do my cookies turn out flat? This often happens if the dough is too warm. Chill the dough before baking to maintain shape.
How can I store these cookies for maximum freshness? Store in an airtight container at room temperature for up to a week, or freeze for longer storage.
Can I substitute lemon zest with another citrus? Absolutely, orange or lime zest can offer a different but equally refreshing flavor profile.
Why is the creaming process important? It incorporates air, providing a light texture, and helps distribute flavors evenly.
How can I make these cookies gluten-free? Use a gluten-free all-purpose flour blend, but be mindful of texture changes and adjust liquid ratios if necessary.
Serving and Presentation Guide
• Traditional Presentation: Arrange cookies in a circular pattern on a large plate, with a small bowl of fresh lemon slices in the center for a fresh, inviting look.
• Festive Display: Stack cookies in a pyramid on a decorative platter, garnished with edible flowers for a pop of color.
• Gift Presentation: Place cookies in a decorative tin lined with parchment paper for a charming homemade gift.
• Outdoor Picnic: Serve cookies in a rustic basket lined with a gingham cloth, perfect for a summer picnic setting.
Conclusion
Now that you're equipped with all the tips and techniques, it's time to embrace the summer sunshine with these delightful No-Melt Summer Cookies.
Their unique ability to withstand the heat makes them an ideal choice for any outdoor gathering.
Give this recipe a try and enjoy the delicious rewards of your culinary efforts.