Hosting a summer Halloween party is a delightful twist on the traditional fall event, blending the warmth of summer with spooky fun.
Imagine vibrant colors, cool beverages, and eerie decorations under the sun or stars.
This unique celebration calls for equally festive food that’s both delicious and thematically appropriate.
Whether you’re a fan of creepy culinary creations or simply want to impress guests with your creativity, this guide will help you plan a memorable event.
From monster-themed snacks to ghostly desserts, you’ll discover ideas that are both fun and easy to prepare.
The History and Cultural Significance
• How to Host traces its origins to the 20th century in the United States, where themed parties became popular events.
• The concept evolved over decades as party planning became more sophisticated, incorporating seasonal elements like summer flavors and Halloween themes.
• In Western culture, these parties traditionally appear during late summer months, symbolizing a playful farewell to the warm season.
• While many variations exist across different regions, the authentic version maintains a playful and spooky aesthetic that sets it apart from other seasonal celebrations.
Recipe Overview
Nutritional Information (per serving)
Essential Equipment Guide
Baking Sheets: Essential for baking cookies and other treats, ensuring even heat distribution. Alternatives include non-stick pans or silicone mats.
Mixing Bowls: Crucial for combining ingredients uniformly. Look for sets with various sizes to accommodate different recipes.
Decorating Tools: Important for adding spooky details to dishes. Consider piping bags and tips for precision, or edible markers for ease.
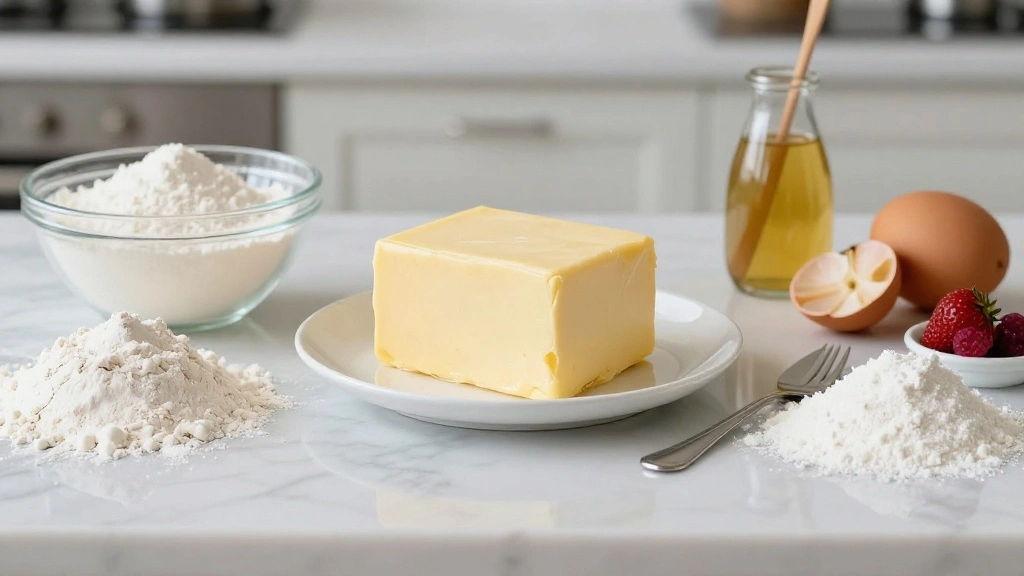
Ingredients
For the Base
|
|
| Amount | Ingredient | Notes |
|---|---|---|
| 3 cups | all-purpose flour | sifted for light texture |
| 1 cup | sugar | adds sweetness |
Seasonings
| Amount | Ingredient | Notes |
|---|---|---|
| 2 teaspoons | vanilla extract | enhances flavor |
| 1 teaspoon | baking powder | helps dough rise |
Decorations
| Amount | Ingredient | Notes |
|---|---|---|
| 1 cup | chocolate chips | for spooky eyes and features |
| 1 tube | orange icing | for Halloween color effect |
Preparation Methods
Creaming Method: This technique involves beating sugar and butter until fluffy, which is essential for a tender cookie texture. Ensure the butter is at room temperature for optimal results.
Chilling Dough: Refrigerating cookie dough before baking helps control spread and enhances flavor. Chill for at least 30 minutes for best results.
Piping Decorations: Use steady, even pressure to control icing flow when decorating. Practice on parchment paper before applying to the final product.
Step 1: Prepare Ingredients
Measure all ingredients before starting.
Ensure butter and eggs are at room temperature.
Preheat the oven to 350°F.
Line baking sheets with parchment paper.
Step 2: Cream Butter and Sugar
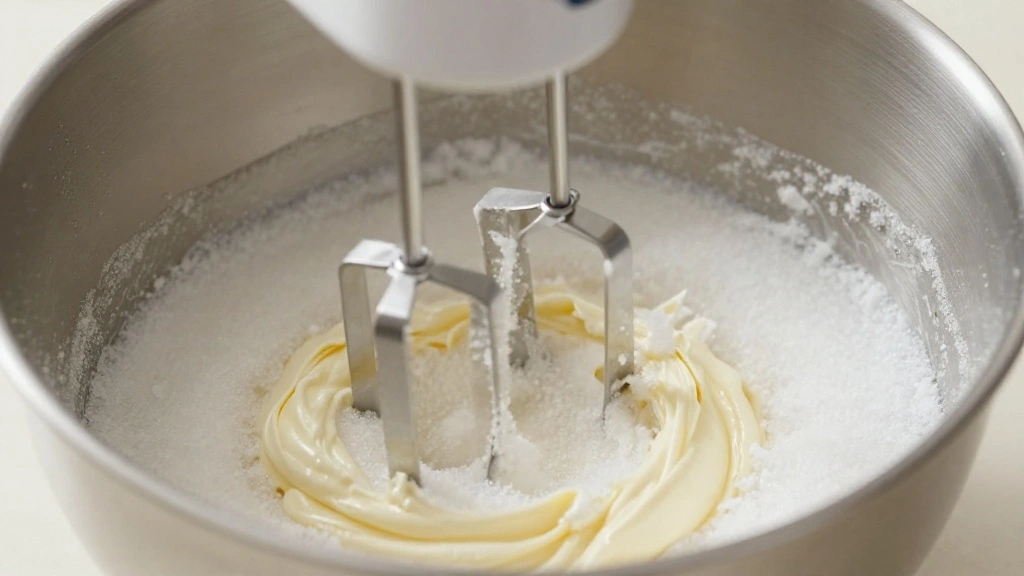
In a large bowl, combine butter and sugar.
Use an electric mixer to beat until light and fluffy.
This should take about 3-5 minutes.
Ensure mixture is smooth and creamy.
Step 3: Add Eggs and Vanilla
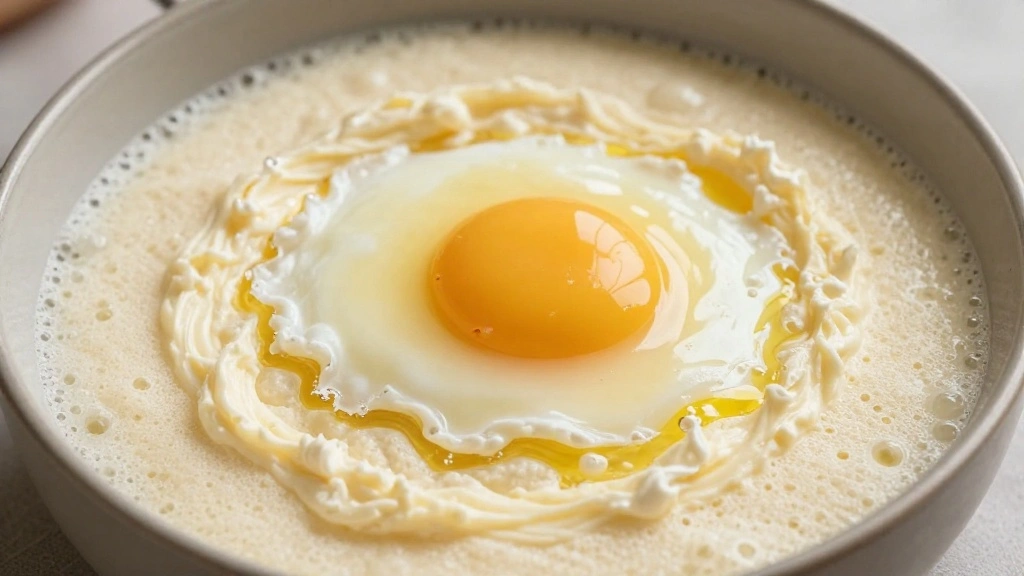
Crack in eggs one at a time, mixing well after each addition.
Add vanilla extract for flavor.
Continue mixing until fully incorporated.
Mixture should be smooth and slightly thick.
Step 4: Combine Dry Ingredients
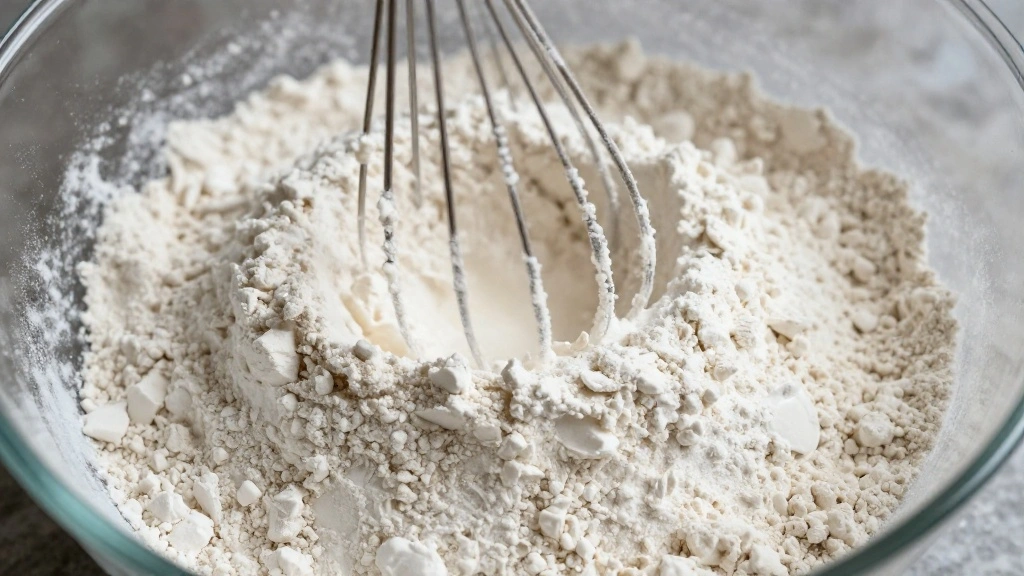
In a separate bowl, whisk together flour and baking powder.
Gradually add dry ingredients to wet ingredients.
Mix on low until just combined.
Avoid overmixing to prevent tough cookies.
Step 5: Chill Dough
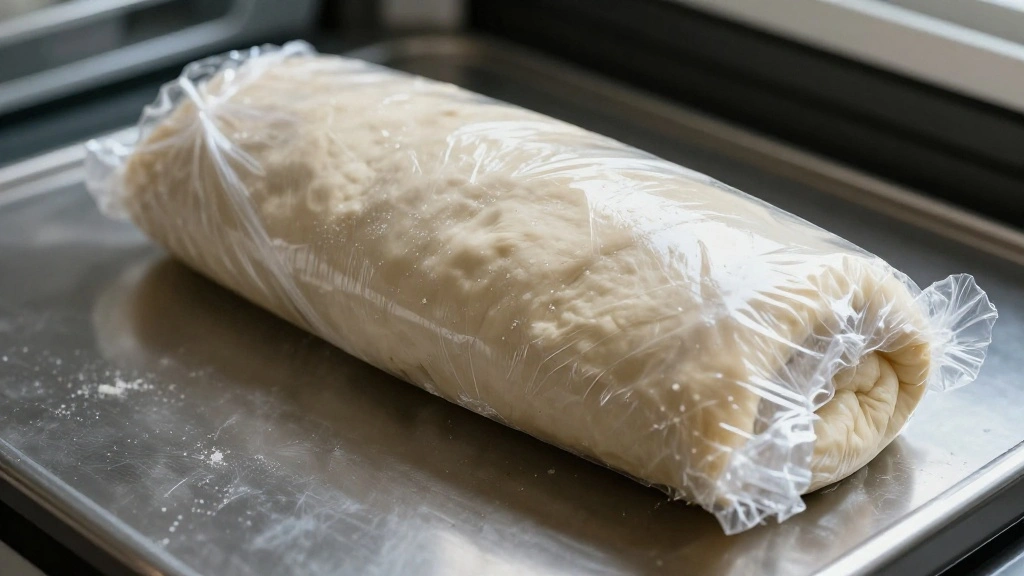
Cover the dough with plastic wrap.
Refrigerate for at least 30 minutes.
This step helps prevent cookies from spreading too much.
Dough should be firm before baking.
Step 6: Shape Cookies
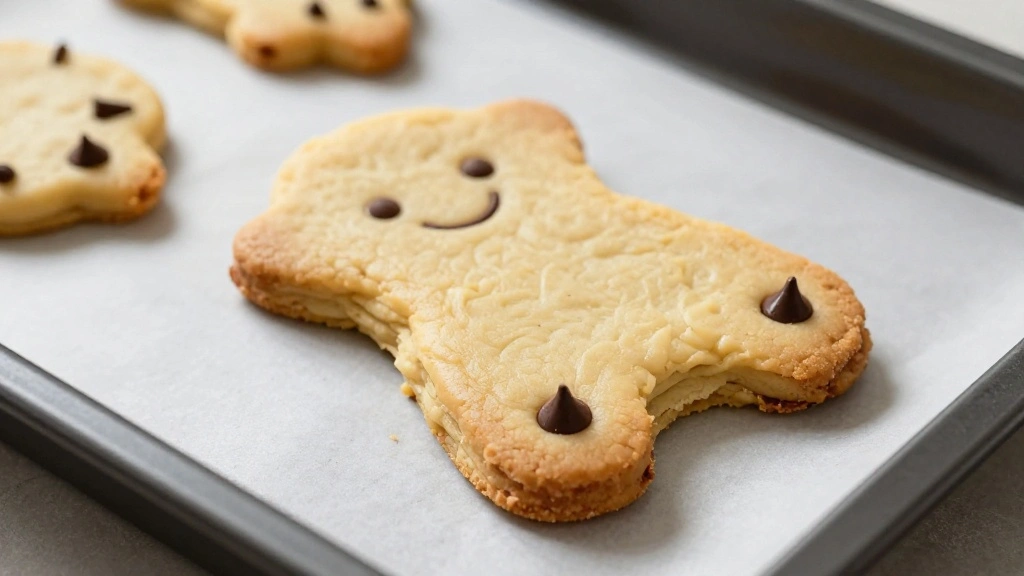
Scoop chilled dough onto prepared baking sheets.
Use hands to shape into desired spooky shapes.
Leave space between cookies to allow for spreading.
Press chocolate chips for eyes or features.
Step 7: Bake Cookies
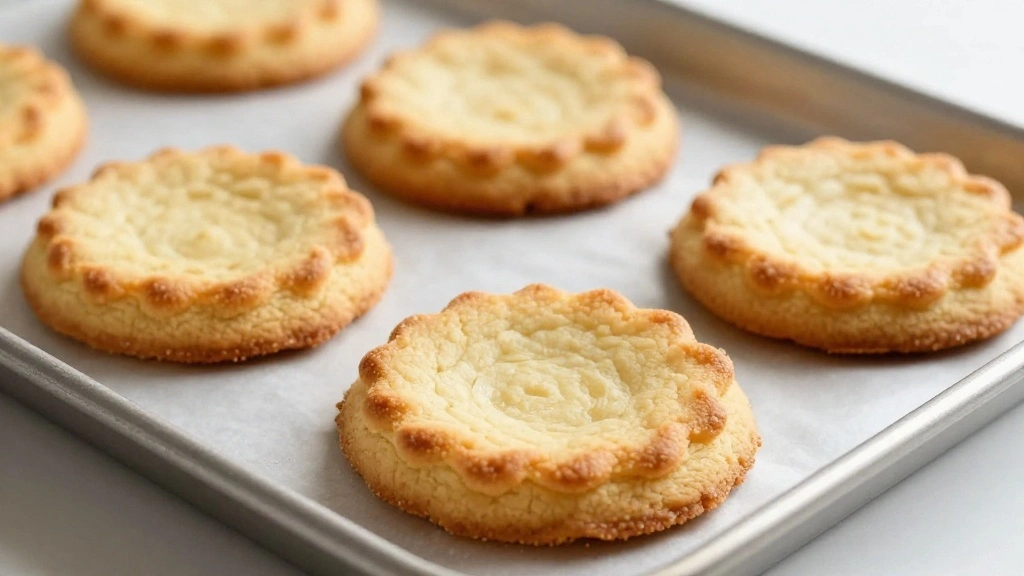
Place baking sheets in the preheated oven.
Bake for 10-12 minutes until edges are golden.
Cookies should be soft in the center.
Avoid overbaking to maintain softness.
Step 8: Cool and Decorate
Remove cookies from oven and cool on a wire rack.
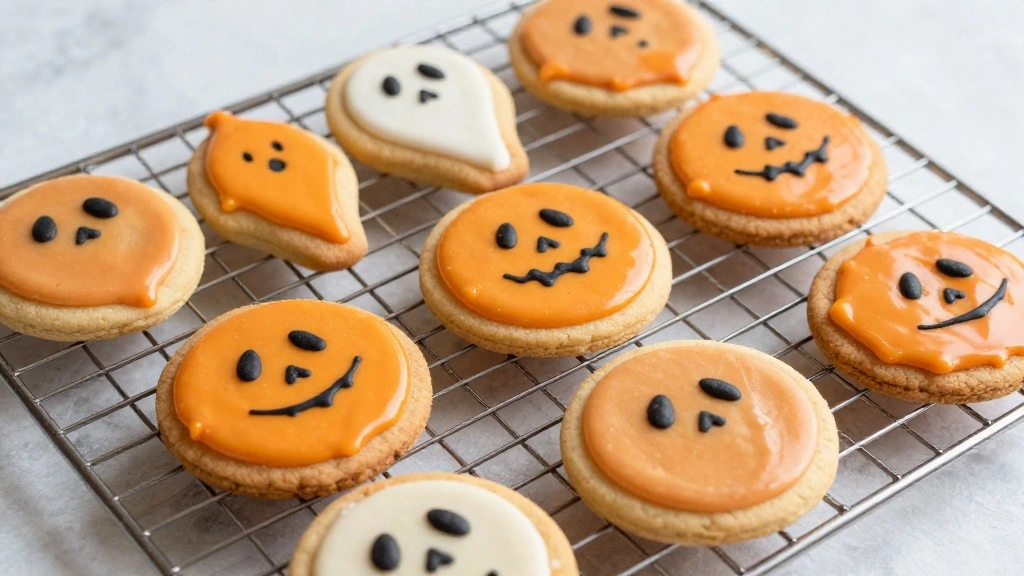
Once cooled, use icing to add Halloween decorations.
Be creative with designs like spiders or ghosts.
Allow icing to set before serving.
Critical Timing and Temperature Guide
Baking Cookies: Bake at 350°F for 10-12 minutes, checking for golden edges and soft centers. Avoid opening the oven frequently.
Chilling Dough: Chill for at least 30 minutes to ensure a firm texture and prevent excessive spreading during baking.
Creaming Butter and Sugar: Beat at medium speed for 3-5 minutes until light and fluffy, ensuring no graininess remains.
Pro Tips for How to Host
• Ingredient Selection: Choose high-quality vanilla extract and fresh butter for the best flavor impact.
• Preparation Secret: Adding a pinch of salt to the icing can enhance the sweetness and complexity of flavors.
• Temperature Management: Ensure all ingredients are at room temperature for smooth mixing and better texture.
• Texture Enhancement: Chill the dough thoroughly to enhance the final cookie texture and control spread.
• Flavor Layering: Incorporate spices like cinnamon or nutmeg into the dough for added warmth and complexity.
• Make-Ahead Strategies: Prepare dough a day ahead and store in the fridge, wrapped tightly to prevent drying out.
• Restaurant-Quality Finishing Touches: Use a fine brush to add edible glitter for a magical, spooky touch.
• Equipment Optimization: Use parchment paper for easy removal and cleanup, ensuring cookies don’t stick.
Troubleshooting Common Issues
• Cookies Spread Too Much: Ensure dough is chilled properly and baking sheets aren’t too warm before use.
• Texture Too Dense: Avoid overmixing the dough once flour is added to maintain a light texture.
• Flavors Unbalanced: Check ingredient measurements and don’t skip salt or vanilla, as they balance sweetness.
• Decorations Melt: Allow cookies to cool completely before decorating to prevent icing from running.
• Edges Too Crispy: Reduce baking time slightly or lower oven temperature by 5°F for more even cooking.
Variations and Regional Differences
• Mexican Pan de Muerto Style: Incorporates orange zest and anise seeds, common in Day of the Dead celebrations.
• European Shortbread Style: Uses almond flour for a denser, nutty flavor and includes marzipan decorations.
• American Pumpkin Spice Variation: Adds pumpkin puree and spice mix for a distinctly autumnal flavor.
• Asian Matcha Variation: Infuses green tea powder for a unique color and earthy taste.
Food Science Behind the Recipe
• Creaming Butter and Sugar: This process creates air pockets for leavening, contributing to a light and airy texture.
• Chilling Dough: Solidifies fat in the dough, reducing spread and enhancing flavor development as it bakes.
• Role of Baking Powder: Acts as a leavening agent, releasing carbon dioxide to help cookies rise and become fluffy.
Frequently Asked Questions
What's the most common mistake people make when preparing these cookies? Overmixing the dough after adding flour can lead to dense cookies.
Can I use salted butter instead? Yes, but reduce the added salt in the recipe to balance flavors.
How do I store these cookies? Keep them in an airtight container at room temperature for up to a week.
Can I freeze the dough? Absolutely, freeze for up to three months, and thaw overnight in the refrigerator before baking.
How can I make the cookies more colorful? Use different food colorings in the icing or dough for variety.
What if I don’t have a mixer? A whisk and some elbow grease can work, but expect a bit more effort.
Is there a gluten-free version? Substitute all-purpose flour with a gluten-free blend for similar results.
Serving and Presentation Guide
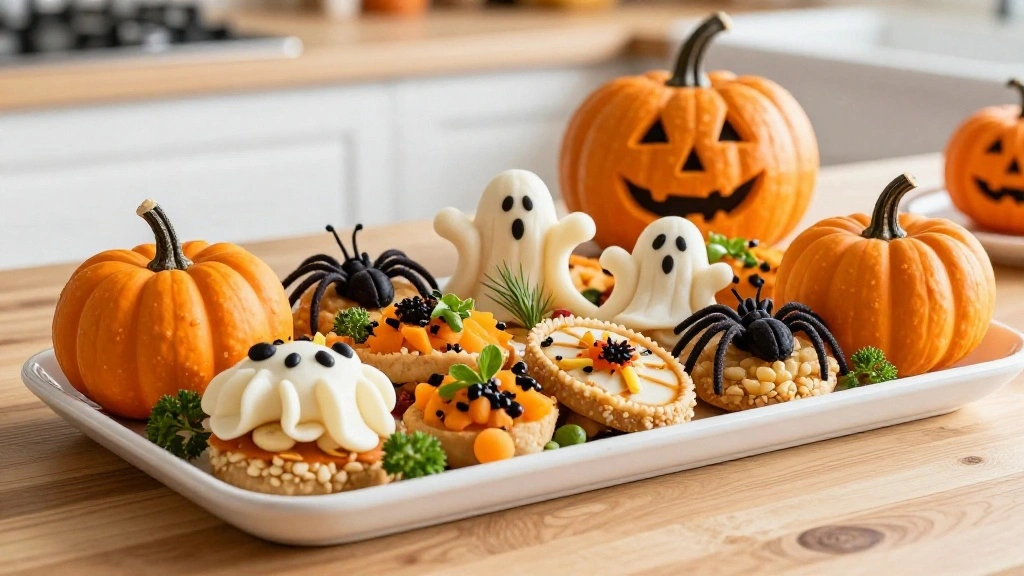
• Traditional Presentation: Serve on a Halloween-themed platter with decorative napkins.
• Modern Minimalist: Use a simple white plate to make colors pop, adding small decorative pumpkins.
• Kid-Friendly Style: Arrange cookies in fun shapes on a colorful tray with small toys or figurines.
• Gourmet Touch: Add edible flowers or gold leaf for a sophisticated finish.
Conclusion
Embrace the playful spirit of summer with this unique Halloween party theme.
These festive cookies are sure to delight your guests with their spooky charm and delicious flavor.
With these tips and tricks, you’ll host a memorable event that combines creativity and taste.
Get ready to impress and enjoy a fun-filled celebration!