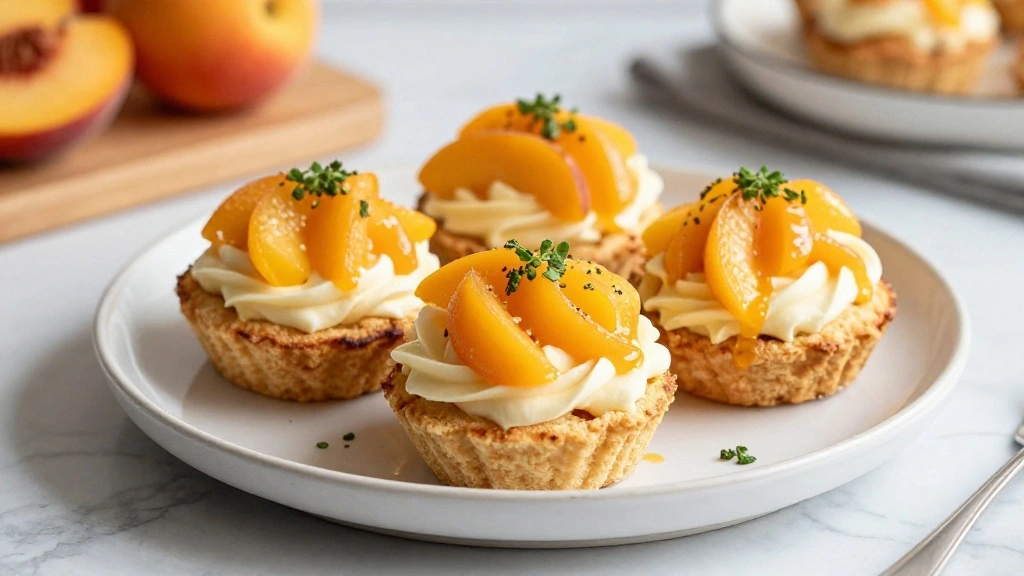
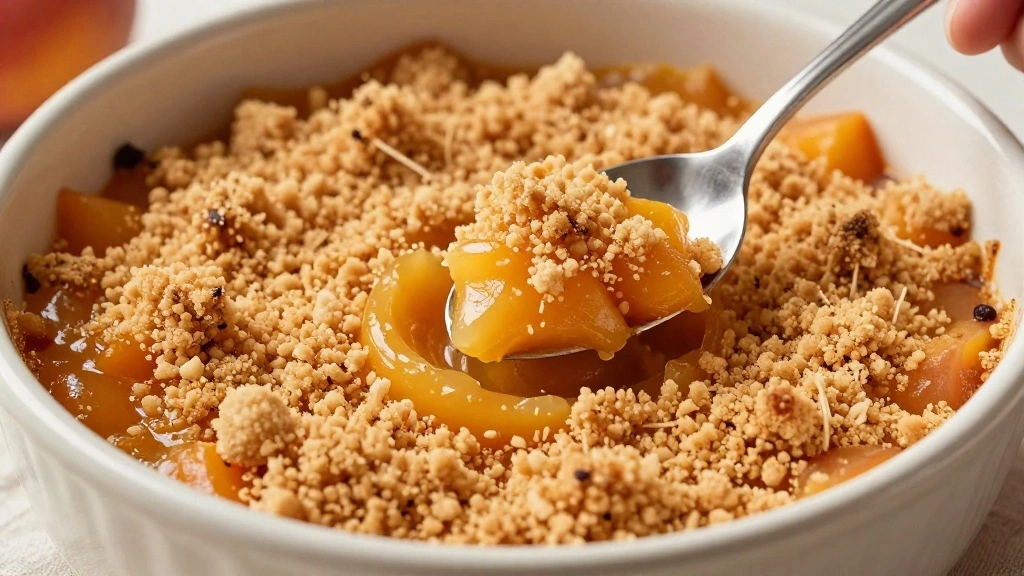
The delightful peach cobbler is a classic summer dessert that captures the essence of ripe, juicy peaches in every bite.
With a golden, buttery crust and a sweet, fragrant filling, this dish is the perfect way to celebrate the bounty of the season.
I first fell in love with this dessert during family picnics, where it was always the star of our summer gatherings.
Whether you’re hosting a backyard barbecue or a casual family dinner, peach cobbler is sure to impress your guests with its simplicity and flavor.
The combination of tender peaches and a crumbly topping creates a comforting yet elegant dish that everyone will adore.
The History and Cultural Significance
• Delightful Peach Cobbler traces its origins to the American South in the 19th century, where it was originally created by early settlers using simple, accessible ingredients.
• The dish evolved over decades as settlers adapted it to include more refined ingredients, eventually becoming the beloved version we know today.
• In Southern culture, this dish traditionally appears at family gatherings and summer picnics, symbolizing hospitality and warmth.
• While many variations exist across different regions, the authentic version maintains a biscuit-like topping that sets it apart from imitations.
Recipe Overview
Nutritional Information (per serving)
Essential Equipment Guide
Baking Dish: A 9×13-inch baking dish is ideal for this recipe as it ensures even cooking and a perfect crust-to-filling ratio. Alternatives include a cast-iron skillet for a rustic touch.
Mixing Bowls: Multiple mixing bowls are necessary for preparing the filling and the topping separately. Look for bowls with non-slip bases to prevent spills.
Pastry Cutter: A pastry cutter is crucial for creating a flaky, crumbly topping. If unavailable, two knives or a fork can be used as an alternative, though they may require more effort.
Ingredients
For the Filling
|
|
| Amount | Ingredient | Notes |
|---|---|---|
| 6 cups | fresh peaches | peeled and sliced |
| 1 cup | granulated sugar | adds sweetness |
| 1 tablespoon | lemon juice | enhances flavor |
| 1 teaspoon | vanilla extract | adds depth |
| 1 teaspoon | ground cinnamon | adds warmth |
For the Topping
| Amount | Ingredient | Notes |
|---|---|---|
| 1 cup | all-purpose flour | for structure |
| 1 cup | sugar | for sweetness |
| 1 teaspoon | baking powder | ensures rise |
| 1 teaspoon | salt | enhances flavor |
| 1 stick | unsalted butter | chilled, cut into small pieces |
| 1 large | egg | lightly beaten |
| 1 teaspoon | vanilla extract | adds depth |
Preparation Methods
Peeling Peaches: To easily peel peaches, blanch them in boiling water for 30 seconds, then transfer to an ice bath. The skins will slip off effortlessly.
Cutting Butter into Flour: This technique involves incorporating cold butter into flour to create a crumbly texture. Use a pastry cutter or fingers to achieve pea-sized pieces.
Baking for Even Browning: Rotate the baking dish halfway through cooking to ensure even browning. This prevents hot spots and ensures a uniformly golden crust.
Step 1: Prepare Peaches
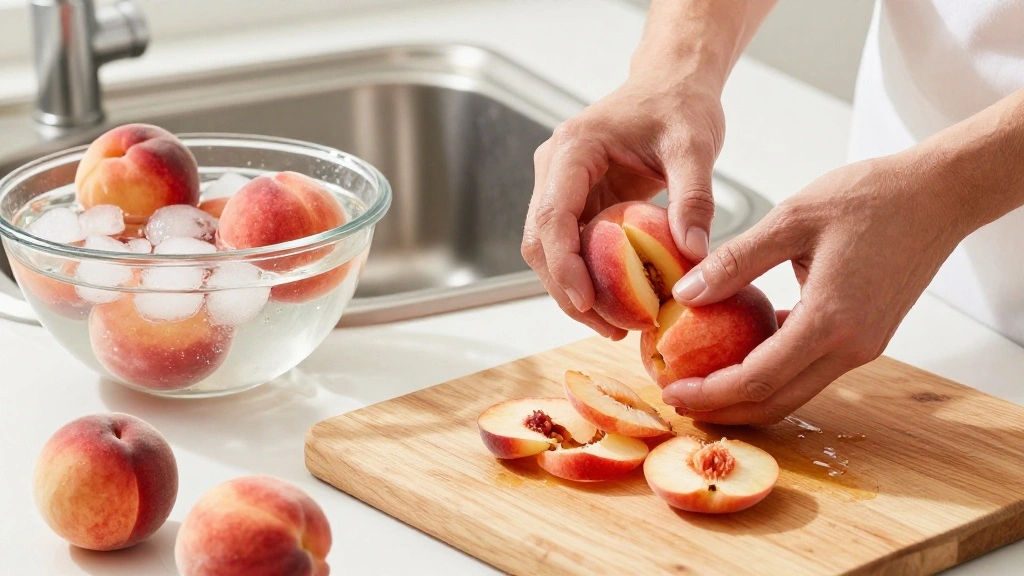
Peel the peaches by blanching them in boiling water for 30 seconds.
Transfer them immediately to an ice bath to cool.
Gently peel off the skins, which should come off easily.
Slice the peaches into even segments for uniform cooking.
Step 2: Make the Filling
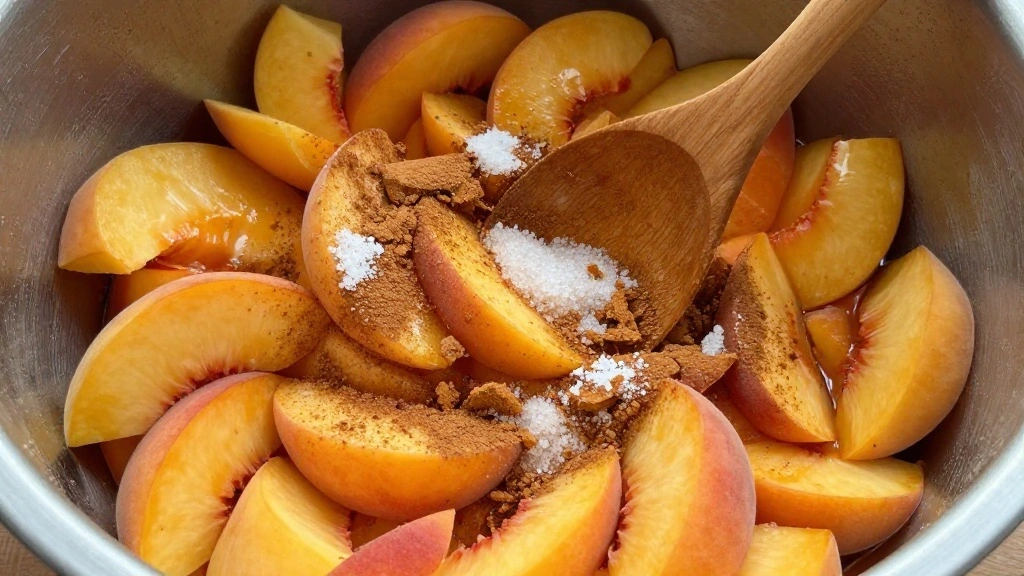
Combine sliced peaches, sugar, lemon juice, vanilla extract, and cinnamon in a large mixing bowl.
Stir the ingredients gently to coat the peaches evenly.
Let the mixture sit for 10 minutes to allow flavors to meld and juices to release.
Taste and adjust sweetness if necessary.
Step 3: Preheat the Oven
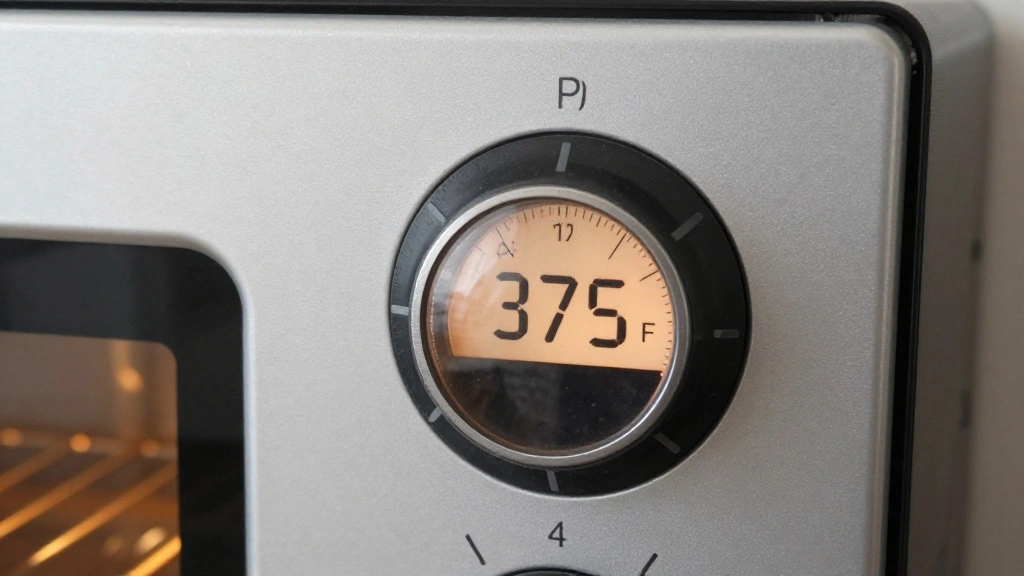
Set the oven to 375°F (190°C) to warm up while you prepare the topping.
Ensure the oven rack is positioned in the center for even cooking.
Check that the oven is clean to prevent any unwanted flavors.
Close the oven door to retain heat.
Step 4: Mix the Dry Ingredients
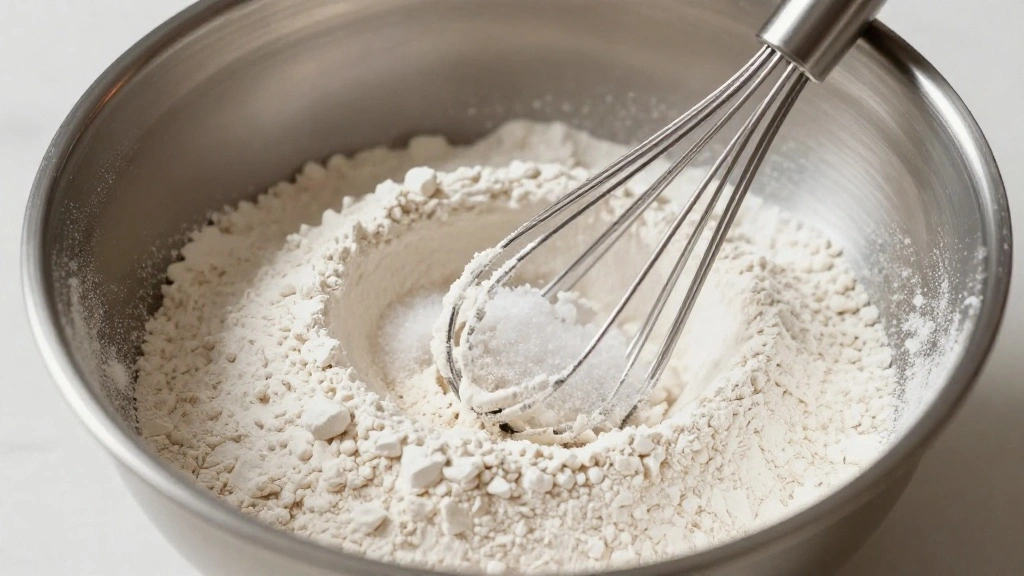
In a separate bowl, combine flour, sugar, baking powder, and salt.
Stir the dry ingredients until well mixed.
Ensure there are no lumps in the mixture for a smooth topping.
Set aside for later use.
Step 5: Cut in the Butter
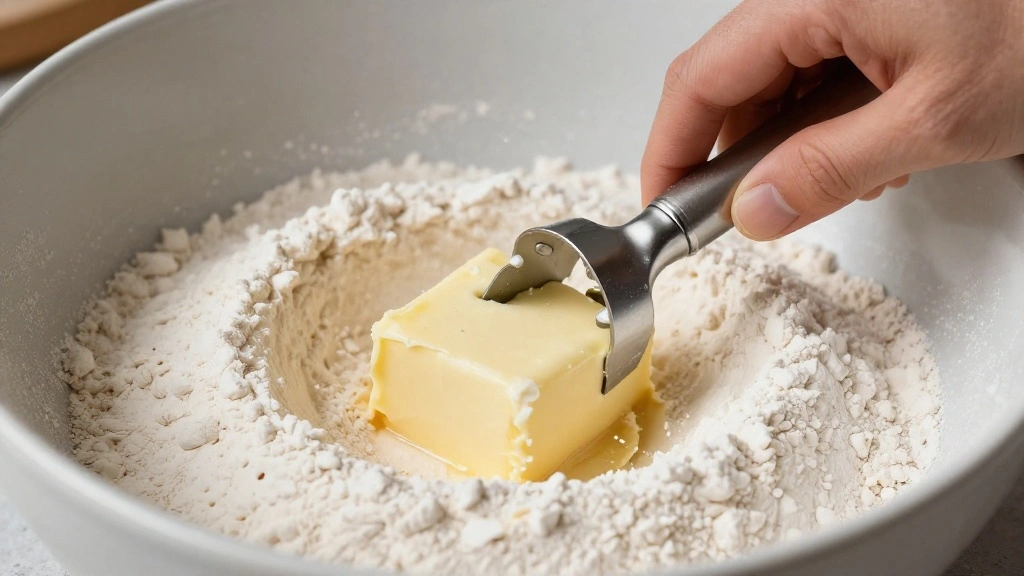
Add cold butter pieces to the dry ingredients.
Use a pastry cutter to cut the butter into the flour until it resembles coarse crumbs.
Aim for pea-sized pieces of butter for optimal texture.
Work quickly to keep the butter cold.
Step 6: Combine Wet Ingredients
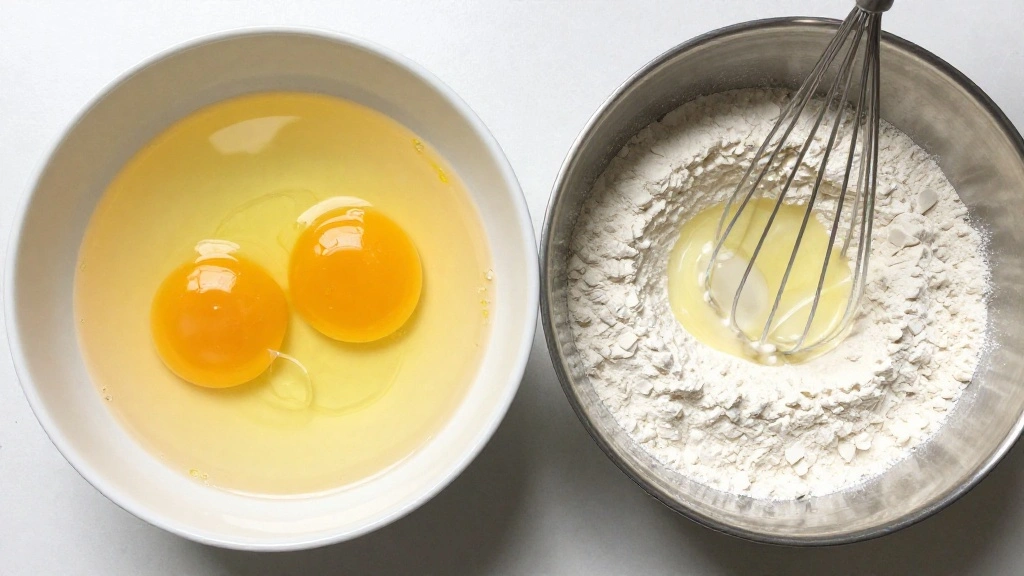
In a small bowl, beat the egg lightly.
Add vanilla extract to the beaten egg and mix well.
Pour the egg mixture into the flour-butter mixture.
Stir gently to combine until a dough forms.
Step 7: Assemble the Cobbler
Pour the peach filling into the prepared baking dish.
Spoon the topping evenly over the peach mixture.
Spread the topping gently without pressing down too hard.
Ensure all peaches are covered for even baking.
Step 8: Bake the Cobbler
Place the baking dish in the preheated oven.
Bake for 35-40 minutes until the topping is golden brown.
Check for bubbling of the filling at the edges as a sign of doneness.
Rotate the dish halfway through for even browning.
Critical Timing and Temperature Guide
Baking: Bake at 375°F (190°C) for 35-40 minutes. Look for a golden-brown crust and bubbling filling at the edges. Avoid opening the oven door too often to maintain a consistent temperature.
Blanching Peaches: Blanch for exactly 30 seconds in boiling water. Over-blanching can lead to mushy peaches, while under-blanching makes peeling difficult.
Cooling: Allow the cobbler to cool for at least 15 minutes before serving. This helps the filling set and prevents it from being too runny.
Pro Tips for Delightful Peach Cobbler
• Ingredient Selection: Choose ripe, firm peaches for the best flavor and texture. Avoid overripe peaches, which can become too mushy after baking.
• Preparation Secret: Allow the peach filling to sit for 10 minutes before baking to release natural juices, enhancing flavor depth.
• Temperature Management: Ensure all ingredients are cold when making the topping to achieve a flaky, crumbly texture.
• Texture Enhancement: Use a light hand when mixing the topping to maintain a tender crumb.
• Flavor Layering: Add a pinch of nutmeg to the cinnamon for an extra layer of warmth and complexity.
• Make-Ahead Strategies: Prepare the peach filling and topping separately a day in advance. Store in the refrigerator and assemble just before baking.
• Restaurant-Quality Finishing Touches: Serve with a scoop of vanilla ice cream or freshly whipped cream for a luxurious finish.
• Equipment Optimization: Pre-chill the mixing bowls for the topping to keep the butter cold, ensuring a better texture.
Troubleshooting Common Issues
• Runny Filling: This can occur if the peaches are too juicy. Add a tablespoon of cornstarch to the filling to thicken.
• Soggy Topping: This may happen if the topping is not evenly distributed. Spread it gently and avoid pressing it down.
• Lack of Flavor: Ensure you use ripe, flavorful peaches and taste the filling before baking to adjust sugar and spices.
• Browning Too Quickly: If the topping browns too fast, cover loosely with foil and continue baking until the filling bubbles.
• Dense Topping: This results from overmixing. Mix until just combined for a lighter texture.
• Crumbly Top Not Forming: Ensure your butter is cold and cut into the flour properly. If the mixture is too dry, add a tablespoon of ice water.
Variations and Regional Differences
• Southern Style: Often includes a pinch of nutmeg and uses a biscuit-like topping for a heartier texture.
• Western Style: Incorporates oats into the topping for added texture and a rustic feel.
• Vegan Variation: Substitute butter with coconut oil and use almond milk in place of eggs for a dairy-free version.
• Spiced Variation: Adds ginger and cardamom to the filling for a spicier, more aromatic profile.
Food Science Behind the Recipe
• Maillard Reaction: The browning of the topping is a result of the Maillard reaction, which enhances the flavor and appearance.
• Gelatinization: The starches in the flour and peaches thicken the filling as it bakes, creating a cohesive texture.
• Emulsification: The egg in the topping acts as an emulsifier, helping to bind the ingredients and create a smooth texture.
Frequently Asked Questions
What's the most common mistake people make when preparing Peach Cobbler? Overmixing the topping, which can lead to a dense texture. Mix until just combined.
Can I use canned peaches instead of fresh? Yes, but be sure to drain them well and reduce the added sugar.
Why is my cobbler topping not rising? Ensure your baking powder is fresh and properly measured.
How can I make the cobbler gluten-free? Substitute all-purpose flour with a gluten-free blend.
Can I prepare the cobbler in advance? Yes, prepare the components separately and store them in the refrigerator until ready to bake.
What's the best way to store leftovers? Cover and refrigerate the cobbler for up to 3 days, reheating portions as needed.
Can I freeze the cobbler? Yes, assemble and freeze before baking, then bake from frozen, adding extra time.
How do I prevent the cobbler from being too sweet? Adjust the sugar in the filling based on the sweetness of the peaches.
Serving and Presentation Guide
• Traditional Presentation: Serve the cobbler warm in the baking dish, with a scoop of vanilla ice cream on the side.
• Modern Twist: Plate individual portions in ramekins for elegant serving at dinner parties.
• Casual Setting: Serve directly from the baking dish, allowing guests to help themselves.
• Garnish Ideas: Add a sprig of mint or a dusting of powdered sugar for a pop of color and flavor.
Conclusion
Delightful Peach Cobbler is a timeless dessert that perfectly captures the spirit of summer.
With its easy preparation and irresistible flavor, it is sure to become a staple at your gatherings.
Try this recipe at your next event and watch as it becomes the highlight of the meal.