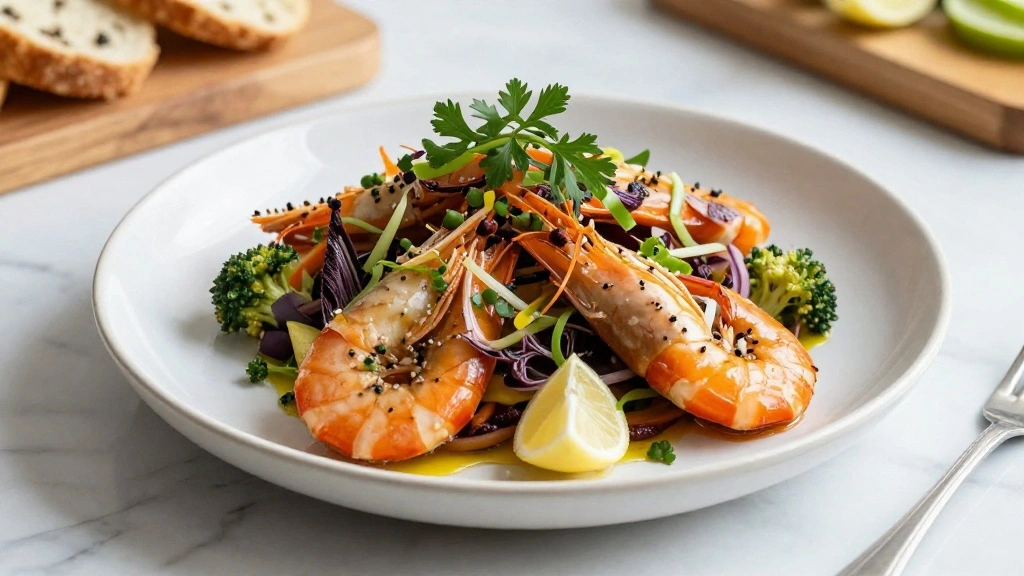
As the summer sun blazes, there’s nothing more appealing than a meal that requires no cooking at all.
Healthy No-Cook Summer Meals offer a refreshing escape from the heat while still being packed with flavor and nutrition.
This collection of recipes brings the vibrant tastes of fresh produce and bold seasonings to your table without turning on the stove.
Whether you’re hosting a backyard gathering or looking for a quick, light dinner, these dishes deliver satisfaction with minimal effort.
Prepare to embrace the essence of summer with meals that are as easy to prepare as they are to enjoy.
The History and Cultural Significance
• Healthy No-Cook Summer traces its origins to Mediterranean regions, where it was originally created by communities that embraced raw, fresh ingredients.
• The dish evolved over decades as global influences introduced new fruits and vegetables, eventually becoming the beloved version we know today.
• In Mediterranean culture, this dish traditionally appears at outdoor picnics and family gatherings, symbolizing the joy of summer and abundance of nature.
• While many variations exist across different regions, the authentic version maintains a focus on fresh produce and simple dressings that set it apart from imitations.
Recipe Overview
Nutritional Information (per serving)
Essential Equipment Guide
Sharp Knife: A sharp knife is crucial for achieving clean, precise cuts of vegetables and fruits, which enhances both texture and visual appeal. Alternatives like mandolins can work, but ensure they have adjustable blades for thickness control.
Mixing Bowl: A large mixing bowl allows for proper tossing of ingredients, ensuring even distribution of flavors. Look for bowls with non-slip bases to keep them steady during mixing.
Microplane Grater: This tool is excellent for finely grating citrus zest or hard cheeses, adding a burst of flavor without overpowering the dish. If unavailable, a fine box grater can be used.
Ingredients
For the Base
|
|
| Amount | Ingredient | Notes |
|---|---|---|
| 4 cups | mixed greens | washed and dried |
| 1 cup | quinoa | cooked and cooled |
Vegetables
| Amount | Ingredient | Notes |
|---|---|---|
| 2 medium | cucumbers | sliced thin |
| 1 large | bell pepper | julienned |
Fruits
| Amount | Ingredient | Notes |
|---|---|---|
| 1 cup | grapes | halved |
| 1 large | avocado | diced |
Seasonings
| Amount | Ingredient | Notes |
|---|---|---|
| 2 tablespoons | lemon juice | freshly squeezed |
| 2 tablespoons | olive oil | extra virgin |
| 1 teaspoon | honey | adds sweetness |
| 1 pinch | salt | enhances flavors |
| 1 pinch | black pepper | freshly ground |
Preparation Methods
Julienning Vegetables: This technique involves cutting vegetables into thin strips, enhancing texture and presentation. Use a sharp knife for precision, and practice on softer vegetables like bell peppers before moving to harder ones.
Emulsifying Dressings: A process of combining oil and acid (like lemon juice) into a smooth mixture, which coats ingredients evenly. Whisk rapidly to create a stable emulsion, and season gradually to taste.
Balancing Flavors: Achieving the right balance of sweet, sour, salty, and bitter requires tasting as you go. Add seasonings in small increments and adjust based on preference.
Step 1: Prepare the Greens
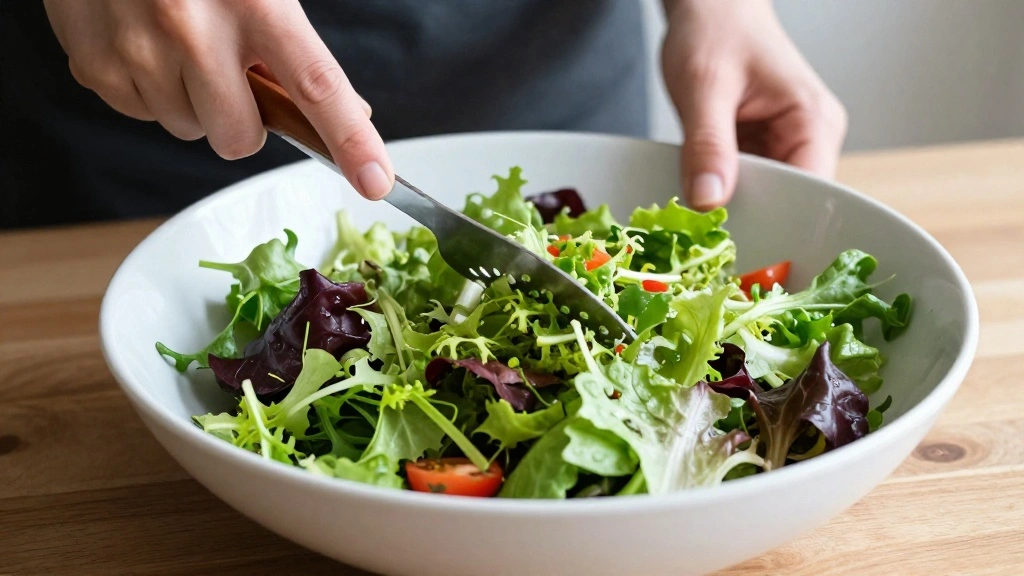
Begin by washing and drying the mixed greens thoroughly.
Use a salad spinner or paper towels to ensure they're completely dry.
Arrange the greens in a large serving bowl as the base of your dish.
This step ensures a crisp texture and prevents the salad from becoming soggy.
Step 2: Slice the Cucumbers
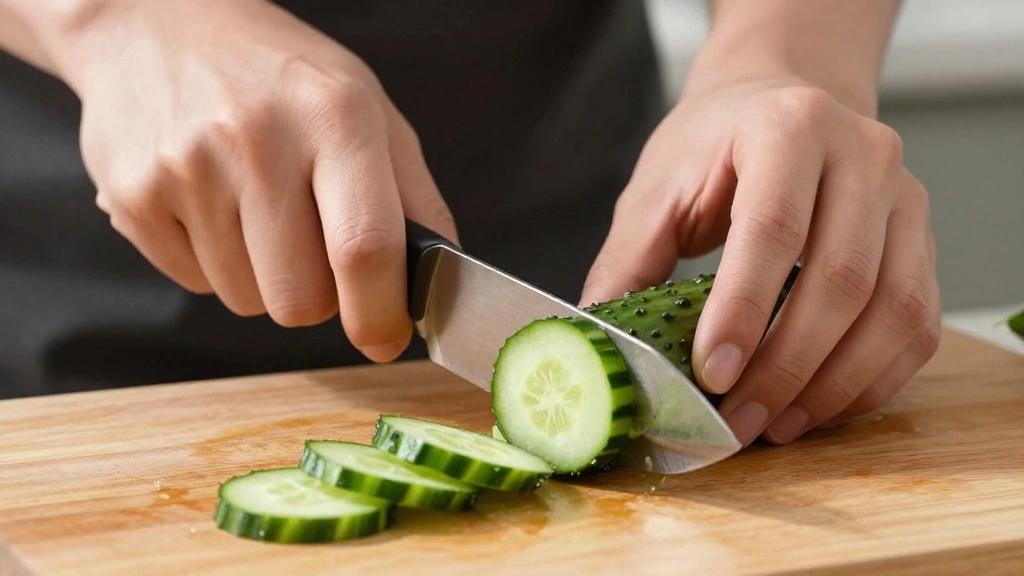
Take the cucumbers and slice them thinly using a sharp knife.
Ensure uniform slices for even texture throughout the salad.
Arrange the sliced cucumbers over the bed of greens.
This adds a refreshing crunch to the dish.
Step 3: Julienne the Bell Pepper
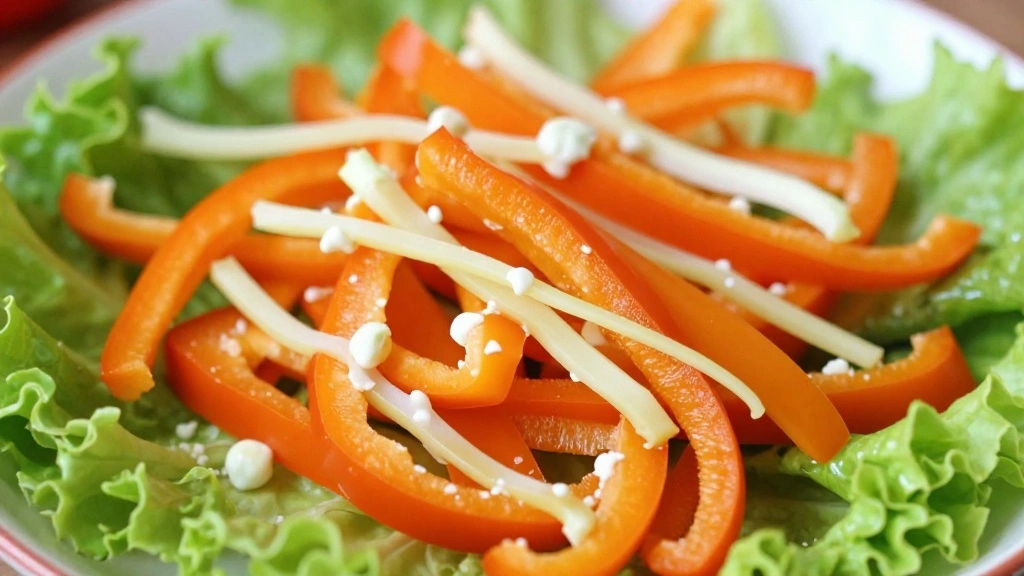
Cut the bell pepper into thin julienne strips.
Use a sharp knife to achieve precise cuts.
Scatter the julienned peppers across the salad.
These strips provide a pop of color and a sweet, crisp flavor.
Step 4: Halve the Grapes
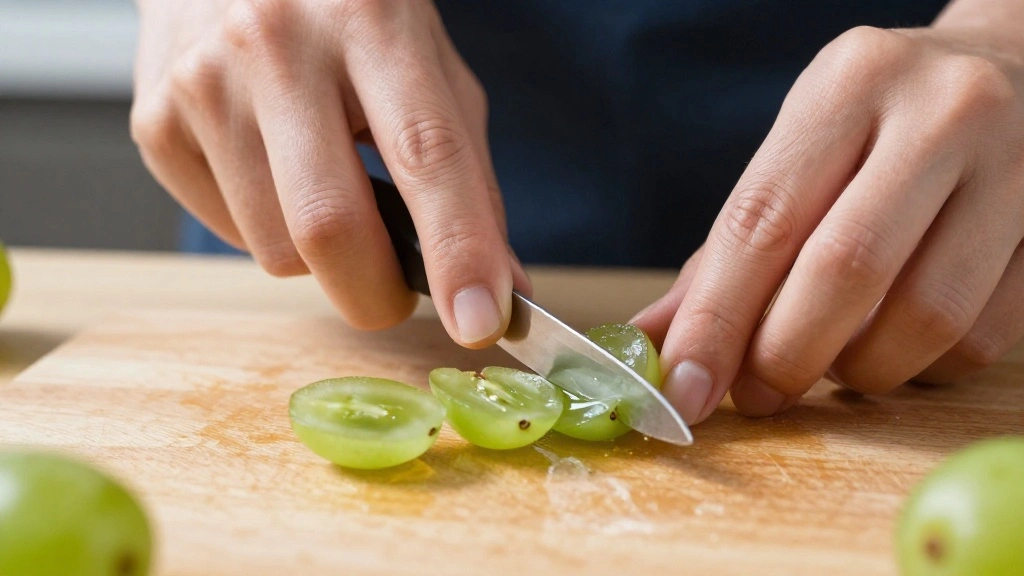
Take the grapes and slice them in half lengthwise.
Ensure each half is even for consistent sweetness in every bite.
Distribute the grape halves evenly across the salad.
This adds a juicy burst of sweetness.
Step 5: Dice the Avocado
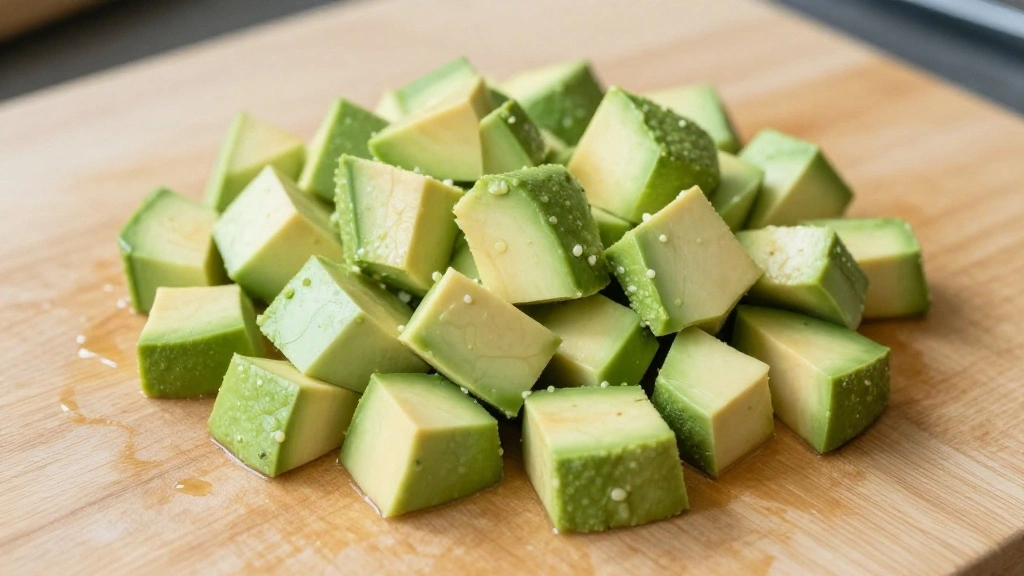
Peel and pit the avocado before dicing it into small cubes.
Ensure the cubes are uniform in size for even distribution.
Gently place the diced avocado atop the salad.
Avocado adds a creamy texture and rich flavor.
Step 6: Prepare the Dressing
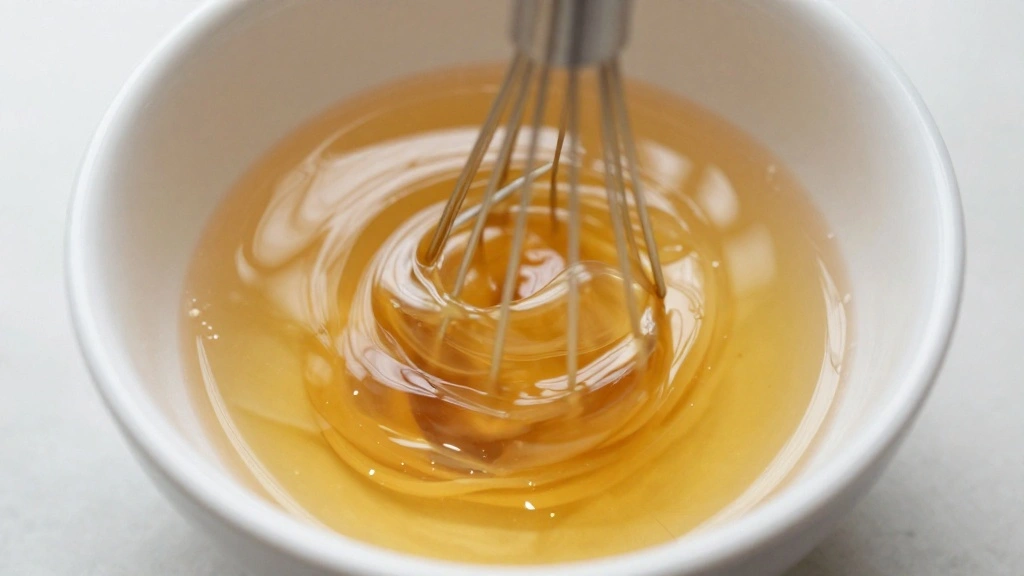
Combine lemon juice, olive oil, honey, salt, and pepper in a bowl.
Whisk the ingredients vigorously until emulsified.
Taste and adjust seasoning if necessary.
The dressing should be smooth and well-balanced.
Step 7: Dress the Salad
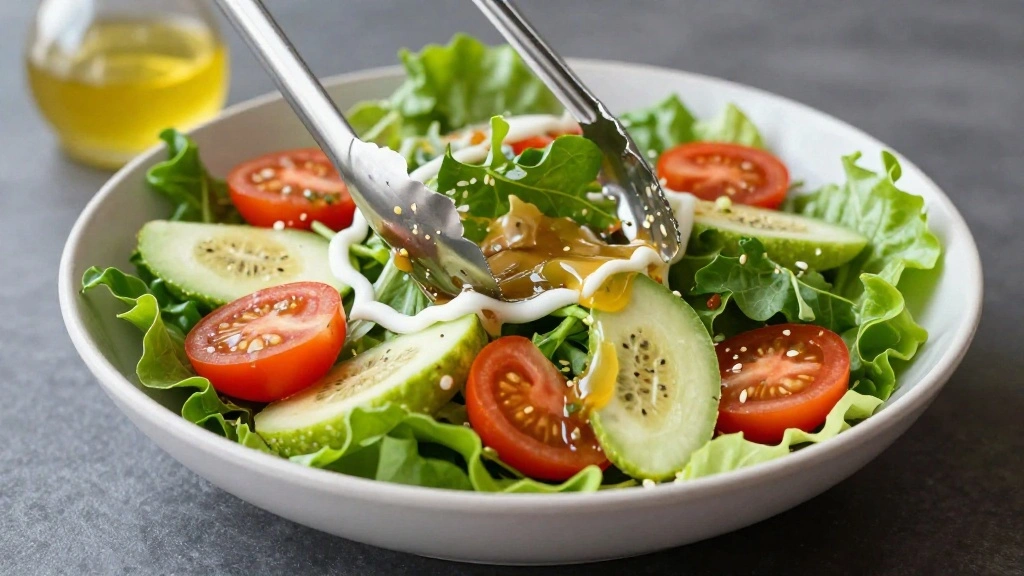
Drizzle the prepared dressing evenly over the salad.
Use tongs to gently toss the salad, coating all ingredients.
Ensure every component is lightly dressed for balanced flavor.
This step enhances the overall taste and presentation.
Step 8: Serve and Enjoy

Transfer the dressed salad to individual plates for serving.
Garnish with extra black pepper or a squeeze of lemon if desired.
Serve immediately to enjoy the fresh flavors and textures.
This final touch elevates the dish to a dining experience.
Critical Timing and Temperature Guide
Dressing Preparation: Whisk for 2-3 minutes until fully emulsified. Avoid using cold ingredients, as they can separate the dressing.
Ingredient Assembly: Assemble just before serving to maintain freshness. Keep ingredients chilled until use to preserve texture.
Serving Temperature: Serve the salad immediately at room temperature. Cold ingredients can dull flavors, so allow them to sit out briefly before serving.
Pro Tips for Healthy No-Cook Summer
• Ingredient Selection: Choose the freshest greens and ripe avocado for the best texture and flavor. Organic produce often yields superior taste.
• Preparation Secret: Let the quinoa cool completely before adding it to the salad to prevent wilting the greens.
• Temperature Management: Keep ingredients at room temperature before assembly to enhance flavor.
• Texture Enhancement: Add a sprinkle of nuts or seeds for extra crunch and contrast.
• Flavor Layering: Balance sweet grapes and honey with the tartness of lemon juice for a harmonious taste.
• Make-Ahead Strategies: Prepare the dressing ahead of time and store it in the fridge. Bring to room temperature before using.
• Restaurant-Quality Finishing Touches: Add a sprinkle of microgreens or edible flowers for a professional finish.
• Equipment Optimization: Ensure knives are sharp to make slicing ingredients easier and more precise.
Troubleshooting Common Issues
• Texture Too Soggy: This is often caused by not drying the greens properly. Use a salad spinner and pat dry with paper towels.
• Flavors Unbalanced: If the salad tastes too sour, add a touch more honey. If too sweet, add more lemon juice.
• Dressing Separation: If the dressing separates, whisk it again vigorously or add a drop of mustard to help emulsify.
• Avocado Browning: Prevent this by cutting the avocado right before serving and adding a splash of lemon juice.
• Ingredient Clumping: Toss the salad gently and ensure all components are evenly distributed to avoid clumping.
Variations and Regional Differences
• Italian Variation: Includes mozzarella balls and cherry tomatoes, dressed with balsamic glaze for a caprese-inspired taste.
• Asian Fusion: Incorporates edamame, shredded carrots, and a sesame-ginger dressing for a unique twist.
• Mexican Style: Adds black beans, corn, and a lime-cilantro dressing for a southwestern flair.
• Middle Eastern Influence: Features chickpeas, chopped mint, and a tahini-lemon dressing for a hearty option.
Food Science Behind the Recipe
• Emulsification: Understanding how oil and acid combine to form a stable mixture is key to creating a smooth dressing that clings to the salad.
• Flavor Balance: The interaction between sweet, sour, and salty flavors can enhance or dull taste perception, making it crucial to find the right balance.
• Ripening Process: Knowing the optimal ripeness for fruits like avocados ensures the best texture and flavor in the dish.
Frequently Asked Questions
What's the most common mistake people make when preparing Healthy No-Cook Summer Meals? Using ingredients that are not fresh or at their peak ripeness can lead to a lackluster dish.
How can I make this dish more filling? Adding a protein source like grilled chicken or chickpeas can increase satiety.
Can I prepare any components in advance? Yes, the quinoa and dressing can be prepared a day ahead and stored separately.
What if I don't have all the ingredients? Substitute similar ingredients, like using arugula instead of mixed greens or strawberries instead of grapes.
How do I prevent the salad from getting soggy? Assemble the salad just before serving and ensure all components are dry.
Is there a low-calorie alternative dressing? Yes, try a simple vinaigrette with vinegar, lemon juice, and a dash of mustard.
How do I store leftovers? Store the salad in an airtight container, keeping the dressing separate to maintain freshness.
Serving and Presentation Guide
• Traditional Presentation: Serve in a large wooden salad bowl to showcase the vibrant colors and textures.
• Individual Plates: Present on separate plates with a neat arrangement of ingredients for a more formal dinner setting.
• Family Style: Place the salad in the center of the table with tongs for everyone to serve themselves.
• Garnished Platter: Decorate the salad with edible flowers or herbs for an eye-catching centerpiece.
Conclusion
Embrace the ease and delight of Healthy No-Cook Summer Meals in your kitchen.
These recipes offer a perfect balance of flavor, nutrition, and convenience.
Get creative with fresh ingredients and enjoy the refreshing tastes of summer.
Try these dishes today and savor the simplicity of no-cook dining.