When summer rolls around, there’s nothing quite as refreshing as a light, flavorful meal that highlights the season’s bounty.
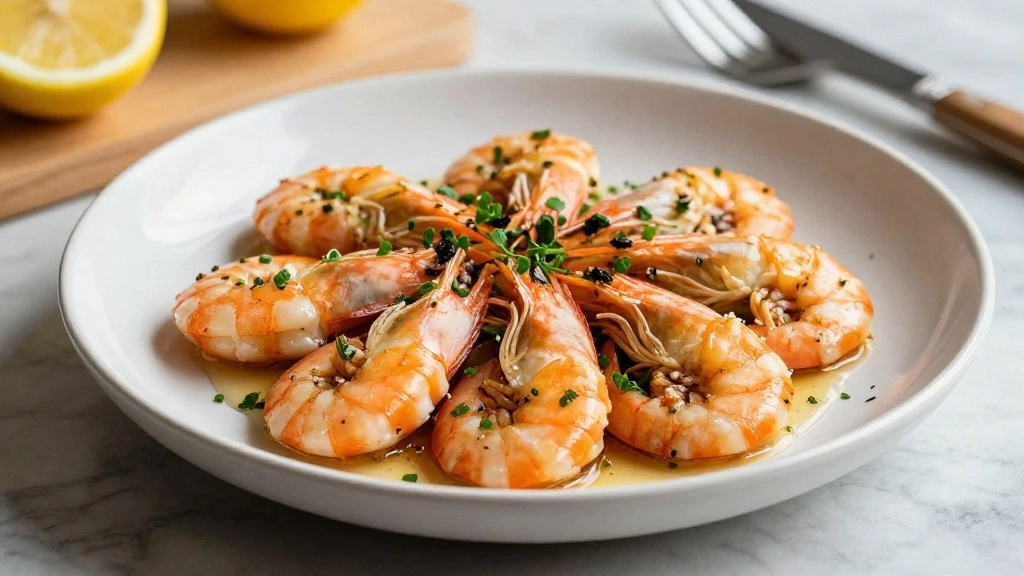
One-Pan Lemon Garlic Shrimp is the epitome of this seasonal delight, combining the bright zest of lemon with the rich aroma of garlic.
This dish captures the essence of summer with its simplicity and vibrant flavors, perfect for a quick weeknight dinner or a leisurely weekend meal.
The succulent shrimp, infused with lemon and garlic, create a mouthwatering experience that will transport you to a coastal getaway.
Easy to prepare and even easier to clean up, this one-pan wonder is a staple for anyone looking to enjoy a taste of summer without the fuss.
The History and Cultural Significance
• One-Pan Lemon Garlic traces its origins to the Mediterranean region, where it was originally created by coastal communities who relied on simple, fresh ingredients.
• The dish evolved over decades as global trade introduced new spices and cooking techniques, eventually becoming the beloved version we know today.
• In Mediterranean culture, this dish traditionally appears at summer gatherings, symbolizing the abundance and freshness of the season.
• While many variations exist across different regions, the authentic version maintains the integrity of fresh lemon juice and garlic, which sets it apart from imitations.
Recipe Overview
Nutritional Information (per serving)
Essential Equipment Guide
Non-stick Skillet: A non-stick skillet is crucial for evenly cooking the shrimp without sticking. Alternatives like a cast iron skillet can work but require more oil. Look for a skillet with a heavy base for even heat distribution.
Microplane Zester: This tool is important for zesting the lemon without removing the bitter pith. A small grater can be used as an alternative, but a microplane provides finer zest. Ensure it has a comfortable grip for ease of use.
Silicone Spatula: A silicone spatula is essential for gently turning the shrimp to avoid breaking them. Wooden spoons are a good alternative, but silicone is heat resistant and gentle on non-stick surfaces.
Ingredients
For the Shrimp
|
|
| Amount | Ingredient | Notes |
|---|---|---|
| 1 pound | large shrimp | peeled and deveined |
| 1/4 teaspoon | salt | enhances flavor |
| 1/4 teaspoon | black pepper | adds heat |
For the Sauce
| Amount | Ingredient | Notes |
|---|---|---|
| 2 tablespoons | olive oil | for sautéing |
| 4 cloves | garlic | minced, adds aroma |
| 1/4 cup | lemon juice | freshly squeezed, adds zest |
| 2 tablespoons | parsley | chopped, for garnish |
Preparation Methods
Butterflying Shrimp: This technique involves slicing the shrimp along the back to remove the vein and open it slightly. This ensures even cooking and enhances presentation. Use a sharp knife and be gentle to avoid cutting through.
Sautéing: Sautéing involves cooking ingredients quickly in a small amount of oil over high heat. This technique is crucial for locking in the shrimp's flavors while keeping them tender. Keep the shrimp moving in the pan to ensure even cooking.
Deglazing: Deglazing is the process of adding liquid to a hot pan to lift browned bits of food, creating a flavorful sauce. Use lemon juice in this recipe, and scrape the bottom of the pan to incorporate all flavors.
Step 1: Prepare Ingredients
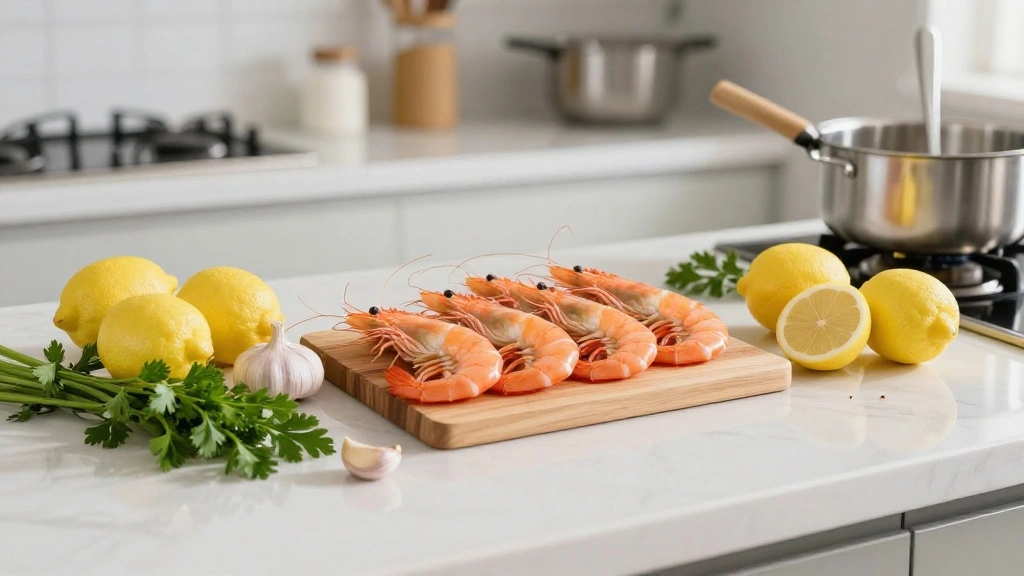
Gather all ingredients to ensure you have everything you need.
Peel and devein the shrimp, then pat them dry with paper towels.
Mince the garlic and chop the parsley to prepare them for cooking.
Juice the lemons and set aside the juice for later use.
Step 2: Season the Shrimp
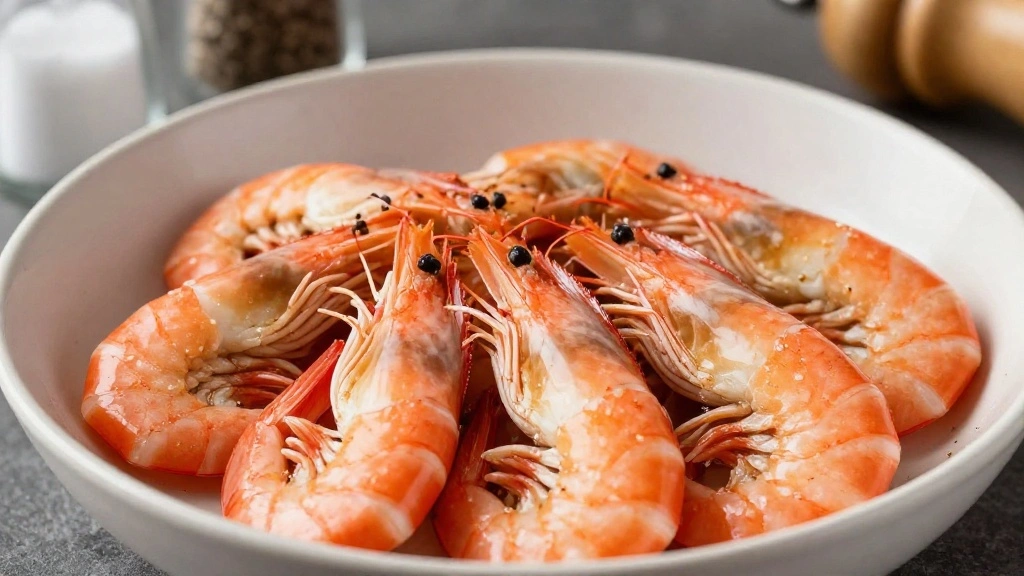
Place the shrimp in a bowl.
Add salt and black pepper, tossing gently to coat each piece.
Ensure the seasoning is evenly distributed over the shrimp.
Let the shrimp sit for a few minutes to absorb the flavors.
Step 3: Heat the Skillet
Place a non-stick skillet over medium-high heat.
Add olive oil and let it heat until shimmering.
Ensure the oil is evenly distributed across the skillet.
The oil should be hot enough to sizzle when the shrimp are added.
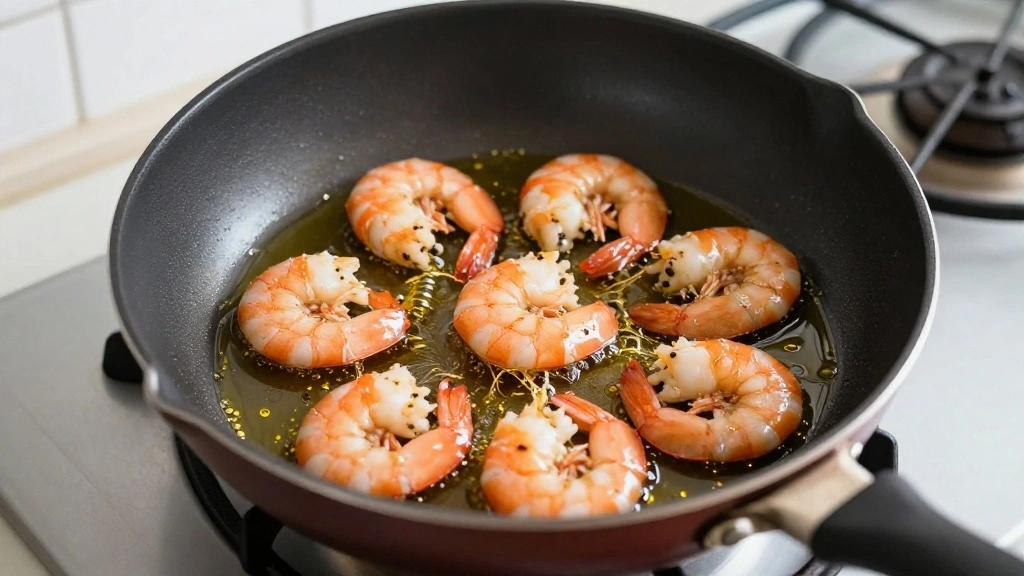
Step 4: Sauté the Shrimp
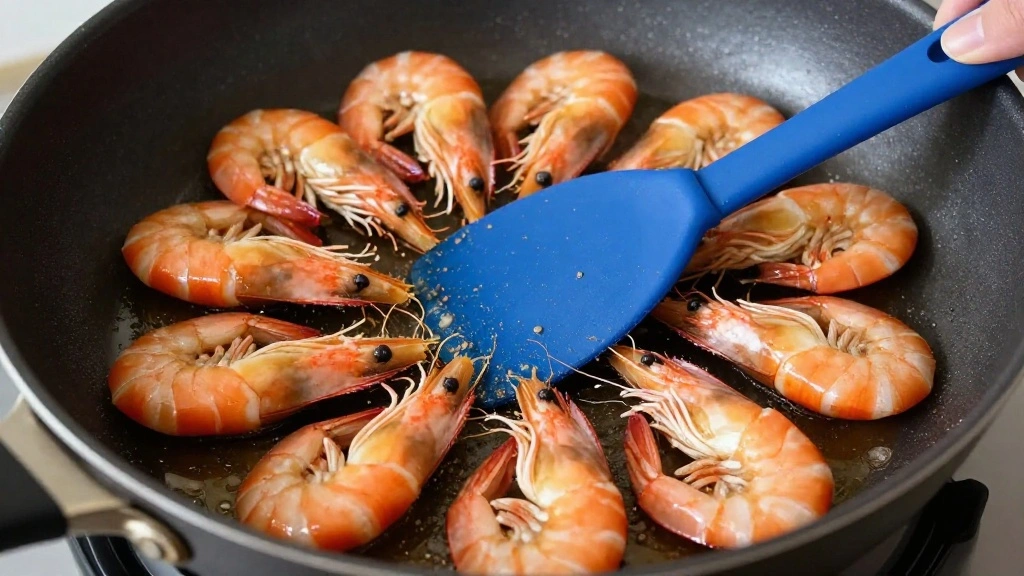
Add the seasoned shrimp to the hot skillet in a single layer.
Cook for about 2-3 minutes on one side without moving them.
Flip the shrimp using a silicone spatula to cook the other side.
Remove shrimp from the skillet once they turn pink and opaque.
Step 5: Cook the Garlic
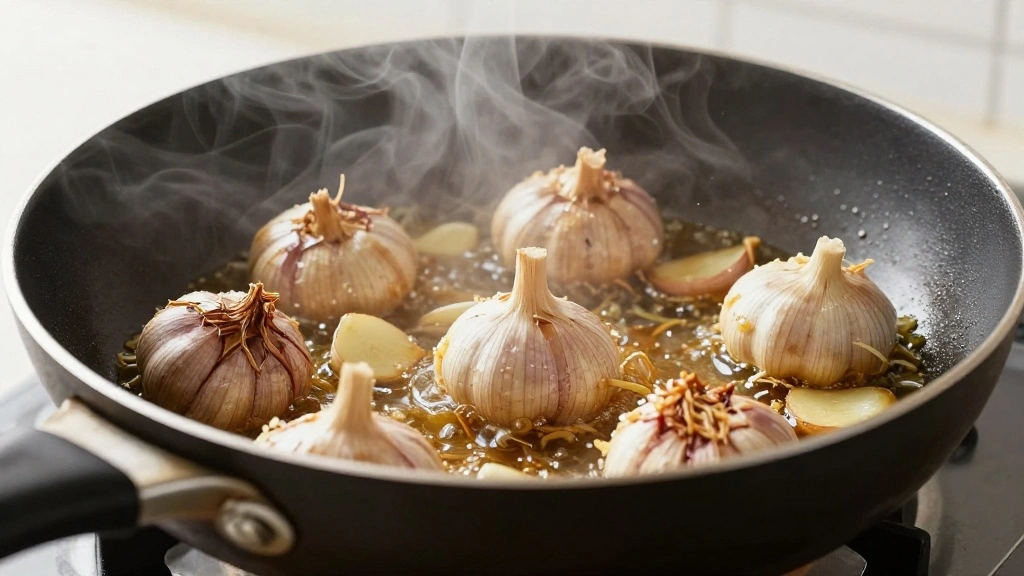
Reduce the heat to medium and add minced garlic to the skillet.
Sauté the garlic for 1-2 minutes until fragrant.
Be careful not to burn the garlic as it can become bitter.
Stir constantly to ensure even cooking.
Step 6: Deglaze the Pan

Add lemon juice to the skillet to deglaze.
Scrape the bottom of the pan to lift any browned bits.
Allow the liquid to reduce slightly, concentrating the flavors.
This process creates a flavorful sauce for the shrimp.
Step 7: Combine Shrimp and Sauce
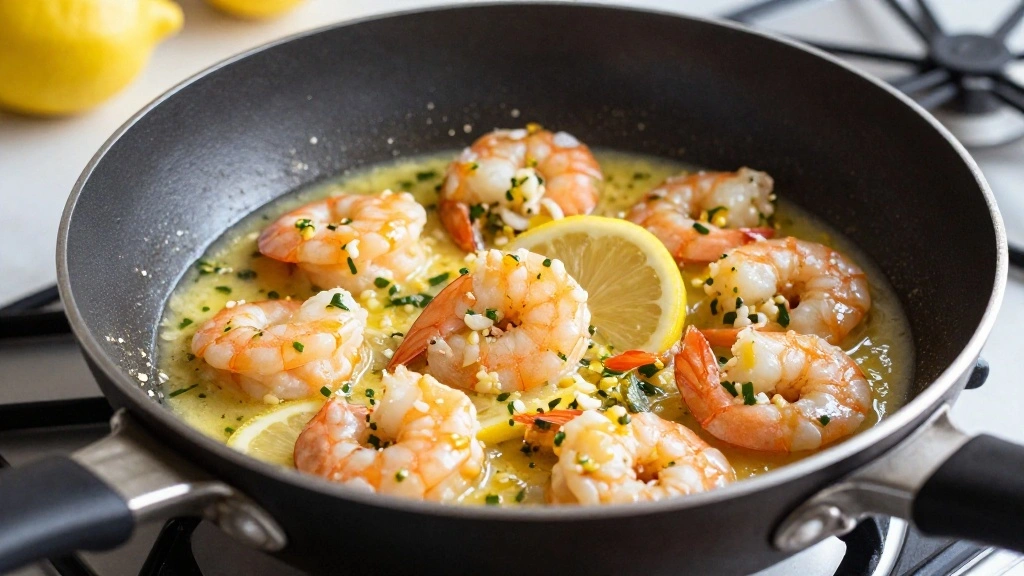
Return the cooked shrimp to the skillet.
Toss the shrimp in the lemon garlic sauce to coat evenly.
Heat for an additional minute to blend flavors.
Remove from heat and prepare to serve.
Step 8: Garnish and Serve
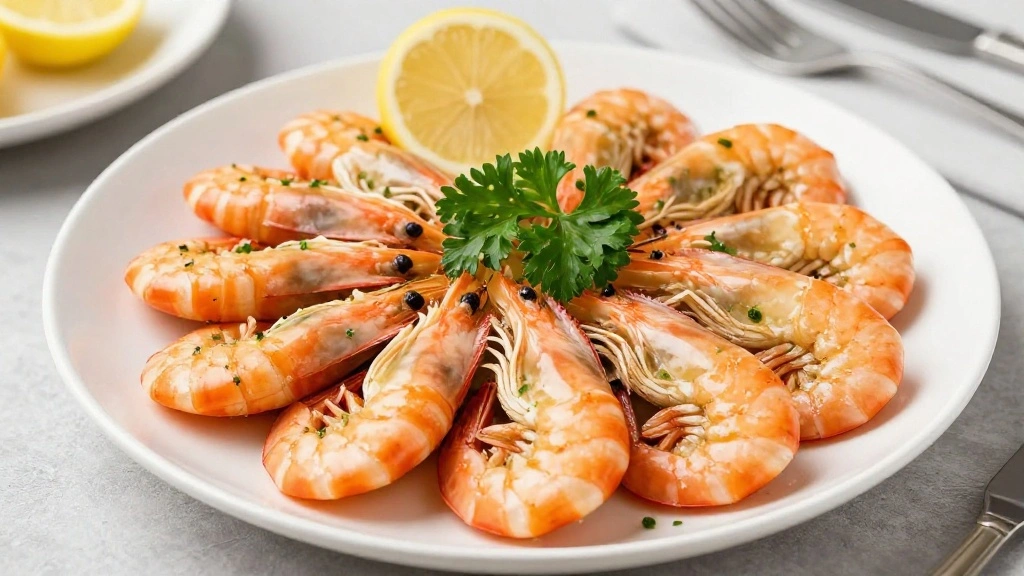
Transfer the shrimp to a serving platter.
Sprinkle with chopped parsley for a fresh finish.
Serve immediately while hot, with lemon wedges on the side.
Enjoy your flavorful One-Pan Lemon Garlic Shrimp.
Critical Timing and Temperature Guide
Sautéing Shrimp: Sauté shrimp for about 2-3 minutes per side over medium-high heat. They should turn pink and opaque. Avoid overcooking to prevent toughness.
Cooking Garlic: Cook garlic on medium heat for 1-2 minutes until fragrant. Do not let it brown too much, as it can become bitter.
Deglazing: Deglaze the pan by adding lemon juice and scraping for 1-2 minutes. The sauce should slightly reduce and become aromatic.
Pro Tips for One-Pan Lemon Garlic
• Ingredient Selection: Choose fresh, large shrimp for the best texture and flavor. Freshly squeezed lemon juice is essential for authentic taste.
• Preparation Secret: Let the shrimp sit with seasoning for a few minutes before cooking to enhance flavor absorption.
• Temperature Management: Ensure the skillet and oil are hot before adding shrimp to achieve a good sear.
• Texture Enhancement: Pat shrimp dry before cooking to promote browning and avoid steaming.
• Flavor Layering: Use a microplane zester for fine lemon zest, releasing oils that enhance flavor.
• Make-Ahead Strategies: Prepare the garlic and parsley ahead of time. Store in airtight containers in the fridge for up to a day.
• Restaurant-Quality Finishing Touches: Garnish with fresh herbs and lemon wedges for a professional presentation.
• Equipment Optimization: Use a heavy-based skillet for even heat distribution, ensuring all shrimp cook uniformly.
Troubleshooting Common Issues
• Shrimp Overcooked: Overcooked shrimp become tough and rubbery. Ensure you cook them for only 2-3 minutes per side, just until they turn pink and opaque.
• Garlic Burned: Burnt garlic tastes bitter. Cook garlic over medium heat and stir constantly to prevent burning.
• Sauce Too Thin: If the sauce is too thin, allow it to reduce further by cooking for an extra minute or two after deglazing.
• Flavors Not Balanced: If the dish tastes too acidic, add a pinch of sugar to balance the lemon juice.
• Shrimp Not Browning: Ensure shrimp are dry before cooking and that the skillet is hot enough to sear them properly.
• Uneven Cooking: Use a single layer of shrimp in the skillet and avoid overcrowding to ensure even cooking.
Variations and Regional Differences
• Italian Style: This version uses white wine in place of some lemon juice and adds cherry tomatoes for sweetness and color.
• Spanish Variation: Incorporates smoked paprika and saffron, offering a deeper, more complex flavor profile.
• Asian Fusion: Includes soy sauce and ginger, adding a unique twist with umami and spice.
• Mexican Influence: Features cilantro and lime instead of parsley and lemon, giving a fresh, zesty taste.
Food Science Behind the Recipe
• Maillard Reaction: This chemical reaction occurs when proteins and sugars in the shrimp brown, enhancing flavor and aroma.
• Acid Denaturation: Lemon juice denatures the proteins in shrimp, causing them to firm up and change color.
• Emulsification: The process of blending lemon juice with oil creates a stable sauce that clings to the shrimp, enhancing taste.
Frequently Asked Questions
What's the most common mistake people make when preparing One-Pan Lemon Garlic Shrimp? Overcooking the shrimp is a common mistake, leading to a tough, rubbery texture.
Can I use frozen shrimp? Yes, but ensure they are thoroughly thawed and patted dry to prevent excess moisture during cooking.
How can I make the dish spicier? Add a pinch of red pepper flakes or diced fresh chili for a spicy kick.
What sides pair well with this dish? Serve with crusty bread, steamed rice, or a simple green salad to complement the flavors.
Can I substitute another herb for parsley? Yes, fresh basil or cilantro can be used for a different flavor profile.
Is it possible to make this dish dairy-free? Absolutely, as the recipe doesn't require any dairy products.
How do I store leftovers? Store in an airtight container in the refrigerator for up to 2 days. Reheat gently to avoid overcooking.
Serving and Presentation Guide
• Traditional Presentation: Serve on a large platter with shrimp arranged in a circle, garnished with parsley and lemon wedges.
• Casual Setting: Plate individually, with shrimp over a bed of rice or pasta, topped with extra sauce.
• Elegant Dinner: Serve in a shallow bowl with a drizzle of sauce and a sprinkle of parsley for a refined touch.
• Family Style: Present in the skillet it was cooked in, allowing guests to serve themselves directly from the pan.
Conclusion
Now that you've mastered One-Pan Lemon Garlic Shrimp, you can enjoy a taste of summer anytime.
This dish, with its bright and refreshing flavors, is sure to become a favorite in your culinary repertoire.
Share this recipe with friends and family, and savor the simplicity and elegance of this delightful meal.