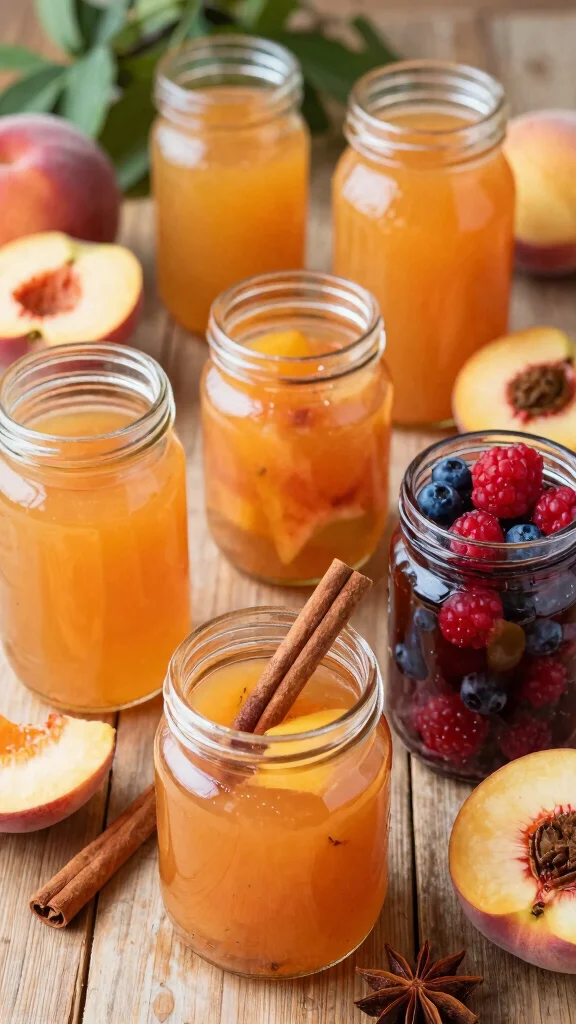
Canning peaches at home is one of those delicious tasks that can make your kitchen feel like a warm hug. The sweet aroma of ripe peaches fills the air, reminding us of summer days spent under the sun. That’s why I created this guide on how to can peaches safely at home. It’s all about capturing that summer goodness and making it last throughout the year.
If you’re someone who loves homemade gifts or enjoys baking treats, this guide is perfect for you. Perhaps you want to impress family and friends with your canning skills or simply stock up on delicious peaches for your favorite recipes. Whatever your motivation, you’ll find something here that speaks to your kitchen ambitions.
In this step-by-step guide, you’ll learn the essentials of canning peaches safely. From selecting the perfect peaches to packing jars and checking seals, this post breaks it down into easy-to-follow steps. You’ll also discover tips for sharing your canned peaches as delightful homemade gifts, ensuring that your efforts are enjoyed by those you love.
You can expect practical insights and tasty ideas throughout this journey. Get ready to dive into the world of canning and make some sweet memories along the way. Whether you’re a complete beginner or just need a refresher, this guide will empower you to create jars of peachy goodness you can enjoy all year long.
Let’s get started on this flavorful adventure together!
Key Takeaways
– Learn how to select the perfect peaches for canning to ensure the best flavor and texture.
– Gather essential canning supplies that make the process smooth and safe.
– Discover effective methods for sealing jars and ensuring they are properly preserved.
– Share tips for labeling and storing your canned peaches for easy access later.
– Explore creative ways to give your canned peaches as homemade gifts, adding a personal touch.
Contents
- 1. Selecting the Perfect Peaches
- 2. Gathering Your Canning Supplies
- 3. Preparing Your Peaches
- 4. Making the Syrup
- 5. Packing Jars with Peaches
- 6. Sealing the Jars
- 7. Water Bath Canning Method
- 8. Checking the Seal
- 9. Labeling Your Jars
- 10. Storing Your Canned Peaches
- 11. Using Your Canned Peaches
- 12. Sharing Your Homemade Gifts
- 13. Troubleshooting Common Canning Issues
- 14. Exploring Flavor Variations
- 15. Canning Safety Tips
- 16. Enjoying Your Canned Peaches All Year Long
- 17. Resources and Community Support
- 18. Celebrating the Process
1. Selecting the Perfect Peaches
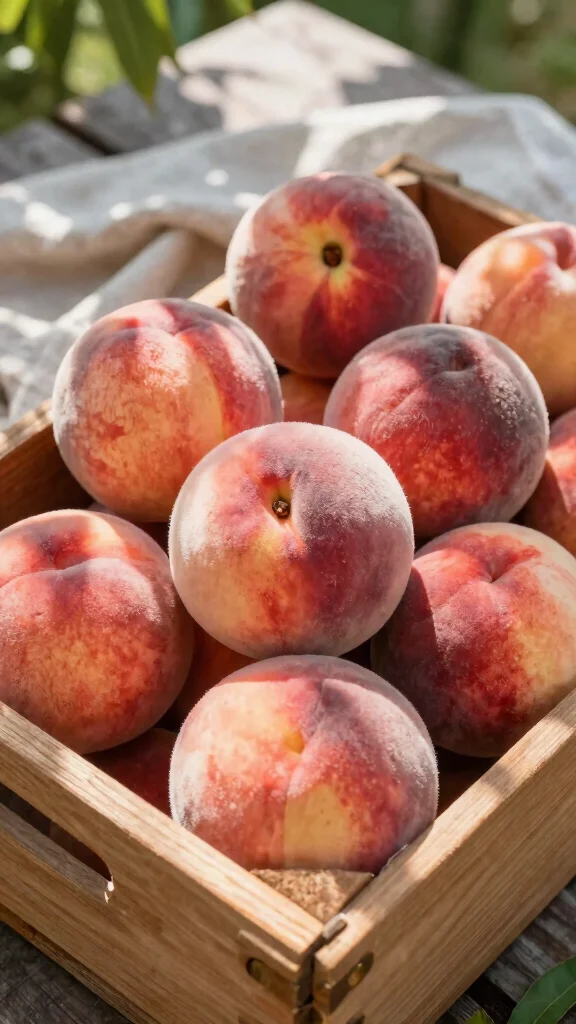
Are you ready to dive into canning peaches? Picking the right fruit is the first step to ensuring your canned treats are sweet and flavorful. Look for peaches that are ripe and fragrant, with no blemishes. Clingstone or freestone varieties are ideal, as they offer juicy flesh perfect for canning. A gentle squeeze should reveal a slight give, signaling that they’re just right for your jars.
Also, pay attention to their color and aroma. A warm golden hue and a sweet scent indicate quality. Steer clear of overly soft peaches or those with dark spots.
– Variety: Clingstone peaches are sweeter, while freestone peaches are easier to work with.
– Timing: Harvest them during summer, from late June to early September.
– Storage: Keep your peaches in a cool, dry place to maintain freshness.
Choosing ripe peaches is your foundation for making delicious canned goods you’ll cherish!
2. Gathering Your Canning Supplies

Before you start, let’s ensure you have everything you need for a hassle-free canning experience. Basic supplies include:
– Canning jars: Wide-mouth jars are best for easy filling and cleaning.
– Lids and bands: Use new, undamaged ones for a proper seal.
– Large pot: A water bath canner or big stockpot will work well for processing.
– Jar lifter: This handy tool helps you safely remove hot jars from boiling water.
– Funnel: Helps fill jars neatly without spills.
Setting up your workspace makes everything smoother and keeps you organized.
– Tip: Clean jars and lids in hot, soapy water to remove contaminants.
– Customization: Consider adding a pH meter for precise acidity if you’re aiming for perfection.
With your supplies ready, you’re set for a fun canning adventure!
Getting the right supplies is the secret to how to can peaches like a pro. With wide-mouth jars, new lids, a sturdy pot, a jar lifter, and a funnel, you’ll breeze through prep and safety. Prep first, then enjoy perfect peaches every time.
3. Preparing Your Peaches
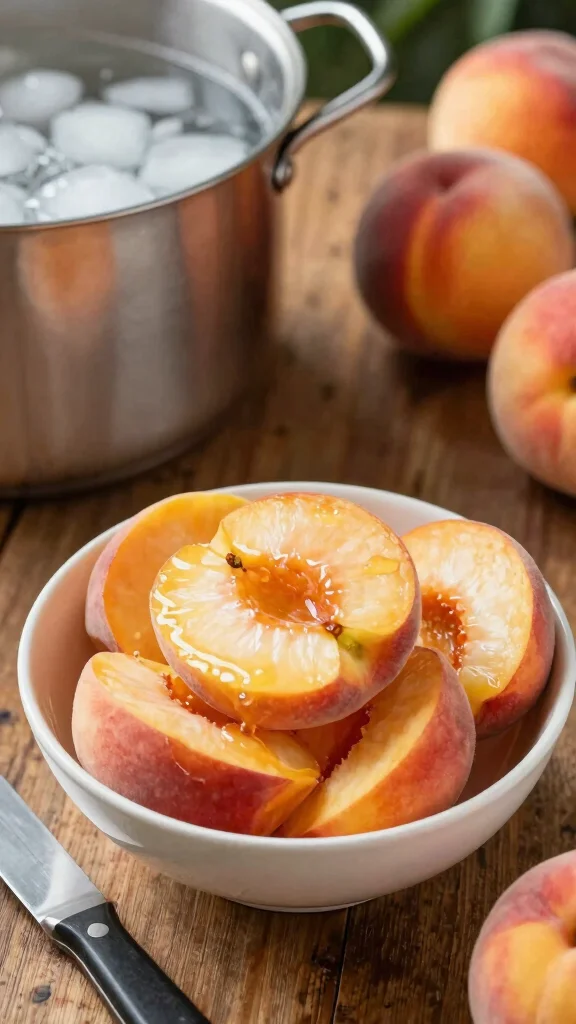
Now that you have your peaches and supplies ready, it’s time to prep those juicy fruits! Start by washing them under cold water to remove dirt or pesticides. Peeling is next, and blanching is the simplest method:
1. Boil a large pot of water and prepare a bowl of ice water.
2. Add peaches to the boiling water for about 30 seconds.
3. Transfer them immediately to the ice water to stop the cooking.
4. The skins should slip off effortlessly.
After peeling, slice the peaches in halves or quarters, removing the pit. A sprinkle of lemon juice can prevent browning.
– Tip: Soaking them in sugar syrup adds extra flavor before canning.
– Storage: If not canning right away, keep sliced peaches in the fridge for up to 24 hours.
With everything prepped, you’re ready to turn those peaches into something special!
4. Making the Syrup
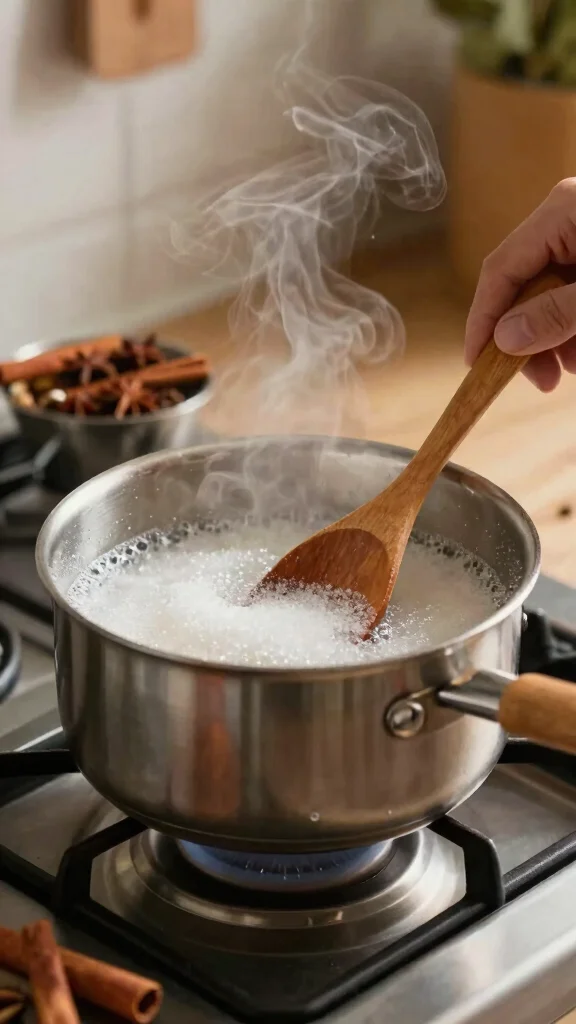
Making syrup for your peaches enhances their flavor and helps preserve them. You can choose between light, medium, or heavy syrup based on your taste! Here’s a simple recipe for a medium syrup:
– Ingredients:
– 2 cups granulated sugar
– 4 cups water
– Instructions:
1. Combine the sugar and water in a medium saucepan.
2. Heat over medium heat, stirring until the sugar dissolves.
3. Let it simmer for a few minutes, then remove from heat.
4. Cool the syrup before using.
You can add spices like cinnamon or vanilla for a unique twist!
– Tip: For a sugar-free option, use fruit juice or just water.
– Storage: Any leftover syrup can be stored in the fridge for up to a week, perfect for sweetening drinks!
This step is not only fun but allows you to customize the sweetness of your canned peaches.
5. Packing Jars with Peaches
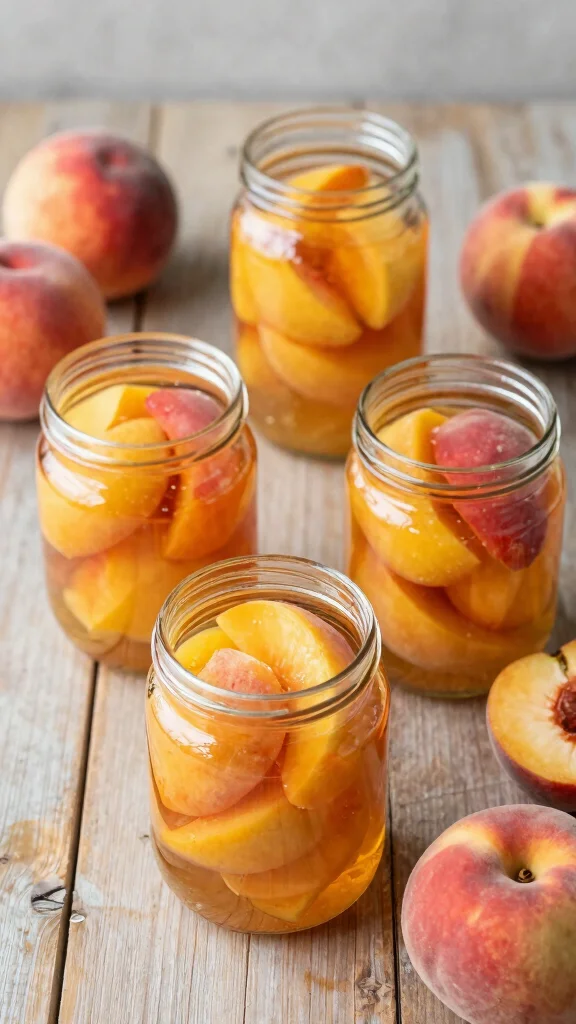
With syrup ready and peaches prepped, it’s time to pack those jars! To make it visually appealing, layer your peach slices nicely. Start by adding peach halves, cut side down, into the jar. Here’s how:
1. Place peach slices into the jar, leaving about 1/2 inch of headspace.
2. Pour the cooled syrup over the peaches, ensuring they’re submerged but maintain headspace.
3. Slide a clean spatula around the edges to remove air bubbles.
4. Wipe the jar rim with a clean cloth to remove syrup before sealing.
– Tip: Mix peach halves and quarters for a pretty presentation.
– Storage: Keep jars warm until you’re ready to process them for a better seal.
This step is rewarding as you see your beautiful peaches come together, ready for preservation!
6. Sealing the Jars
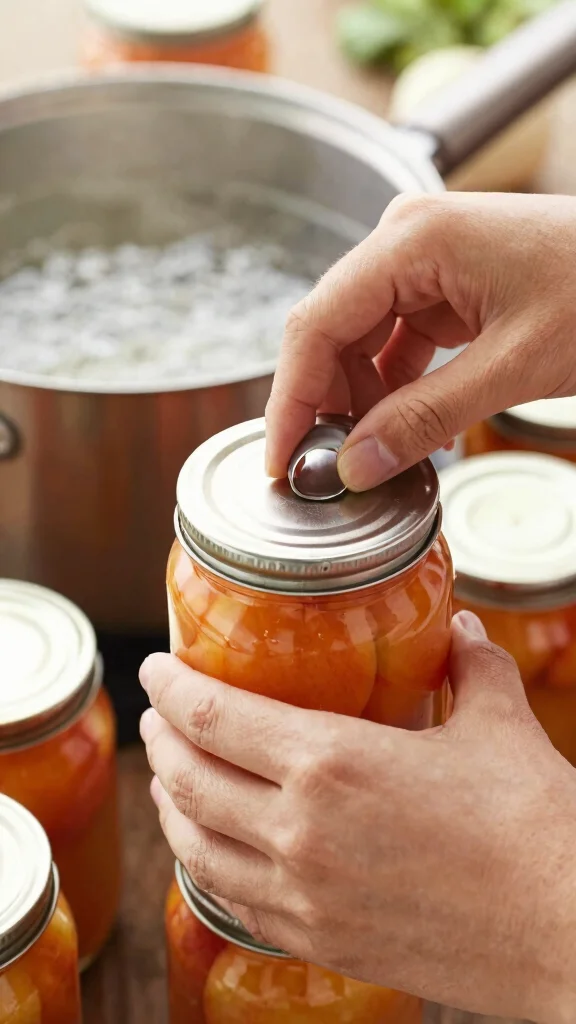
Sealing your jars properly is key to keeping your canned peaches fresh. After filling the jars, place the lids and bands on securely. Follow these steps:
1. Take a lid from boiling water or a clean container and place it on the jar.
2. Screw on the band until it’s fingertip-tight; don’t over-tighten as it can prevent sealing.
3. Repeat for all jars.
Once sealed, they’re ready for the canning process.
– Tip: Never reuse lids to ensure a proper seal for long-term storage.
– Storage: Keep jars warm until processing to enhance the sealing process.
Your jars are now set for their final step—processing!
7. Water Bath Canning Method
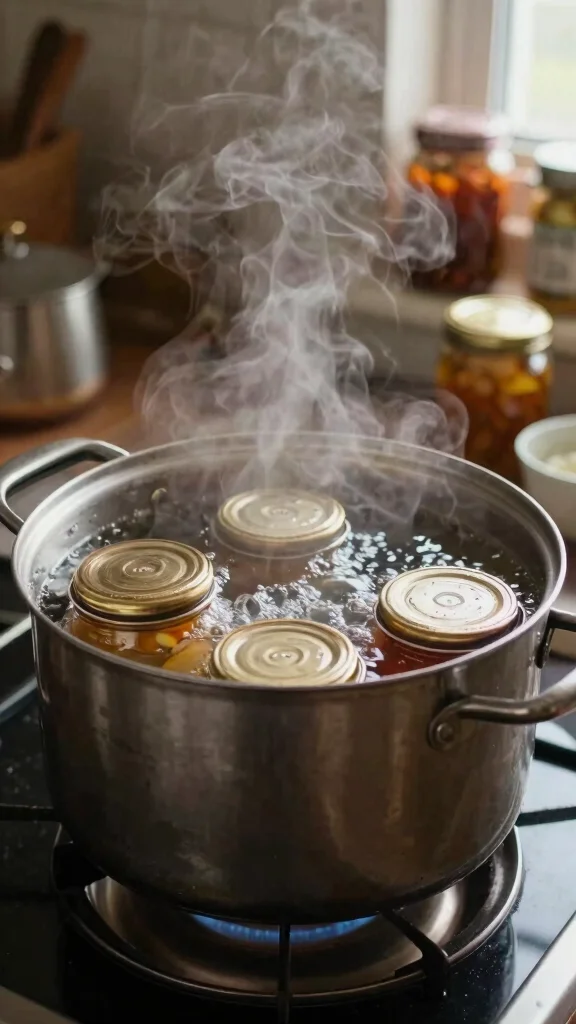
The water bath canning method is perfect for high-acid foods like peaches, ensuring safe processing without bacteria. Here’s how to do it:
1. Fill your canning pot with water and bring to a boil.
2. Using a jar lifter, carefully place sealed jars into the pot, ensuring they’re submerged by at least one inch.
3. Cover the pot and return to a boil.
4. Process jars for 30 minutes, adjusting for altitude if needed.
5. After the time is up, carefully remove jars and let them cool on a towel or rack.
– Tip: Start your timer only when the water is boiling again after adding jars.
– Storage: Keep jars undisturbed for 12 to 24 hours to allow seals to form.
This step is crucial for food safety, and it’s exciting to see those jars bubbling away!
8. Checking the Seal
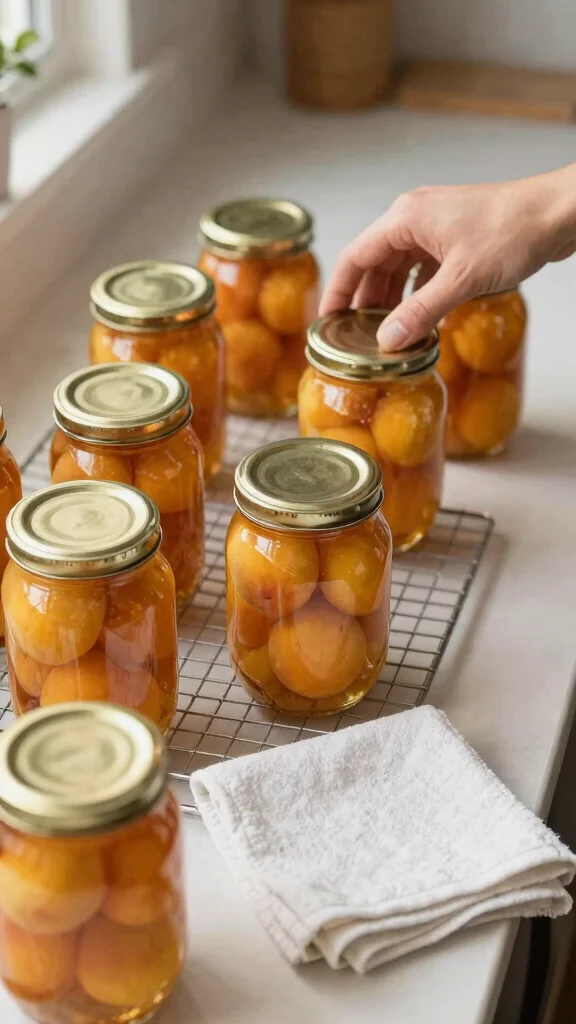
After your jars have cooled for 12 to 24 hours, it’s time to check the seals! A properly sealed jar will have a concave lid that doesn’t bounce back when pressed. Here’s how to check:
1. Press down in the center of each lid with your finger.
2. If it pops back up, it hasn’t sealed properly; refrigerate and consume soon.
3. If the lid remains concave, it’s well-sealed and safe for storage!
– Tip: Jars that didn’t seal can be repacked and processed again.
– Storage: Store sealed jars in a cool, dark place for optimal longevity.
Checking seals is filled with anticipation—you’ll soon have delicious peaches for months!
Fun fact: When you’re learning how to can peaches, a properly sealed jar shows a concave lid after 12 to 24 hours. Quick test: press the center—if it pops back, refrigerate and reprocess. If it stays concave, it’s safe for storage.
9. Labeling Your Jars
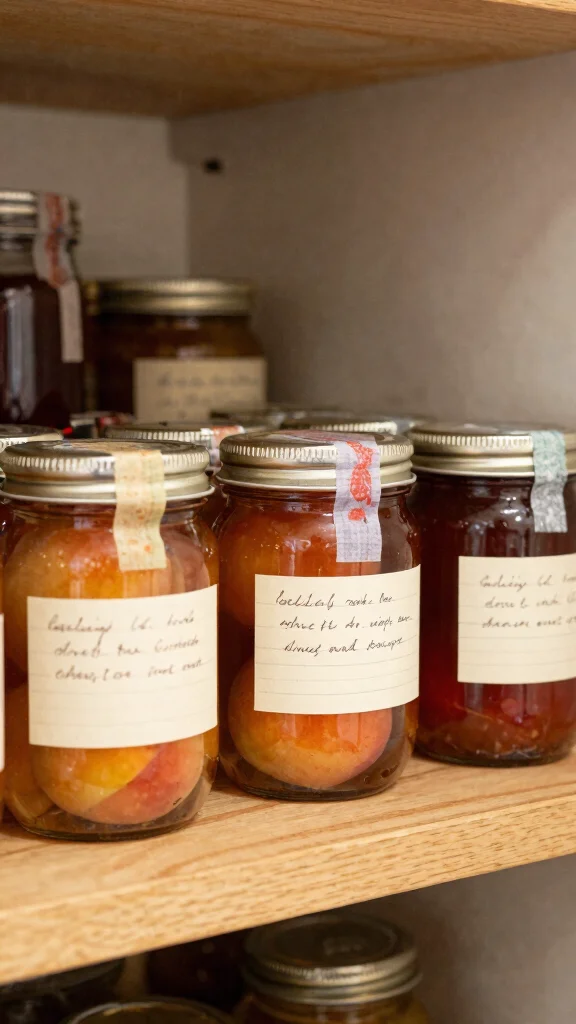
Labeling your jars is a crucial step that adds a personal touch! It helps in identifying contents and keeps your pantry organized. Here’s how to do it:
1. Use a permanent marker or label maker to note the contents and canning date.
2. Add fun notes or ingredients if you modified your recipe.
3. Place labels on the top or side, avoiding the lid to check seals easily.
– Tip: Use decorative labels for a cute flair that makes your canned peaches a perfect gift!
– Storage: Ensure jars are completely cool before labeling to prevent smudges.
This step not only organizes your pantry but brings a smile every time you see your jars lined up!
10. Storing Your Canned Peaches
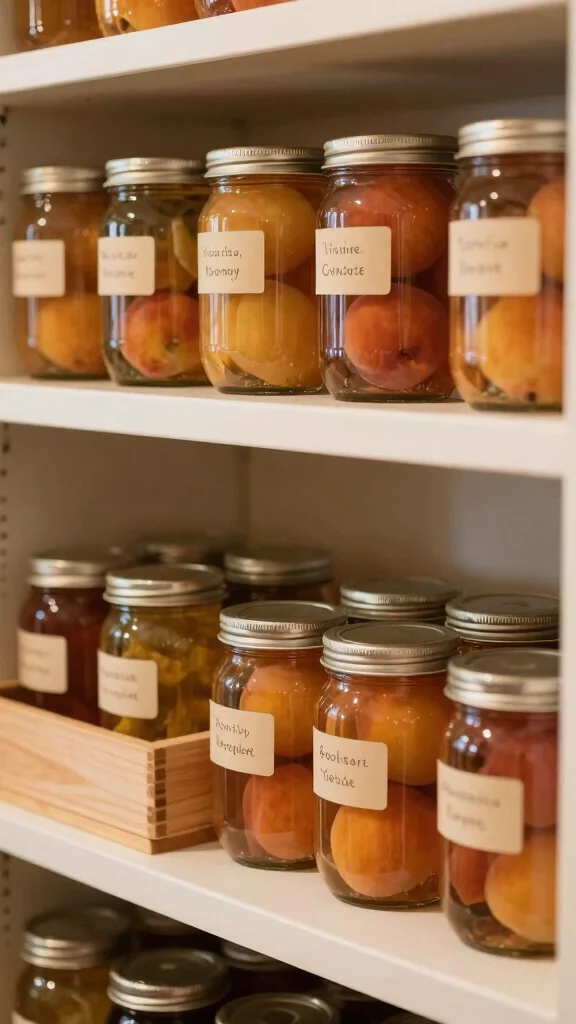
With jars labeled and sealed, it’s time for proper storage! The best spot is a cool, dark, dry area. Basements or kitchens without direct sunlight are ideal. Here are some tips:
– Temperature: Keep a consistent temperature between 50°F and 70°F for a longer shelf life.
– Organization: Store jars upright and avoid stacking to prevent breakage.
– Rotation: Use the ‘first in, first out’ method to consume older jars first.
– Tip: Keep jars away from heat sources like ovens to maintain seal integrity.
– Duration: Home-canned peaches can last up to one year, letting you enjoy summer flavors even in winter!
Proper storage ensures your hard work pays off, keeping those peaches delicious for months!
11. Using Your Canned Peaches
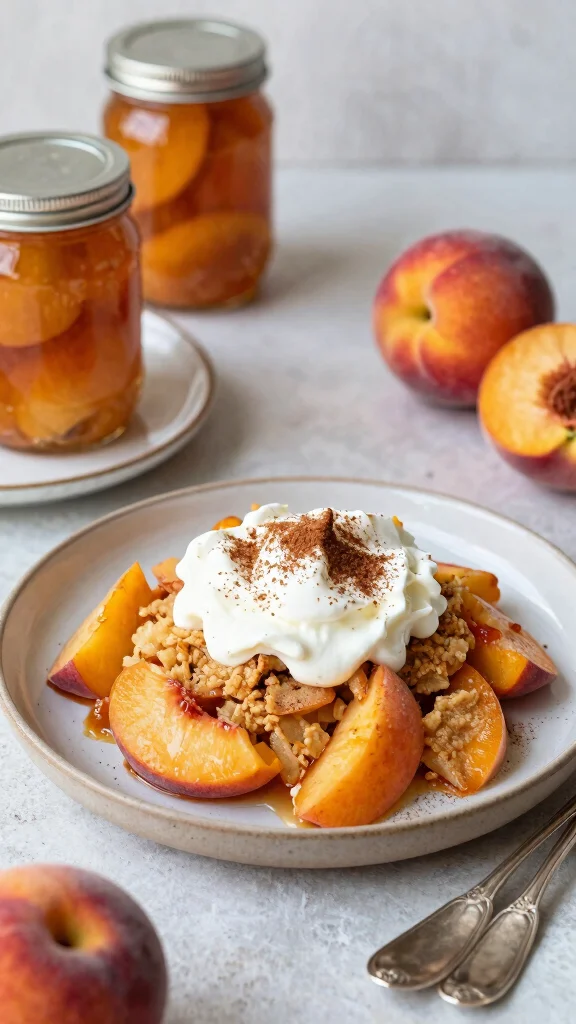
The best part of canning peaches? Enjoying them in your favorite dishes! There are endless ways to use your delicious canned peaches:
– Baking: Toss them into pies, cobblers, or tarts for a flavor explosion.
– Toppings: Use them atop pancakes, waffles, or yogurt for a sweet boost.
– Smoothies: Blend them into your morning shakes for a fruity kick.
– Salsas: Add them to salsas for a unique twist on traditional recipes!
– Tip: Enhance flavors with spices like cinnamon or nutmeg when cooking with them.
– Creativity: Let each jar inspire new dishes or twists on old favorites!
Enjoying your canned peaches is one of the most rewarding aspects of your canning journey!
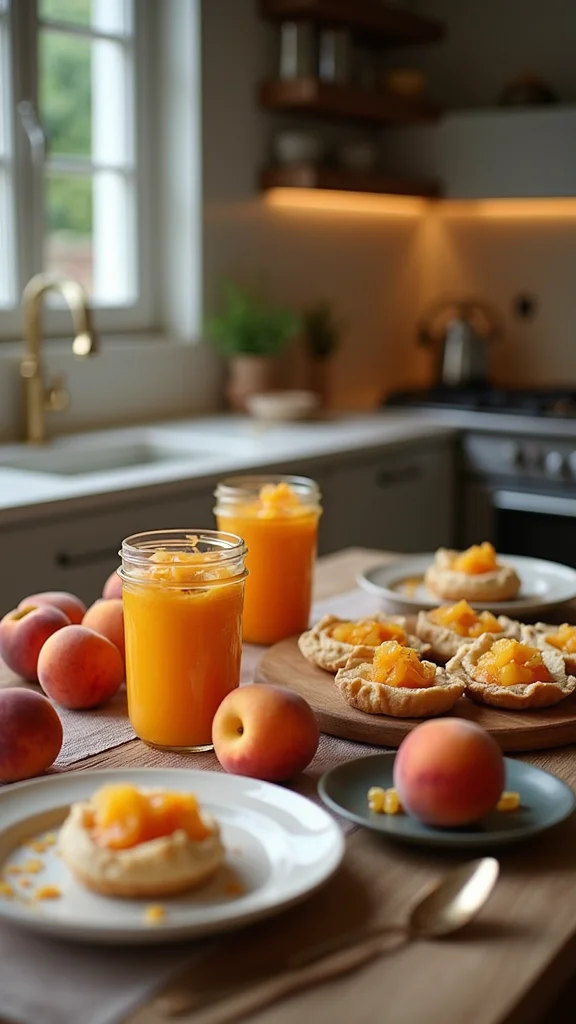
12. Sharing Your Homemade Gifts

Canned peaches make wonderful homemade gifts! Whether for a housewarming, holiday, or just to show appreciation, sharing your canned treats spreads joy. Here’s how to present them:
– Wrap: Use a seasonal dish towel or fabric to wrap the jar with twine.
– Labels: Include a note with usage suggestions or a recipe.
– Presentation: Arrange multiple jars in a basket with other homemade items like jams or baked goods.
– Tip: Personalize gifts with a handwritten recipe card or a warm message.
– Occasions: Think about gifting these for holidays, birthdays, or just because—it’s the thought that counts!
Seeing friends and family enjoy your delicious peaches is one of the best rewards for your efforts!
Sharing homemade gifts makes every jar feel magical. If you’re exploring how to can peaches, presentation matters—wrap with a seasonal towel, add a handwritten note, and arrange several jars in a basket for a thoughtful, gifts-from-the-kitchen splash of joy.
13. Troubleshooting Common Canning Issues
Even experienced canners encounter hiccups. Here are some common issues and tips on how to troubleshoot:
– Jars didn’t seal: This can happen from food residue on the rim or incorrect lid placement; reprocess or refrigerate.
– Floating fruit: Ensure jars are filled correctly and shake gently to release air bubbles.
– Cloudy syrup: This can indicate sugar not dissolving fully; mix thoroughly while preparing.
– Tip: Check supplies and follow recipes closely to minimize errors.
– Learning: Each troubleshooting moment is a chance to refine your technique for next time!
By addressing these issues, you’ll continue to improve your canning skills with satisfying results!
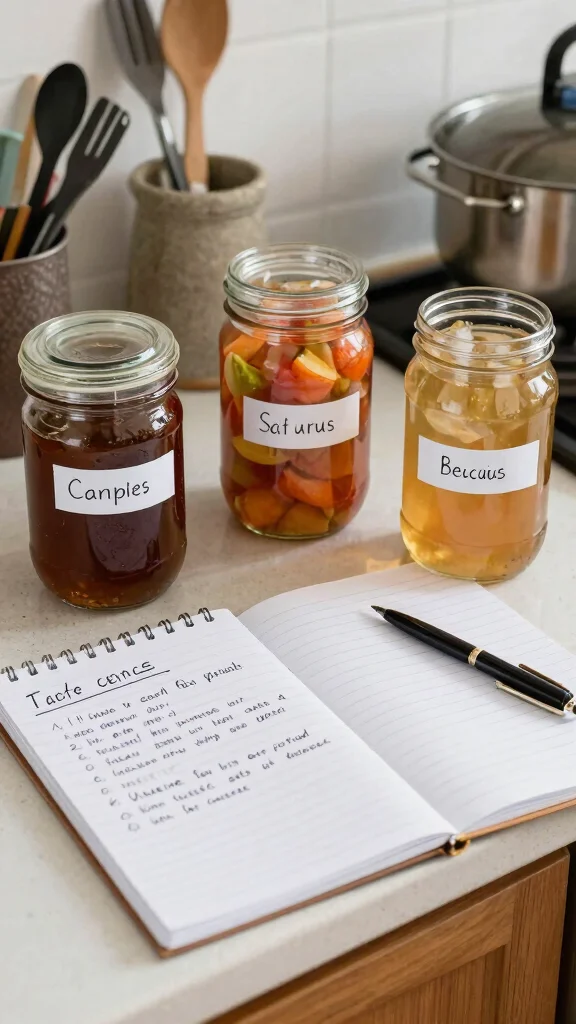
14. Exploring Flavor Variations

Once you’ve mastered basic peach canning, why not get creative? Explore unique flavor combinations to tantalize your taste buds! Here are some ideas:
– Add spices: Include cinnamon sticks, cloves, or nutmeg in the syrup for warmth.
– Infused syrups: Customize syrup flavors with herbs like basil or mint.
– Mix fruits: Combine peaches with other fruits such as berries or apples for delightful mixes!
– Tip: Always follow safe canning practices when mixing varieties.
– Creativity: Experimenting with flavors can lead to delightful surprises that elevate your dishes!
Exploring flavor variations keeps your canning adventures exciting and fresh.
15. Canning Safety Tips
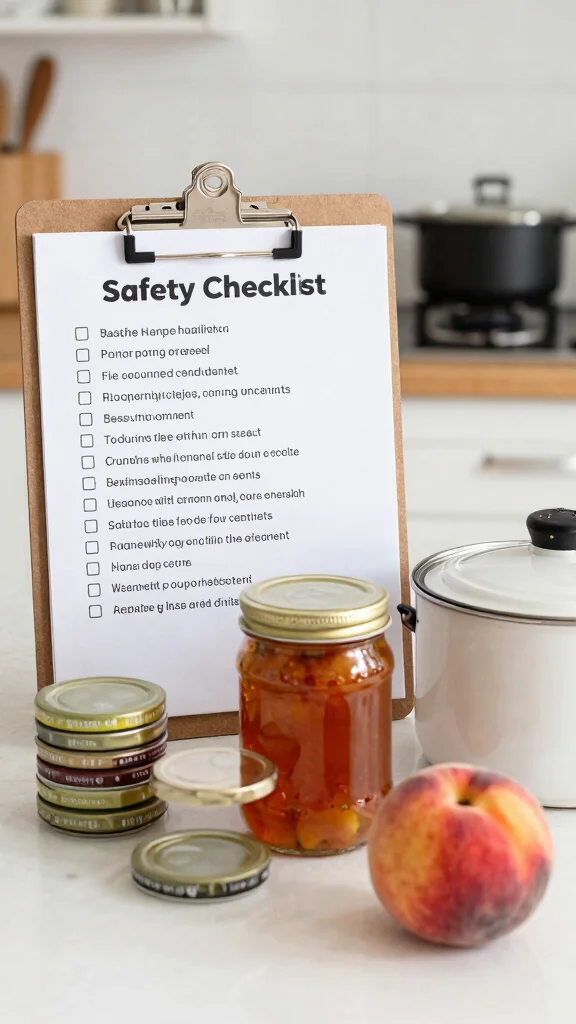
Safety is key in canning to prevent spoilage and ensure enjoyment. Here are essential safety tips:
– Use proper equipment: Always use canning jars and new lids designed specifically for this purpose.
– Monitor temperatures: Keep your canning pot boiling throughout processing.
– Check pH levels: A proper acidity level is crucial; aim for a pH below 4.6 for peaches.
– Tip: Refer to reputable sources for canning guidelines and recipes to ensure safety.
– Records: Keep notes of your canning process and results for future reference.
By following these precautions, you can be confident in the quality and safety of your home-canned peaches!
16. Enjoying Your Canned Peaches All Year Long
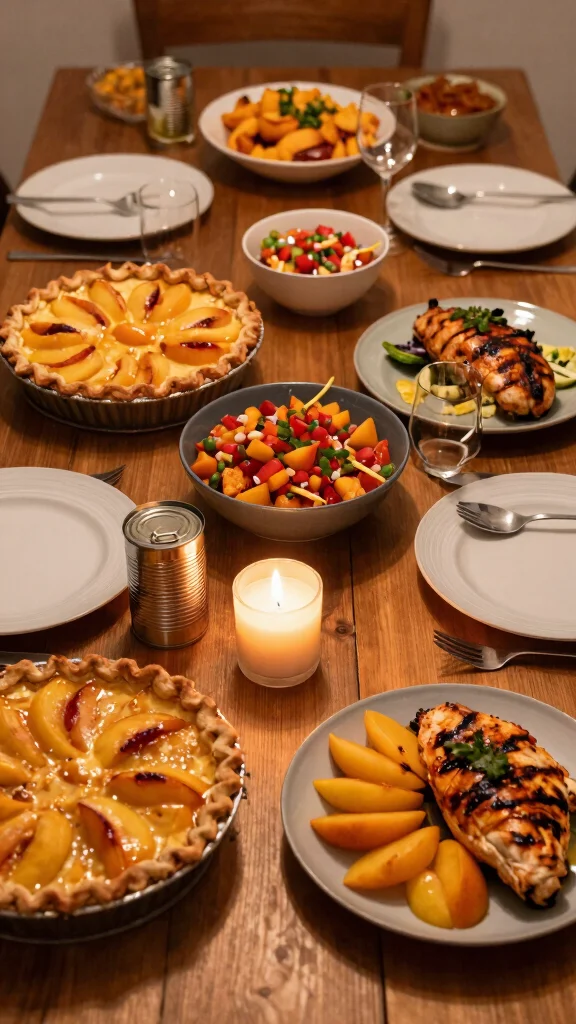
As seasons change, it’s a joy to pop open a jar of sweet summer peaches. Here are fun ways to enjoy your canned peaches:
– Cook and bake: Use them in desserts, drizzled over ice cream, or mixed into pancakes.
– Savory dishes: They add a unique flavor when included in savory dishes like grilled chicken or salads.
– Gifts and gatherings: Share your bounty at potlucks or gatherings for a special treat!
– Tip: Pair them with spices or herbs when cooking to enhance their flavor.
– Collaboration: Host a Peach Night with friends, where everyone brings a dish featuring your canned peaches!
Each jar becomes a little taste of summer, bringing warmth and nostalgia to your meals.
17. Resources and Community Support
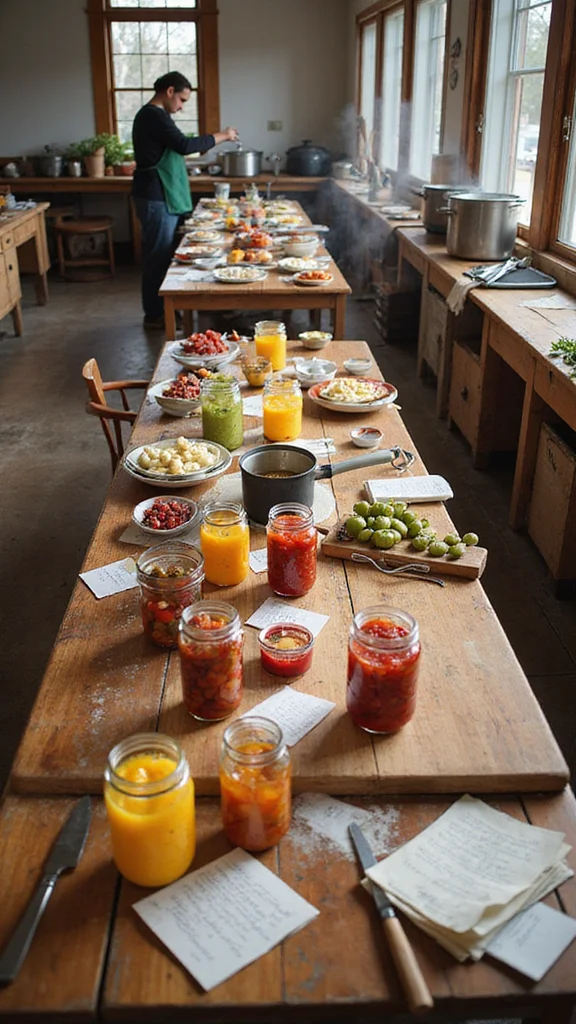
Canning doesn’t have to be a solo journey! Connect with local canning groups, workshops, or online communities to share tips and recipes. Here are a few resources to explore:
– Local extension services: Many universities offer canning classes and helpful resources.
– Online forums: Platforms like Reddit and Facebook have active canning groups where enthusiasts share stories and advice.
– Books: Invest in canning cookbooks for a wealth of knowledge and inspiration.
– Tip: Attend local food festivals highlighting canning and preserving to meet other passionate canners.
– Networking: Being part of a community can enhance your skills and motivate you to try new things!
Connecting with others enriches your canning experience and creates a supportive network.
18. Celebrating the Process
Canning peaches is more than just a task; it’s a celebration of the harvest and the joy of preserving food. Take a moment to appreciate the process, the effort involved, and the delicious rewards that await!
– Reflect: After each canning session, consider journaling about your experience.
– Share: Document your journey on social media to inspire others.
– Enjoy: Treat yourself to a peach dessert as a well-earned reward for your hard work!
– Tip: Create a yearly tradition around canning with friends or family for a fun event to anticipate.
– Memories: Each jar holds memories of time spent in the kitchen and delicious meals to come.
Embrace the beauty of canning and know you’re contributing to a sustainable way of enjoying food!
Conclusion
Canning peaches at home is not just about preserving fruit; it’s about creating cherished memories and gifts that can be shared with loved ones. With careful preparation and the right steps, anyone can master this delightful process. Remember, each jar is a testament to your hard work and creativity. You now have the knowledge to not only enjoy the fruits of your labor but also gift these delightful treats to others. So get your supplies together and start canning; the sweet taste of summer awaits!
Frequently Asked Questions
What is the safest method to start learning how to can peaches at home?
Starting with a safe, tested method is key when you are learning how to can peaches. Gather ripe peaches, clean jars, lids, a canner, sugar or syrup, and lemon juice for acidity. For peaches, a hot water bath canner is appropriate when using a syrup, but always follow a trusted recipe and processing time exactly. Prep by blanching, peeling, and packing hot peaches into hot syrup, then process in the water bath until the jars seal. This gives you a solid foundation for your homemade gift jars and your journey on how to can peaches safely at home.
Tip: sanitize every step and keep your workspace tidy so you feel confident with future projects like baking gifts.
Can peaches be canned with syrup options and how do I choose the right one?
Yes. You can can peaches in light syrup, heavy syrup, or in juice. The choice affects sweetness and texture, so pick based on how you plan to use the jars. For a simple everyday option and as a baking gift component, light syrup keeps the peach flavor bright. Heavy syrup makes them richer for desserts or plain eating. Always follow a tested recipe and adjust for altitude when needed. If you are stocking jars for a homemade gift basket, a balanced medium syrup is a versatile choice. And if you are curious about the basics of how to can peaches, this guide covers syrup ideas you can trust.
How long do canned peaches last and how should I store them?
With proper processing, sealed jars can stay good for 12-18 months in a cool, dark pantry. Store them in a stable temperature (about 50-70°F) and away from sunlight. Always inspect lids: a popped lid or bulging jar means the seal failed and it should be discarded. For the best flavor in gifts or baking, rotate stock and use oldest jars first. When you build a homemade gift collection, add a note with date and suggested uses like peach cobbler, tarts, or a simple peach glaze to turn canned peaches into a delicious baking gift.
What safety tips should beginners follow to prevent spoilage or botulism?
Safety first. Use only tested recipes for peaches and always sterilize jars and lids. Because peaches are a relatively high-acid fruit, a properly timed water bath canner is usually sufficient—follow the recipe for processing times and altitude adjustments. Fill jars with hot peaches and hot syrup, maintain the correct headspace, and never reuse damaged lids. After processing, let jars cool undisturbed for 12-24 hours, then store. If anything looks off—swollen lids, off odors, or cloudy liquid—discard. Following these steps helps ensure your how to can peaches is safe and delicious.
How can I use canned peaches as a homemade gift or baking gift?
Canned peaches are a charming and practical homemade gift that family and friends love. Bundle jars with a simple recipe card, or place them in a gift basket with a few baking extras. As a baking gift, pair jars with a peach cobbler recipe, muffin ideas, or a peach glaze. You can title the jars for a personal touch, seal with vintage labels, and include storage tips so your recipient knows how to enjoy them. It’s a thoughtful way to share your how to can peaches journey and turn canning into a sweet, useful gift.